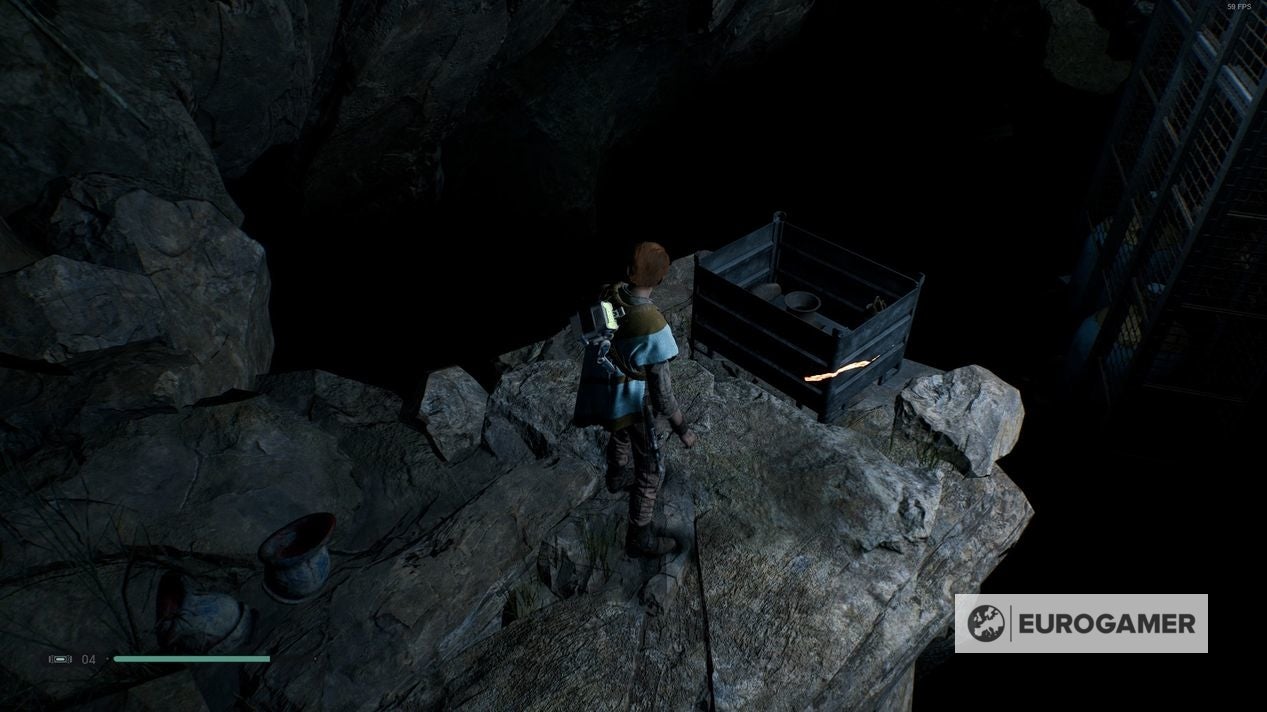
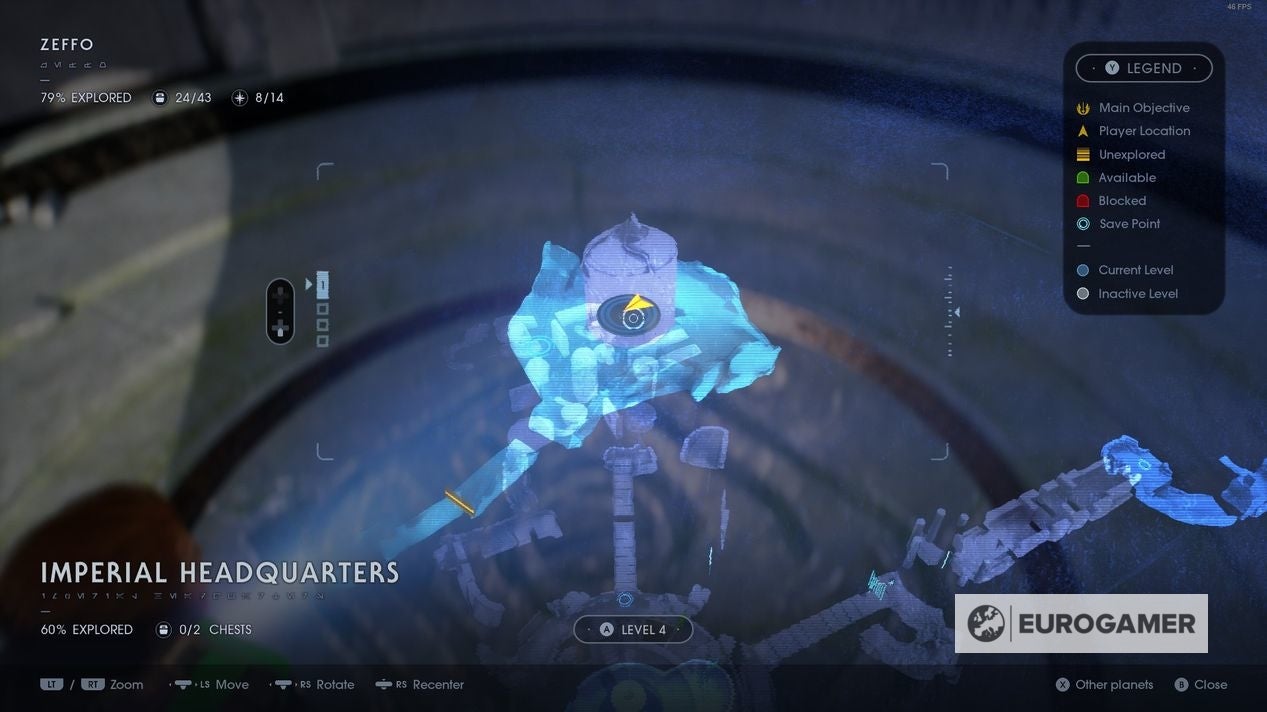
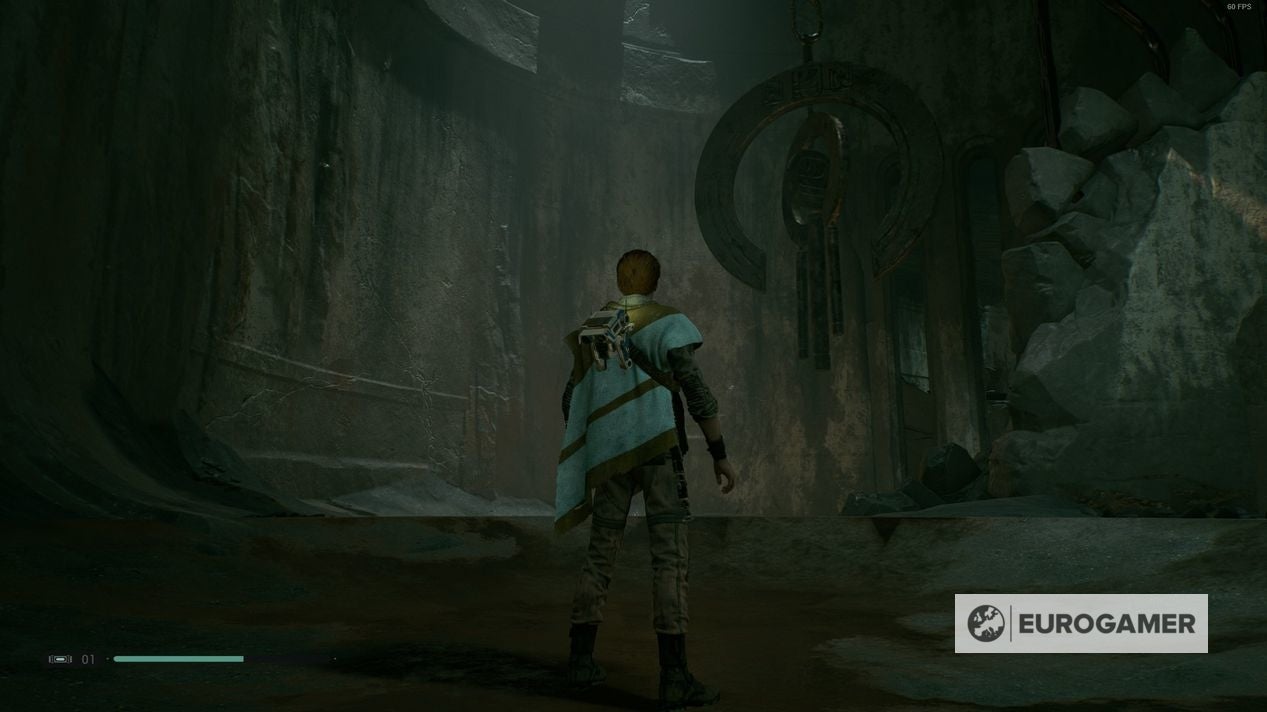
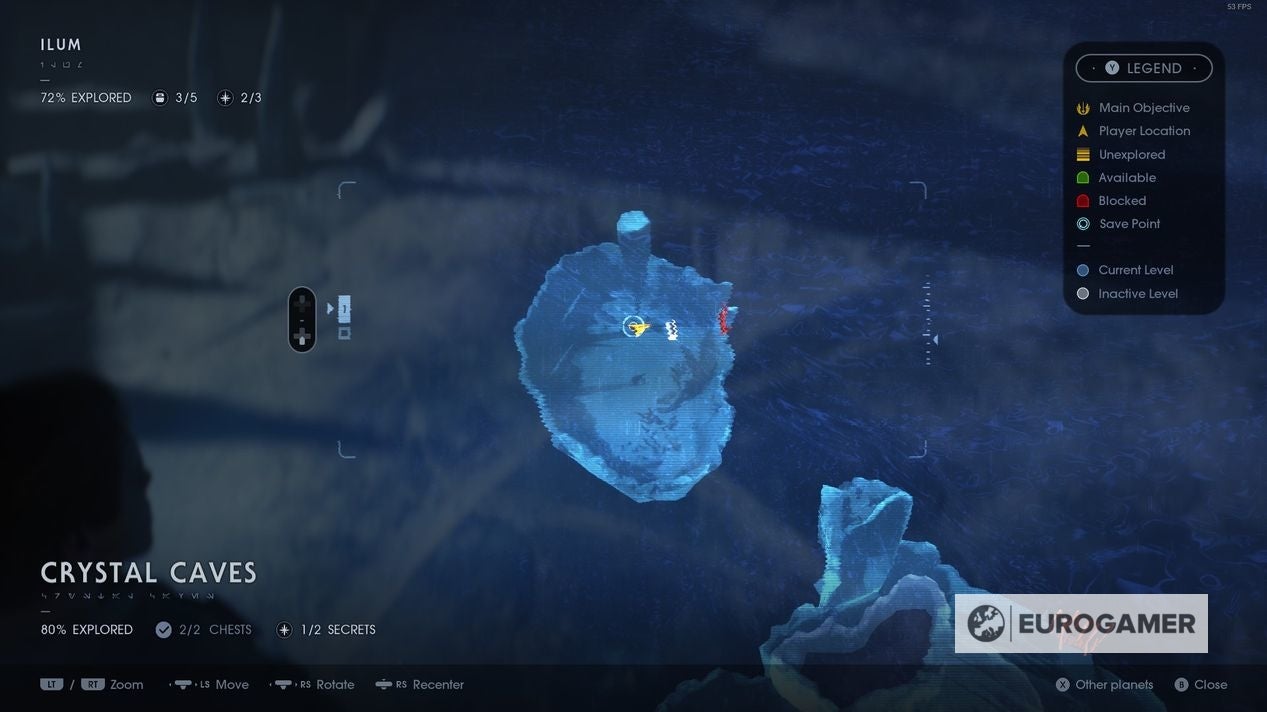
These are special recordings your droid BD-1 can decrypt that detail the research of Eno Cordova, an old jedi that travelled the galaxy looking to unearth secrets about an ancient civilization. Some of these logs are impossible to miss while completing the main quest, while others require you to scan certain objects / places to unlock. On this page: There are 19 encrypted logs for you to find in total, all split into seven distinct categories labelled as ‘Archives’. This Encrypted Log locations page will feature all 19 in order from Archive One - Seven. This way if you’ve reached the end of the game before grabbing them all, you can jump to a specific category of your choosing. After more assistance with Jedi Fallen Order? Our pages on Legendary Beasts and Lightsaber parts can help. From there, look towards the direction of the Mantis and you’ll see a wall you can run across. Traverse this wall and climb up to the top of the Bogdo Sinkholes. Once you’re on top, look left and you’ll see a pipe you can force pull down to make a bridge. Cross over this makeshift bridge, then walk left all the way to the edge of the cliff you’re standing on. Ahead of you, there will be a rope hanging from a crane. Jump off the edge and force pull the rope to you, safely making swinging across to the other side. As soon as you land, immediately turn around and jump back on the rope towards the Bogdo Sinkholes. You’ll see a spinning fan that you must jump through embedded in the wall of the cliff. Swing towards this fan and jump off the rope. While airborne, you must slow the blades of this fan so that you can pass through it unhurt. If you managed to make it through the fan, you’ll land on a metal platform with a chest. From this platform, you can scan the orb hanging over the room to gain the encrypted log. Encrypted Log 2: For the second entry - ‘Sage, Vault and Tomb’, start from the save point at the Abandoned workshop on Bogano. From there, travel along the pipe into the Hermit’s Abode. Once you’re inside, slow the fan blade and walk up to the table dead ahead. Scan this table for the second log to be added to the databank. Encrypted Log 3: To unlock the log ‘The Sages’, start from the Abandoned Village save point on Zeffo. From there go into the caves next to you until you reach a split path. Take the right path and continue forward until you cross a metal pipe. Once you’ve walked over this pipe, keep right until you find a large metal box. Scanning this box will play a recorded message from Cordova, and unlock the third log. From there, walk left until you see a broken wall you can force push open. Break down this wall and there will be a scannable wall next to a chest. Once you scan the wall, an audio recording will play and the log will be added. Encrypted Log 2: The second log, ‘Magnets’ can be found soon after you enter the Tomb of Miktrull. From the save point, continue forward until you reach a large circular room with a water-covered floor. From there, force push a weak part of the wall to reveal an exit. Walk through this new exit, and walk to the left side of the new room you’ve found yourself in. Scanning the wall will play an audio recording and give you the log. Encrypted Log 3: The final log in the archive ‘The Key to the Vault’ is unmissable and gained through a cinematic. After freeing the ball inside in the Tomb of Miktrull, push it onto the slot on the floor to raise a hidden room. Inside, the cinematic will start and BD-1 will play a video recording of Cordova. After this is finished, the log will be automatically added to your databank. Encrypted Log 2: For this encrypted log, fly to Dathomir and enter the Nightmare Ruins via the front entrance. Once you’re inside walk up to the stairs ahead of you. Look right of the base of these stairs, and scan the pots by the large statues for to gain the log ‘Kujet’s Tomb’. Encrypted Log 3: The log ‘Shrouded in Darkness’ can be found inside the Tomb of Kujet on Dathomir. Once you enter through the gap in the wall. Walk forward while keeping the right side of the large hallway. You will be able to scan the ashen bodies of Zeffo here, which will play an audio recording and add the final log of the archive to your databank. Doing this will activate the lift, play an audio recording, and unlock the first log ‘Tomb of Eilram’. Encrypted Log 2: The log ‘Sage Eilram’ requires you to do a force push puzzle near the Tomb of Eilram save point in the large room with the tomb guardian. First, push the ball down the ramp towards the tomb guardian, then into the circular slot to your left in an illuminated room. This will activate the wind tunnel and open a path behind where the tomb guardian was standing. Go through this newly opened path and climb up the railing to find a second ball. Push the ball through the weakened wall to bring it down to the large room you were previously in. Force push this new ball into the recently activated wind tunnel to shoot it up to a higher platform. Jump up to this platform and you’ll see another slot to leave the second ball. Push the ball in and a path will open to your left with a large wind chime hanging from the ceiling. Scanning this chime will unlock the log. Encrypted Log 3: This log is unlocked immediately after completing the quest ‘The Eye of the Storm’. After learning how to force push, push down the door in front of you to gain access to a large spherical room. Walk to the centre of this room, and a cinematic will automatically play showing a video recording of Cordova. After it’s over, the log ‘An Old Friend’ will be unlocked in the databank. Once the bird flies away, walk onto the platform it was perched on and scan the feathers left behind. Scanning these will play an audio recording and unlock the encrypted log ‘Shyyyo Bird’. Encrypted Log 2: Make your way to the Gnarled Heights save point and wall run your way further up the tree. Once you do, pass through a hollowed out branch and jump down onto the nest of the Shyyyo Bird. Walk to the back of the nest, and climb up two ledges to a hidden platform where a chest can be found. Turn around, and BD-1 will be able to scan the platform and play an audio log that unlocks the ‘Astrium’ encrypted log. Encrypted Log 3: The third log ‘Astrium’ is gained once you make your way into the Chieftain’s Canopy for the first time. Simply walk inside and BD-1 will scan the centre of the room, triggering a video recording to play and the log to be unlocked. Once you’re there, scan the scrap in the centre of the room and an audio log will play - unlocking the entry in your databank. Encrypted Log 2: To get the log ‘Acquiring the Holocron’, you’ll need force push and the ability to slice open locked doors. Start from the save point in the Subterranean Refuge on Bogano and walk into The Great Divide. As you walk there, look right and there will be a bridge you can force push down to make a path over to the other side of the area. Cross this bridge, then continue forward towards a large illuminated cave. Once you’ve entered this cave, climb up the vines and ascend the stairs. Halfway up, you’ll find a locked door that BD-1 will need to unlock. When the door is open, walk inside then immediately turn left and walk to the two statues close by. Scanning these statues will play an audio recording and grant you this encrypted log. This is part of the main quest and can’t be missed. Once the video recording of Cordova has been played in a cinematic the log will be unlocked. Encrypted Log 2: When you first enter the vault on Bogano, BD-1 can scan the round object in the centre of the room. This will trigger a cutscene and unlock the ability to find other encrypted logs. After the video recording left by Cordova is over, the log ‘Secrets of the Vault’ will be unlocked in the databank.