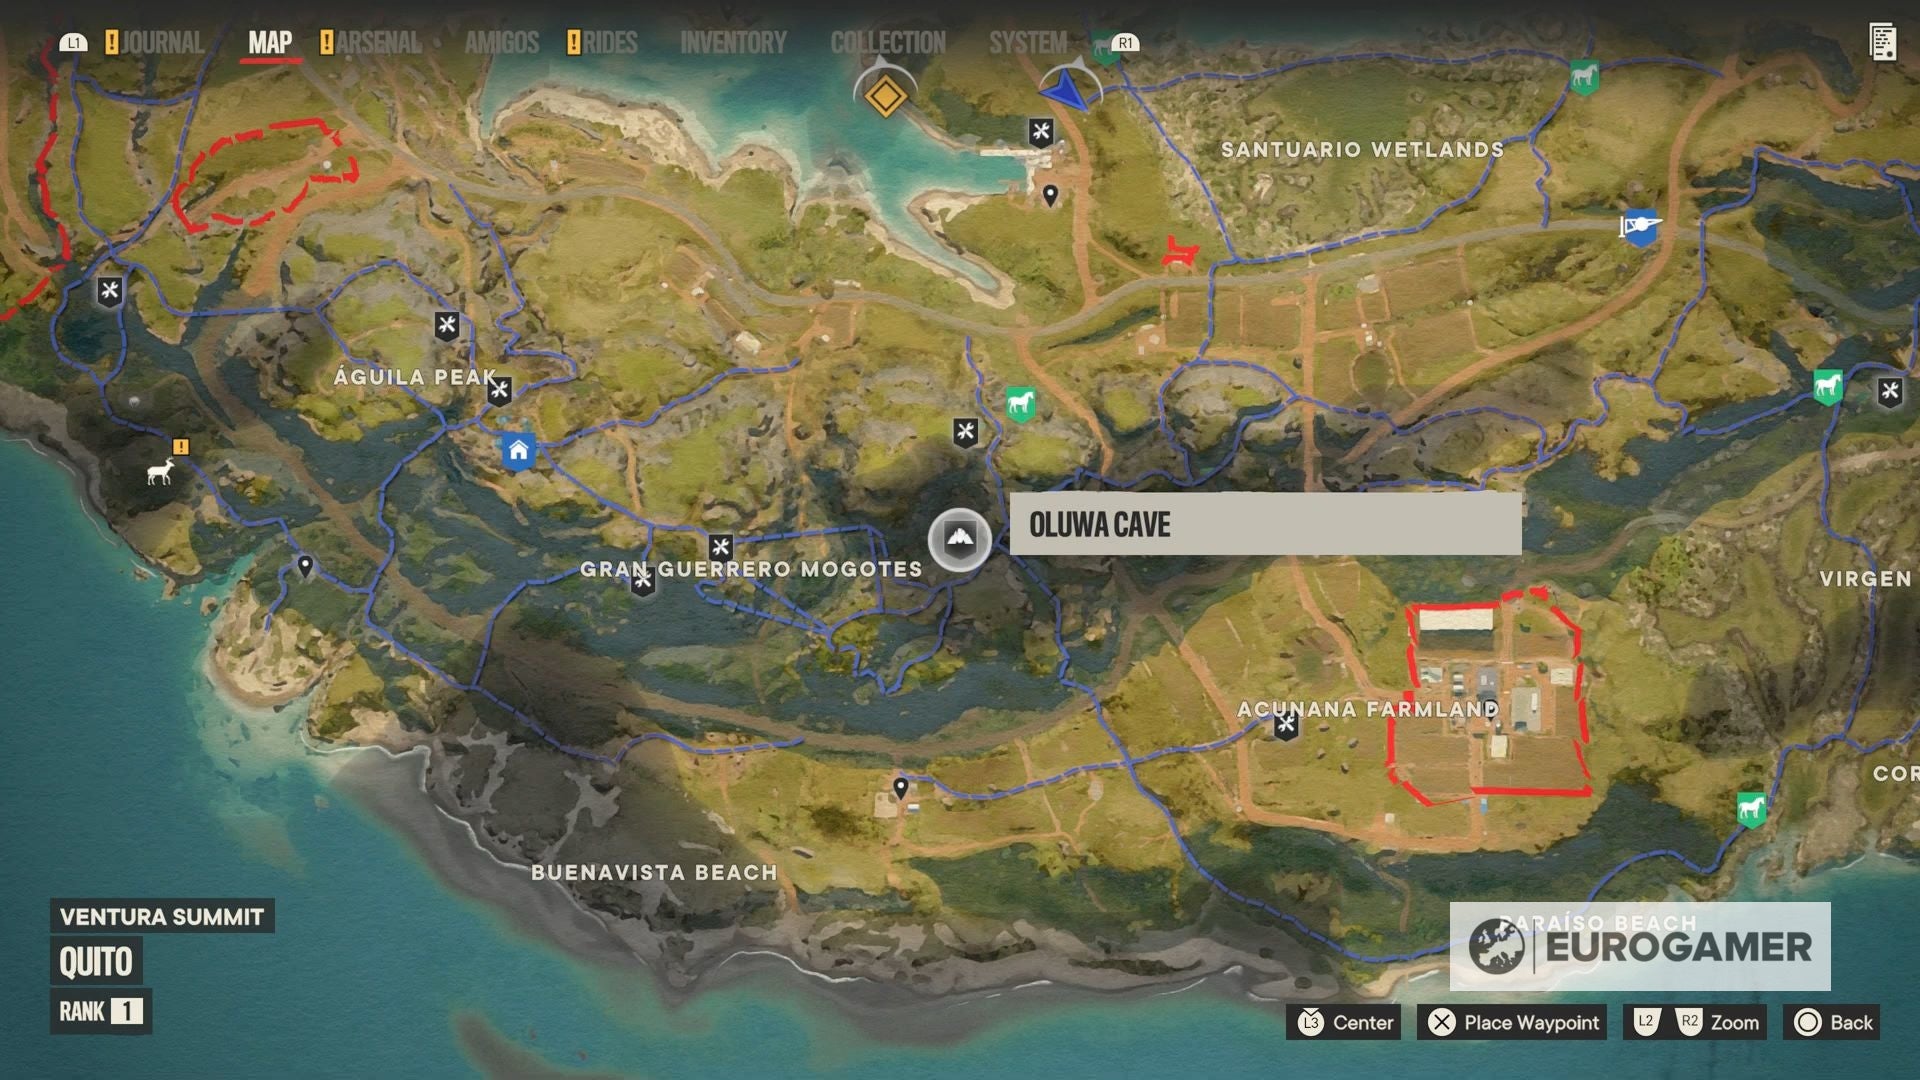
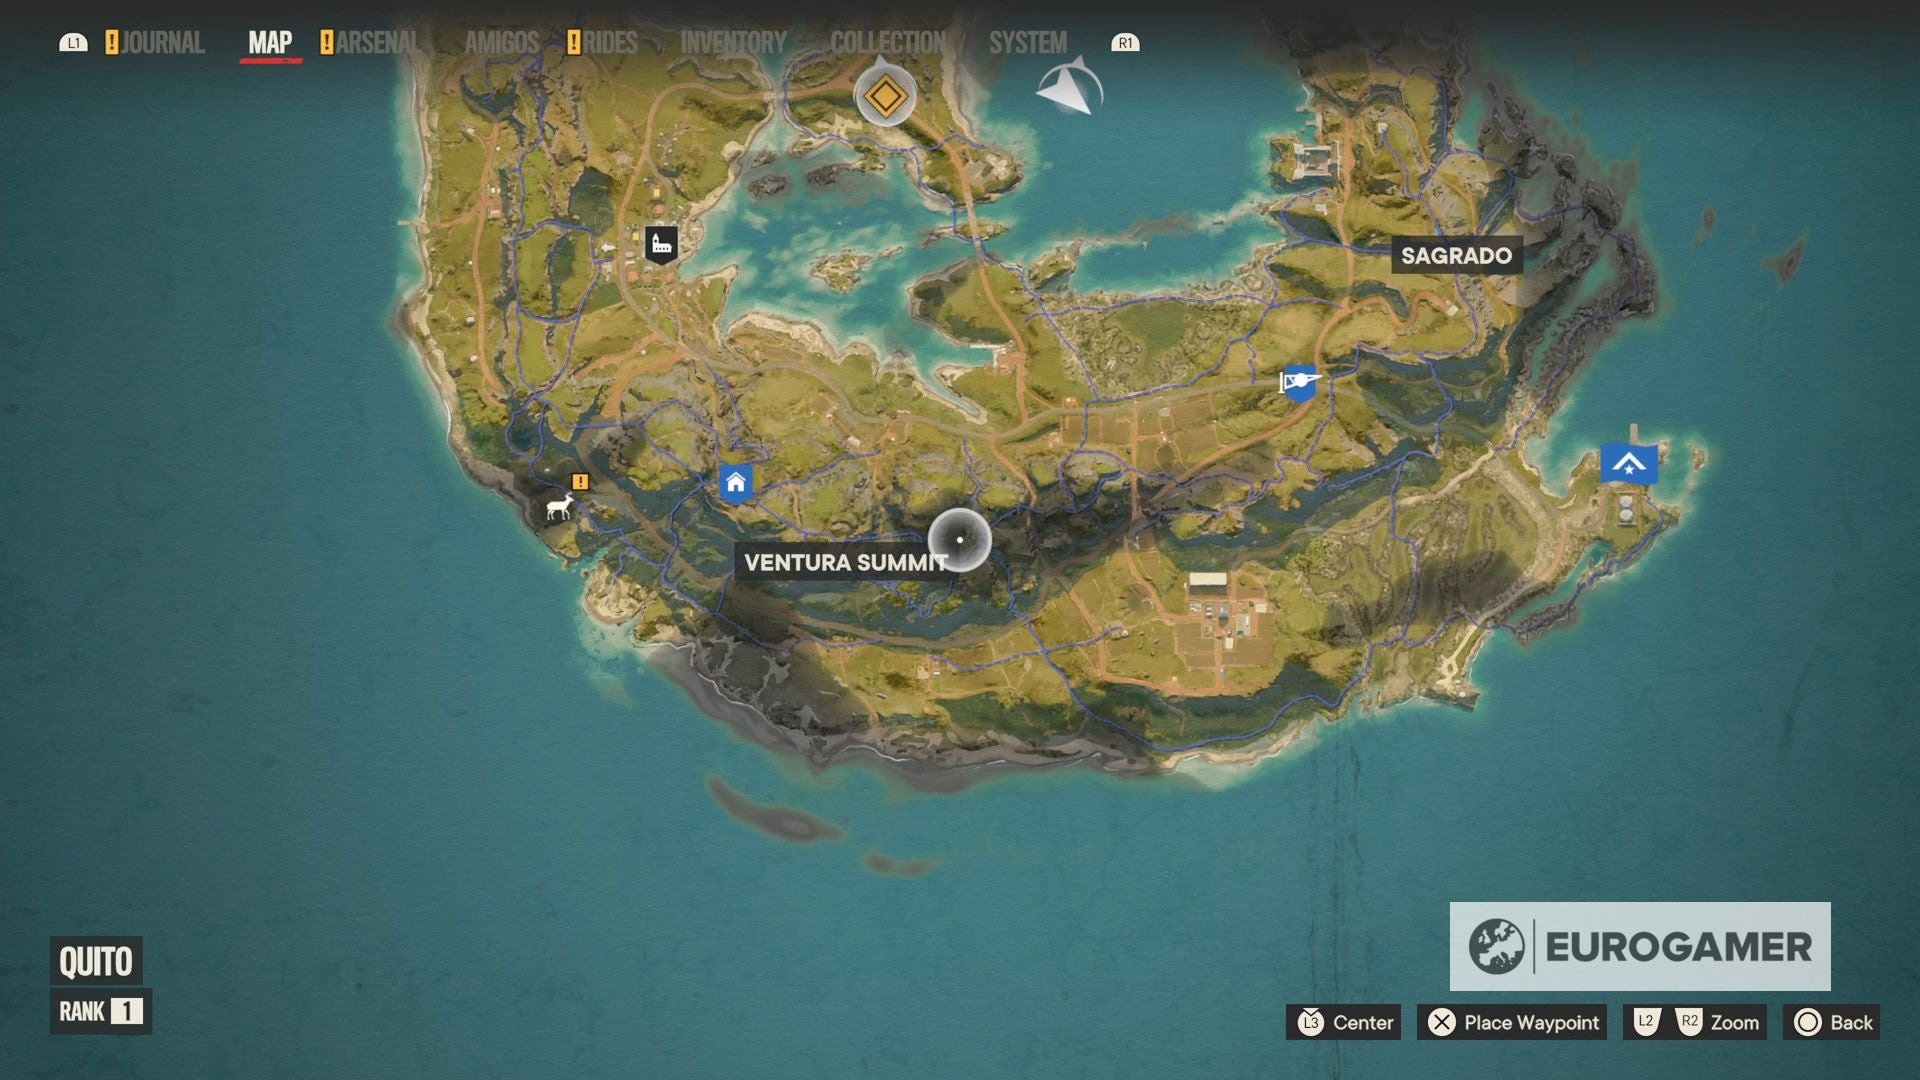
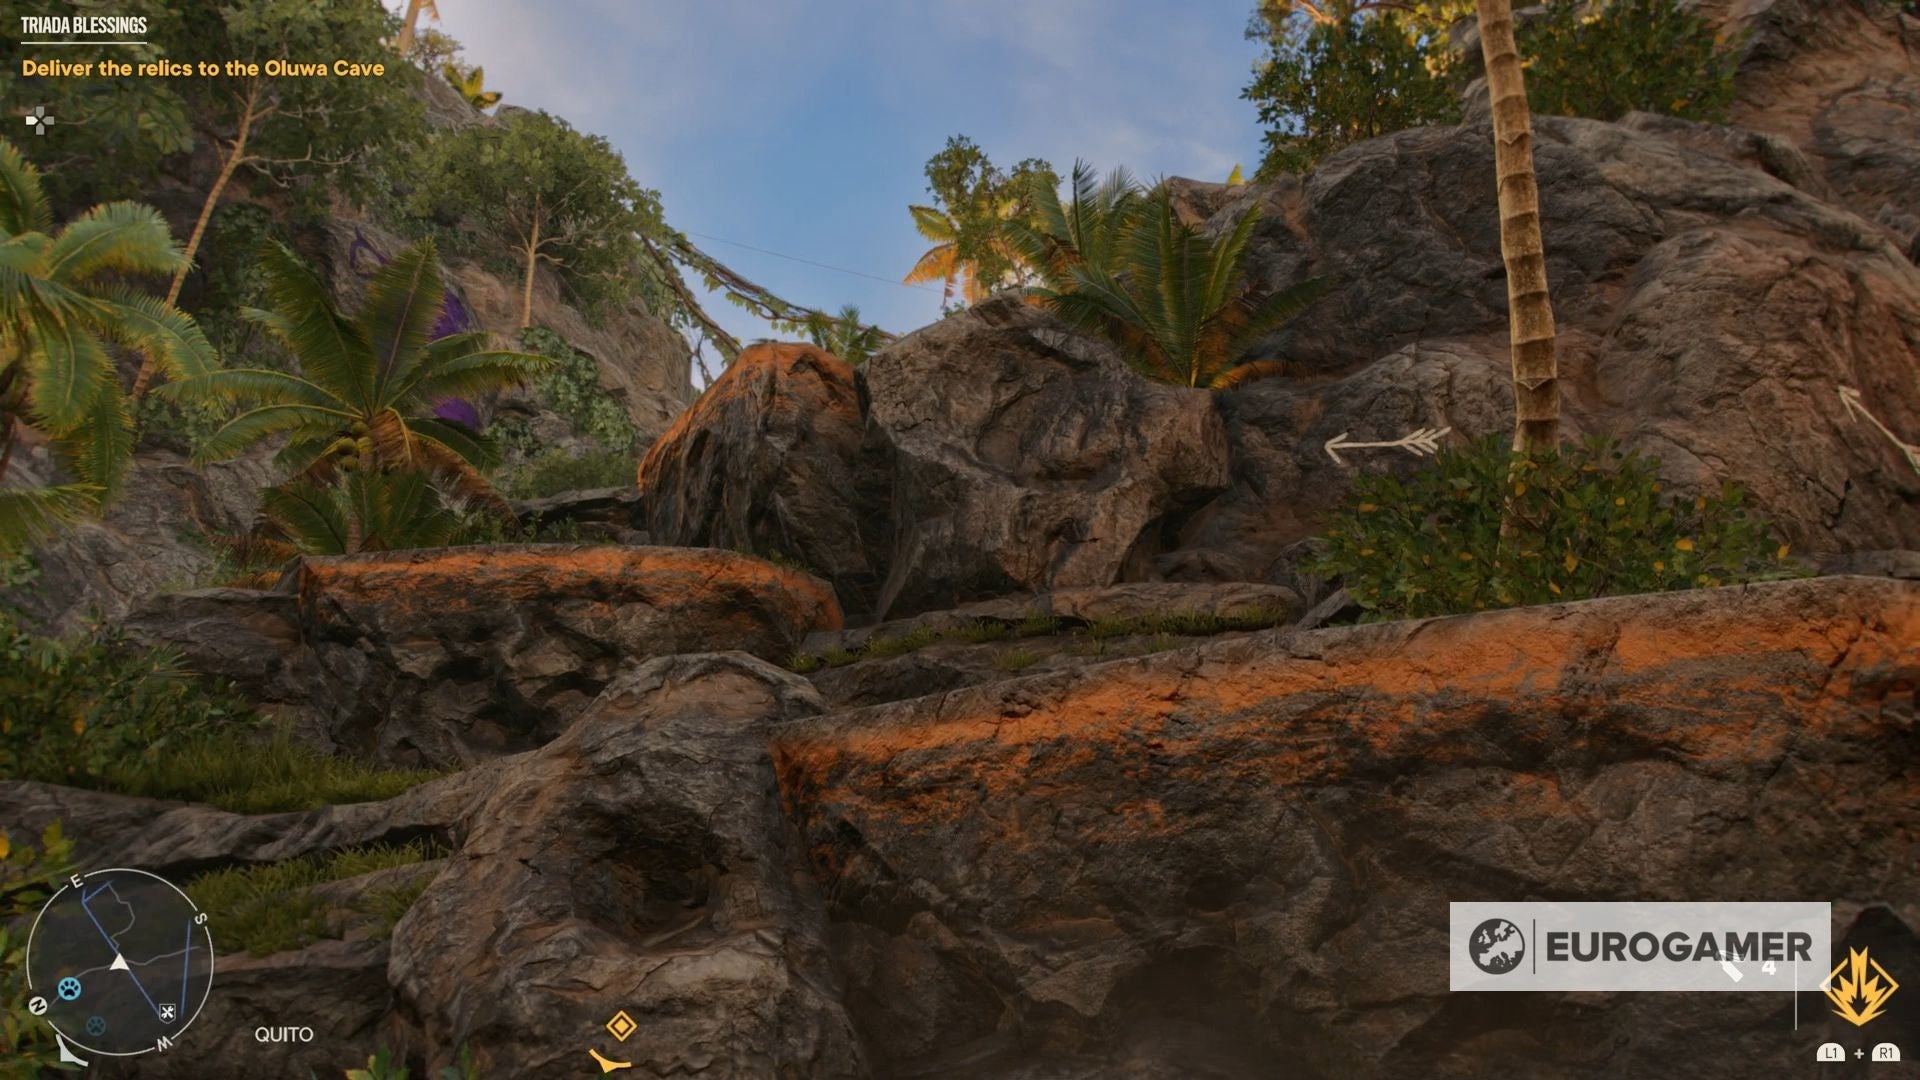
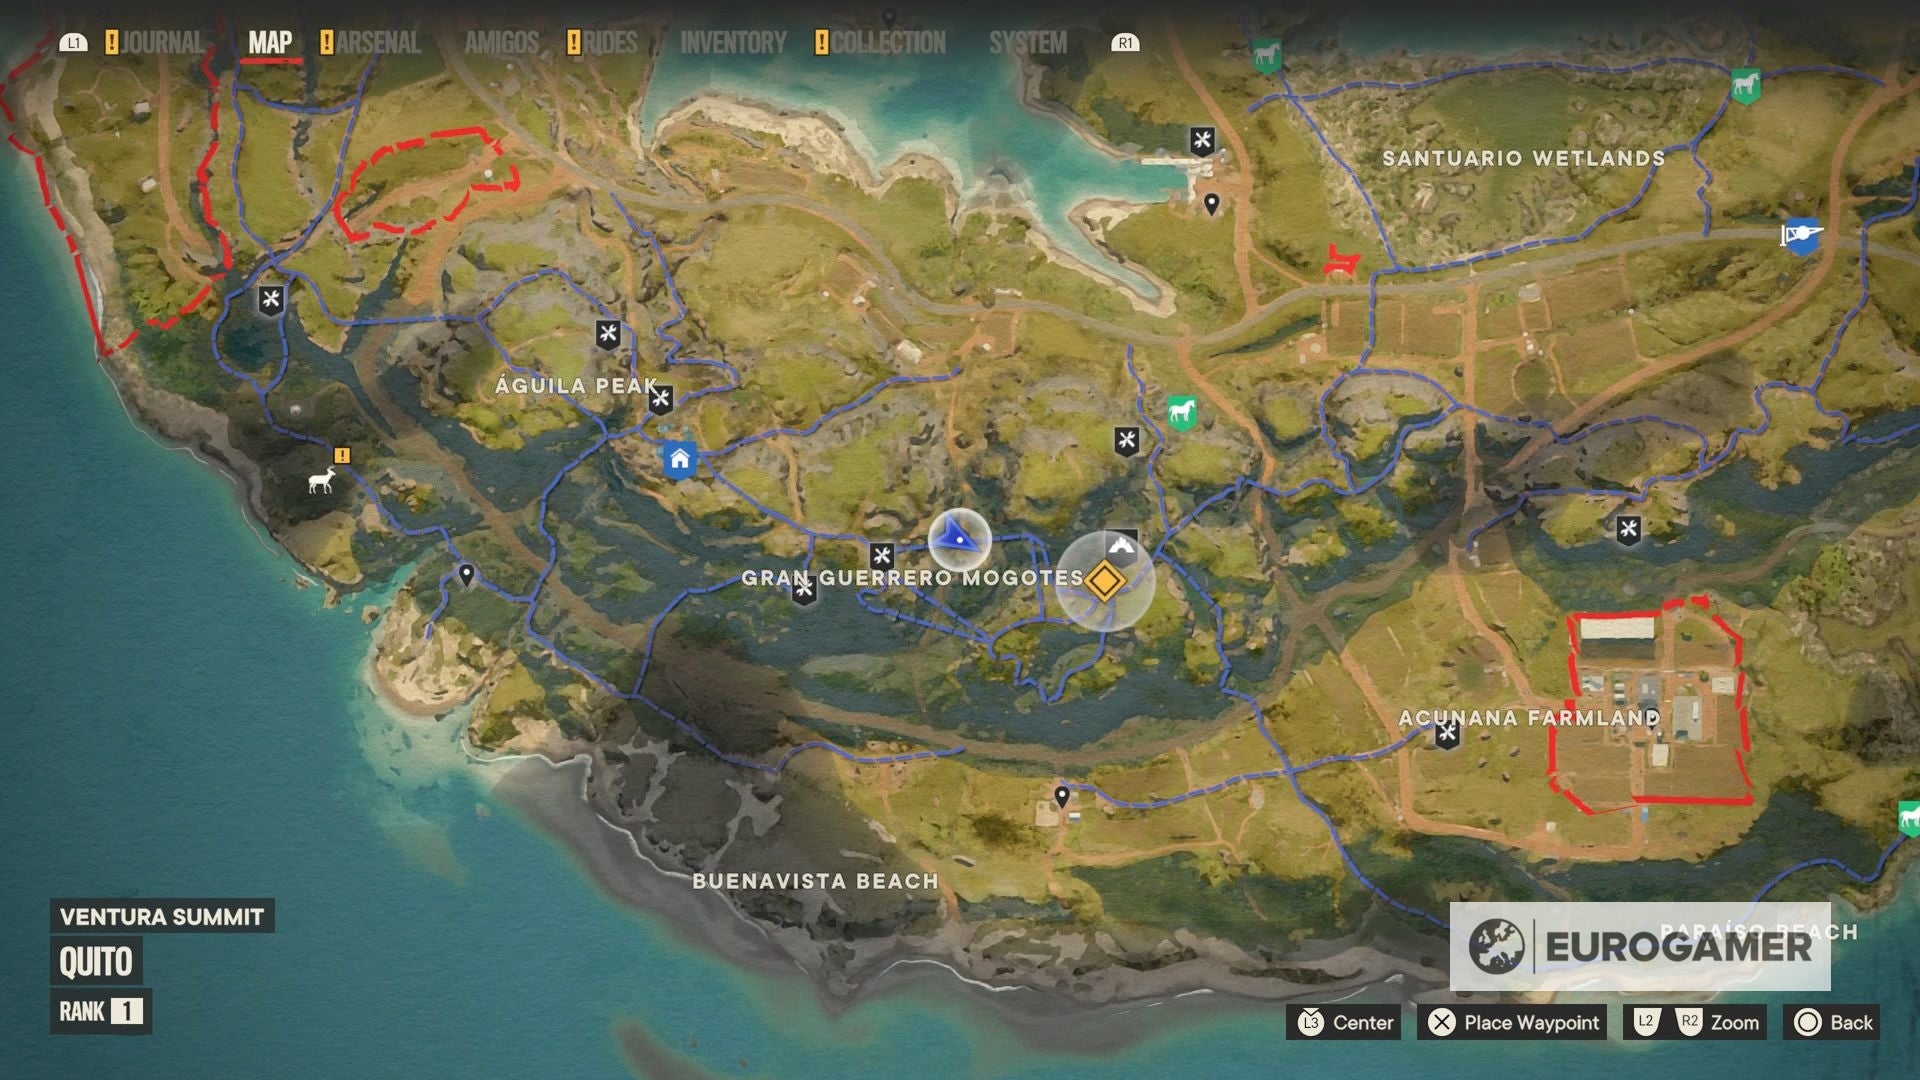
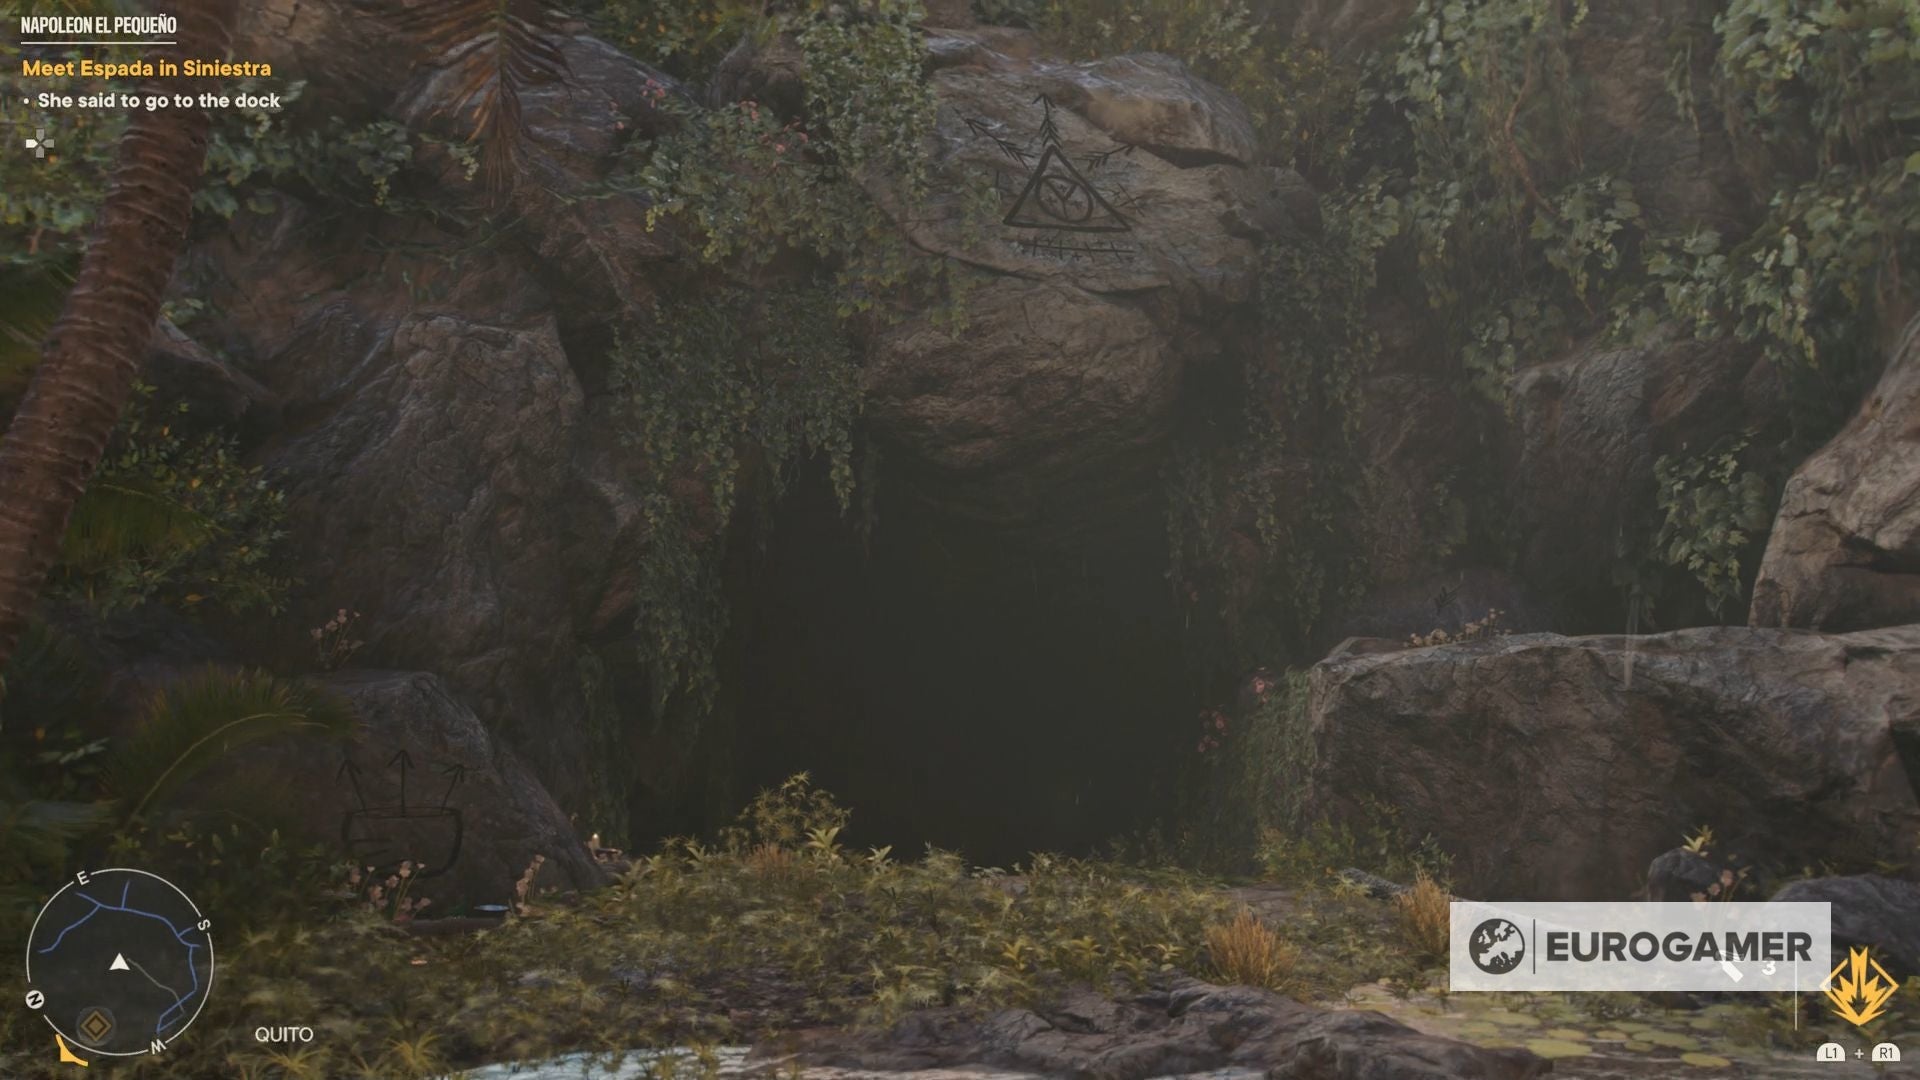
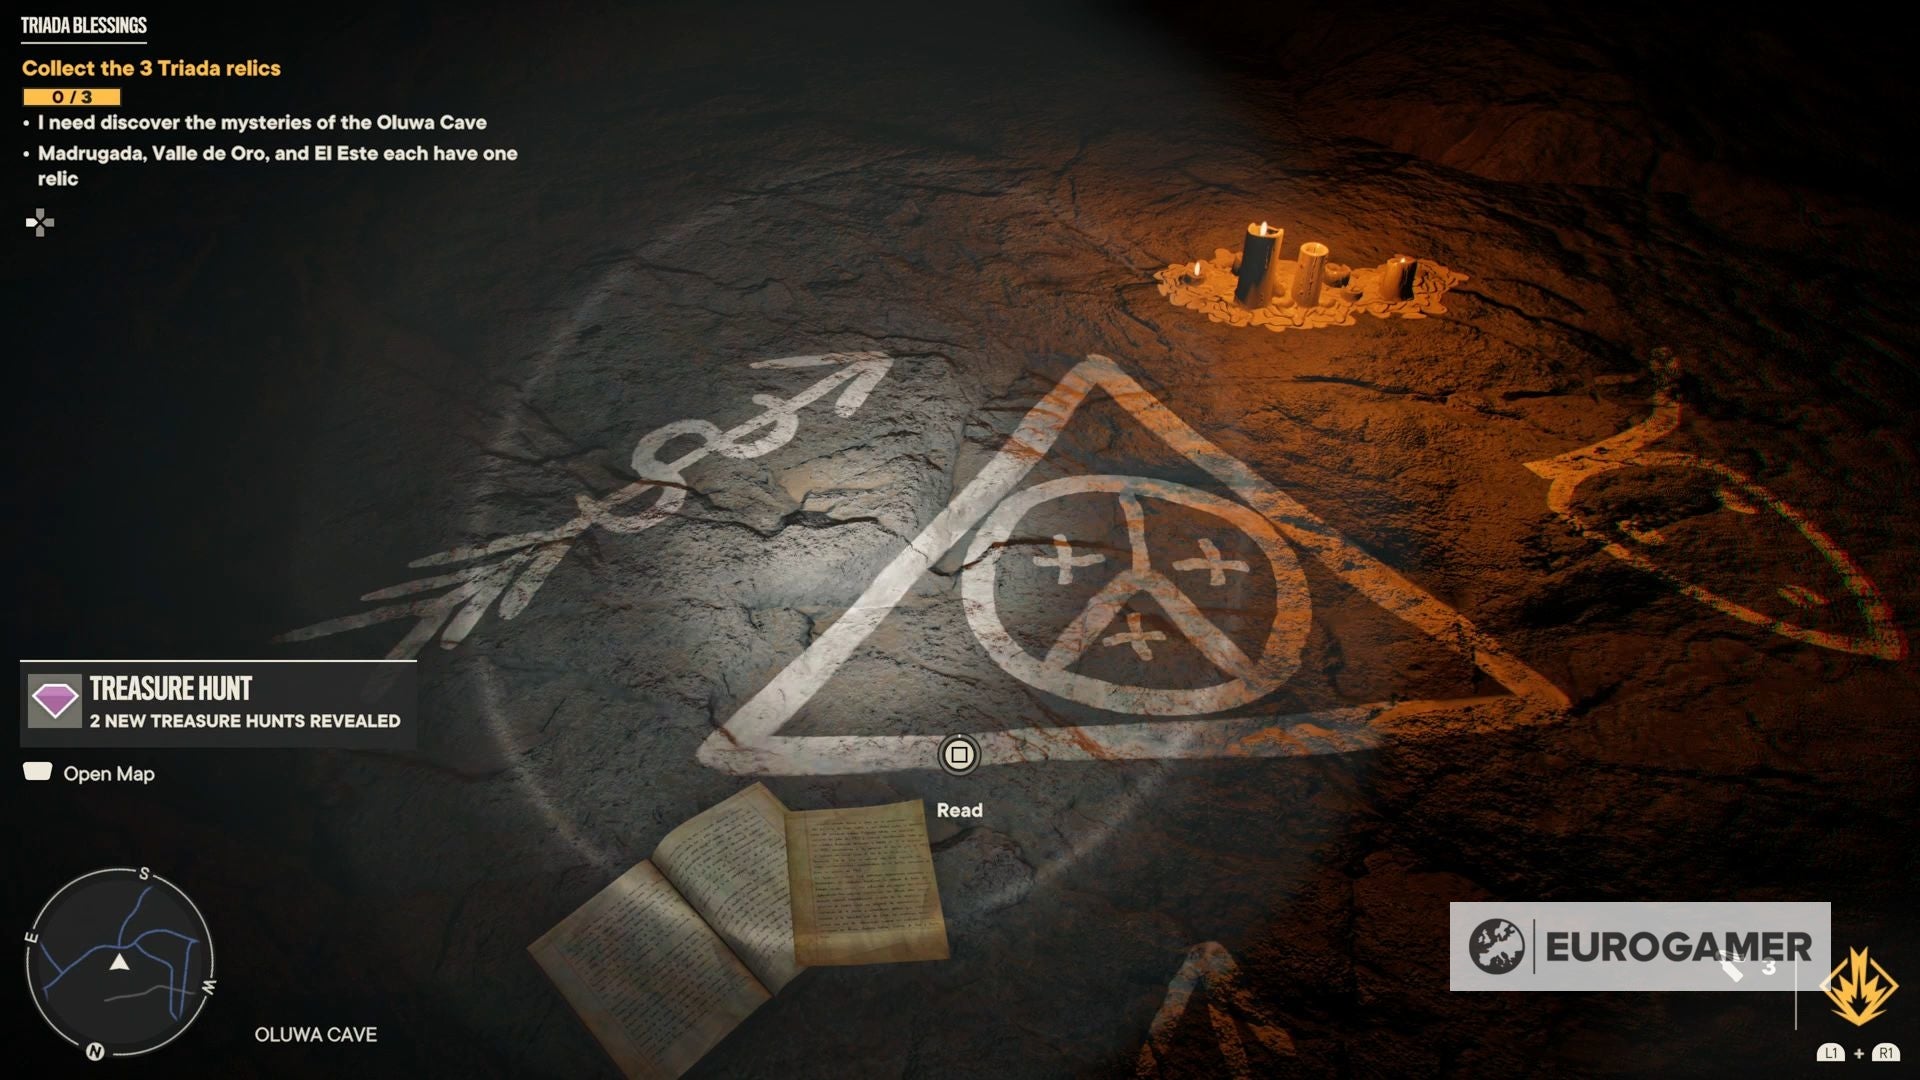
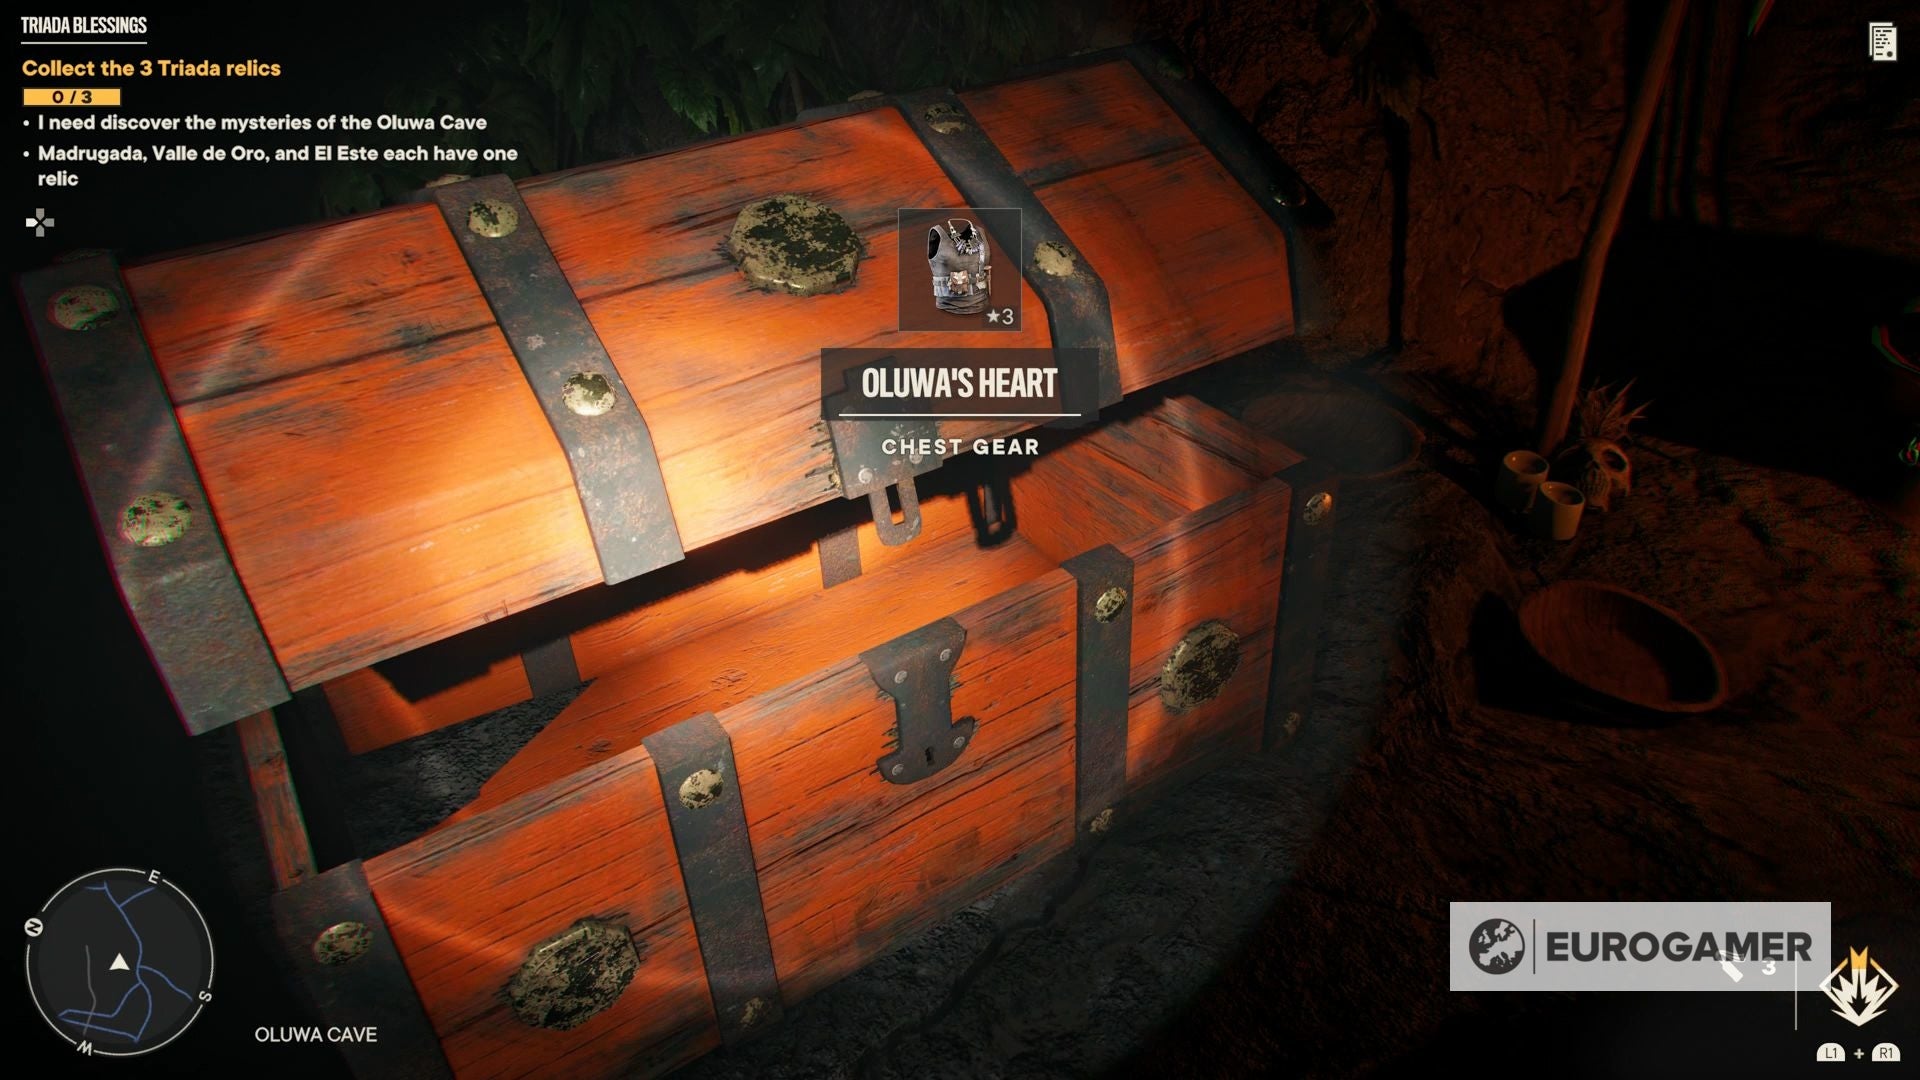
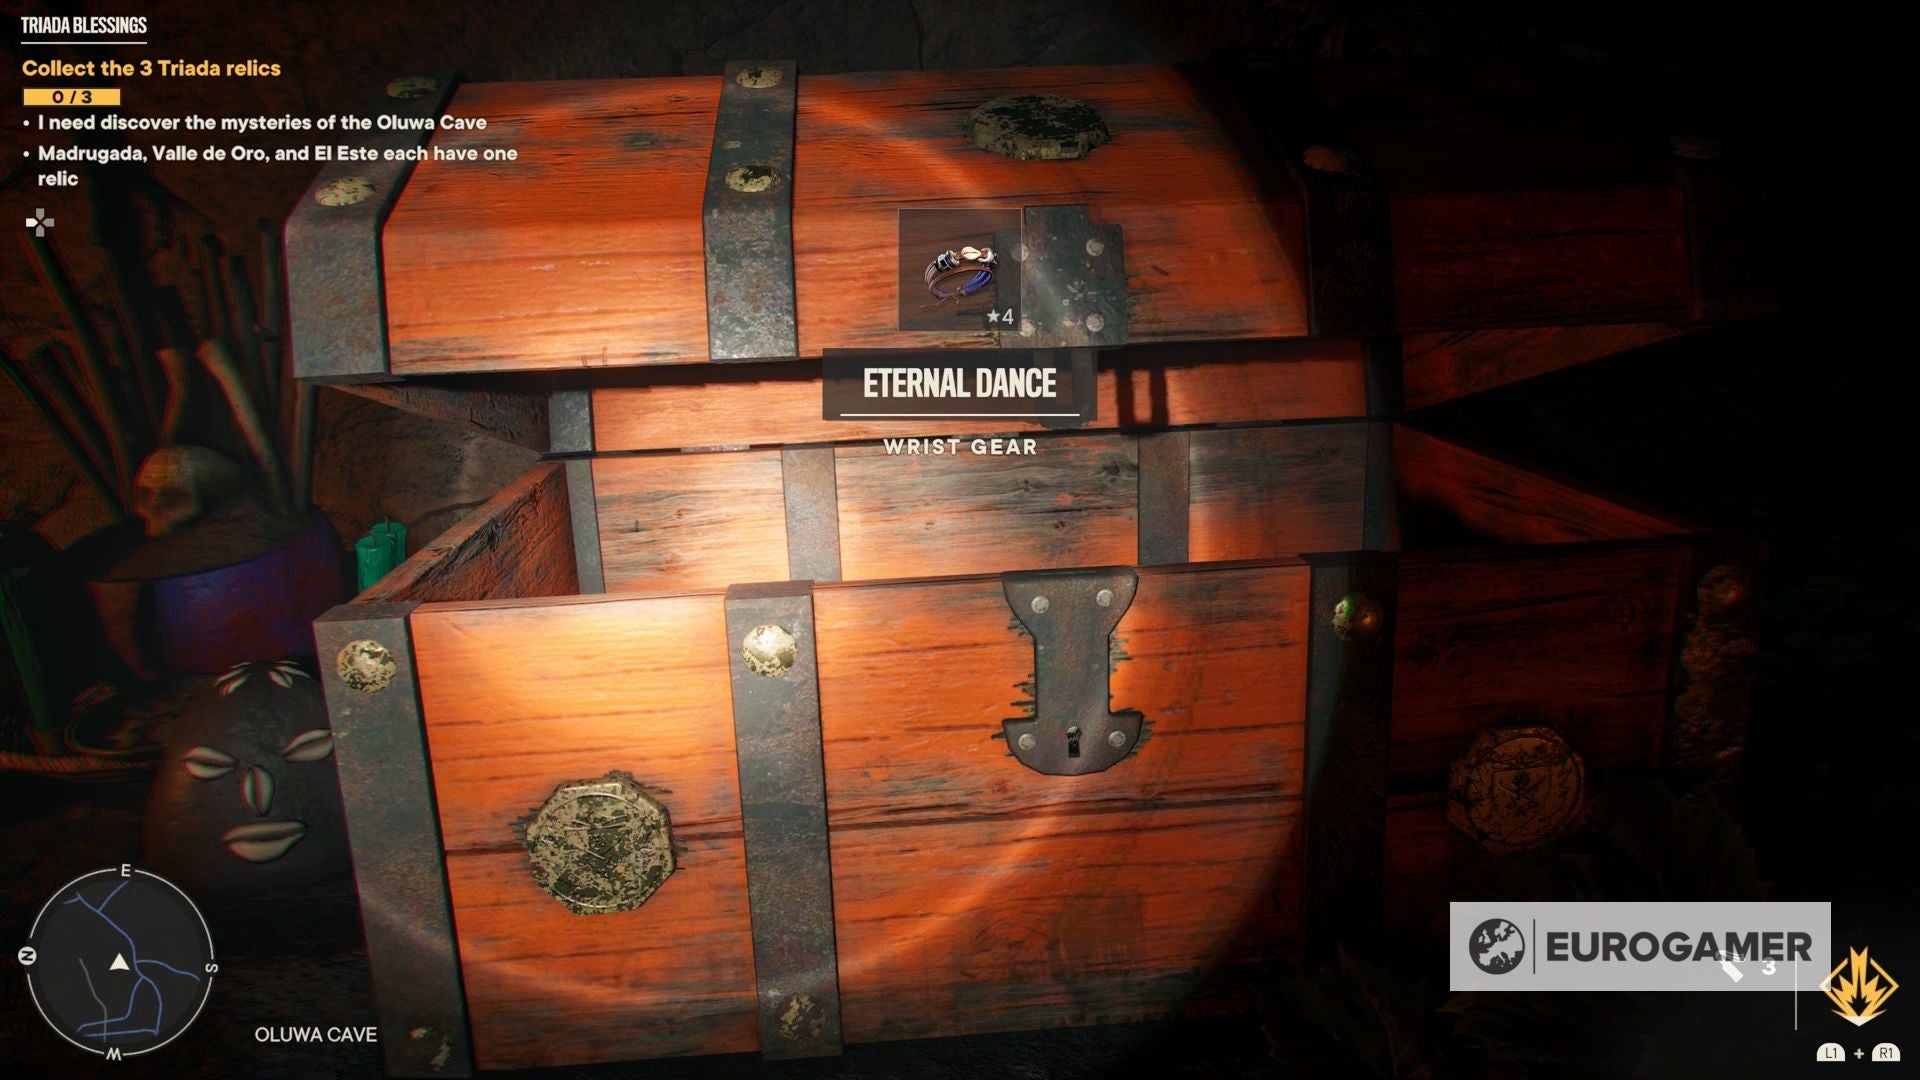
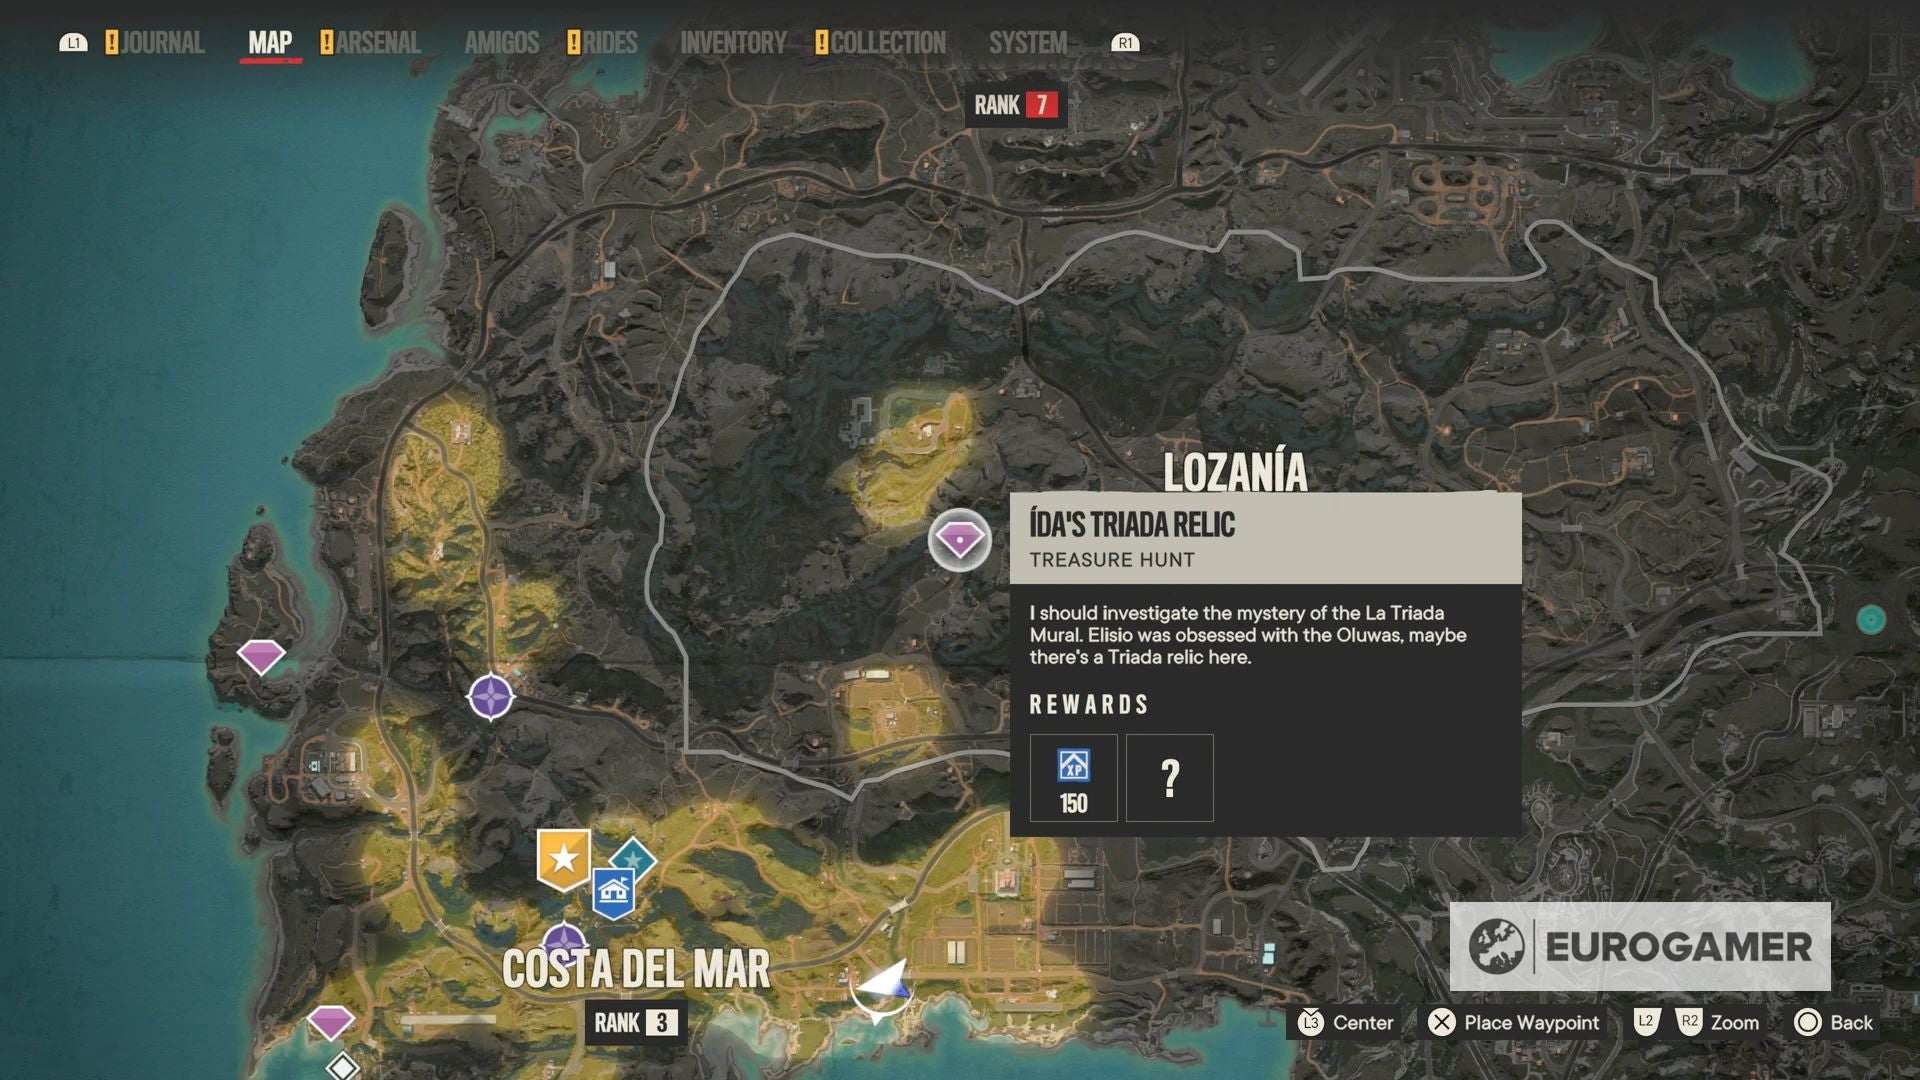
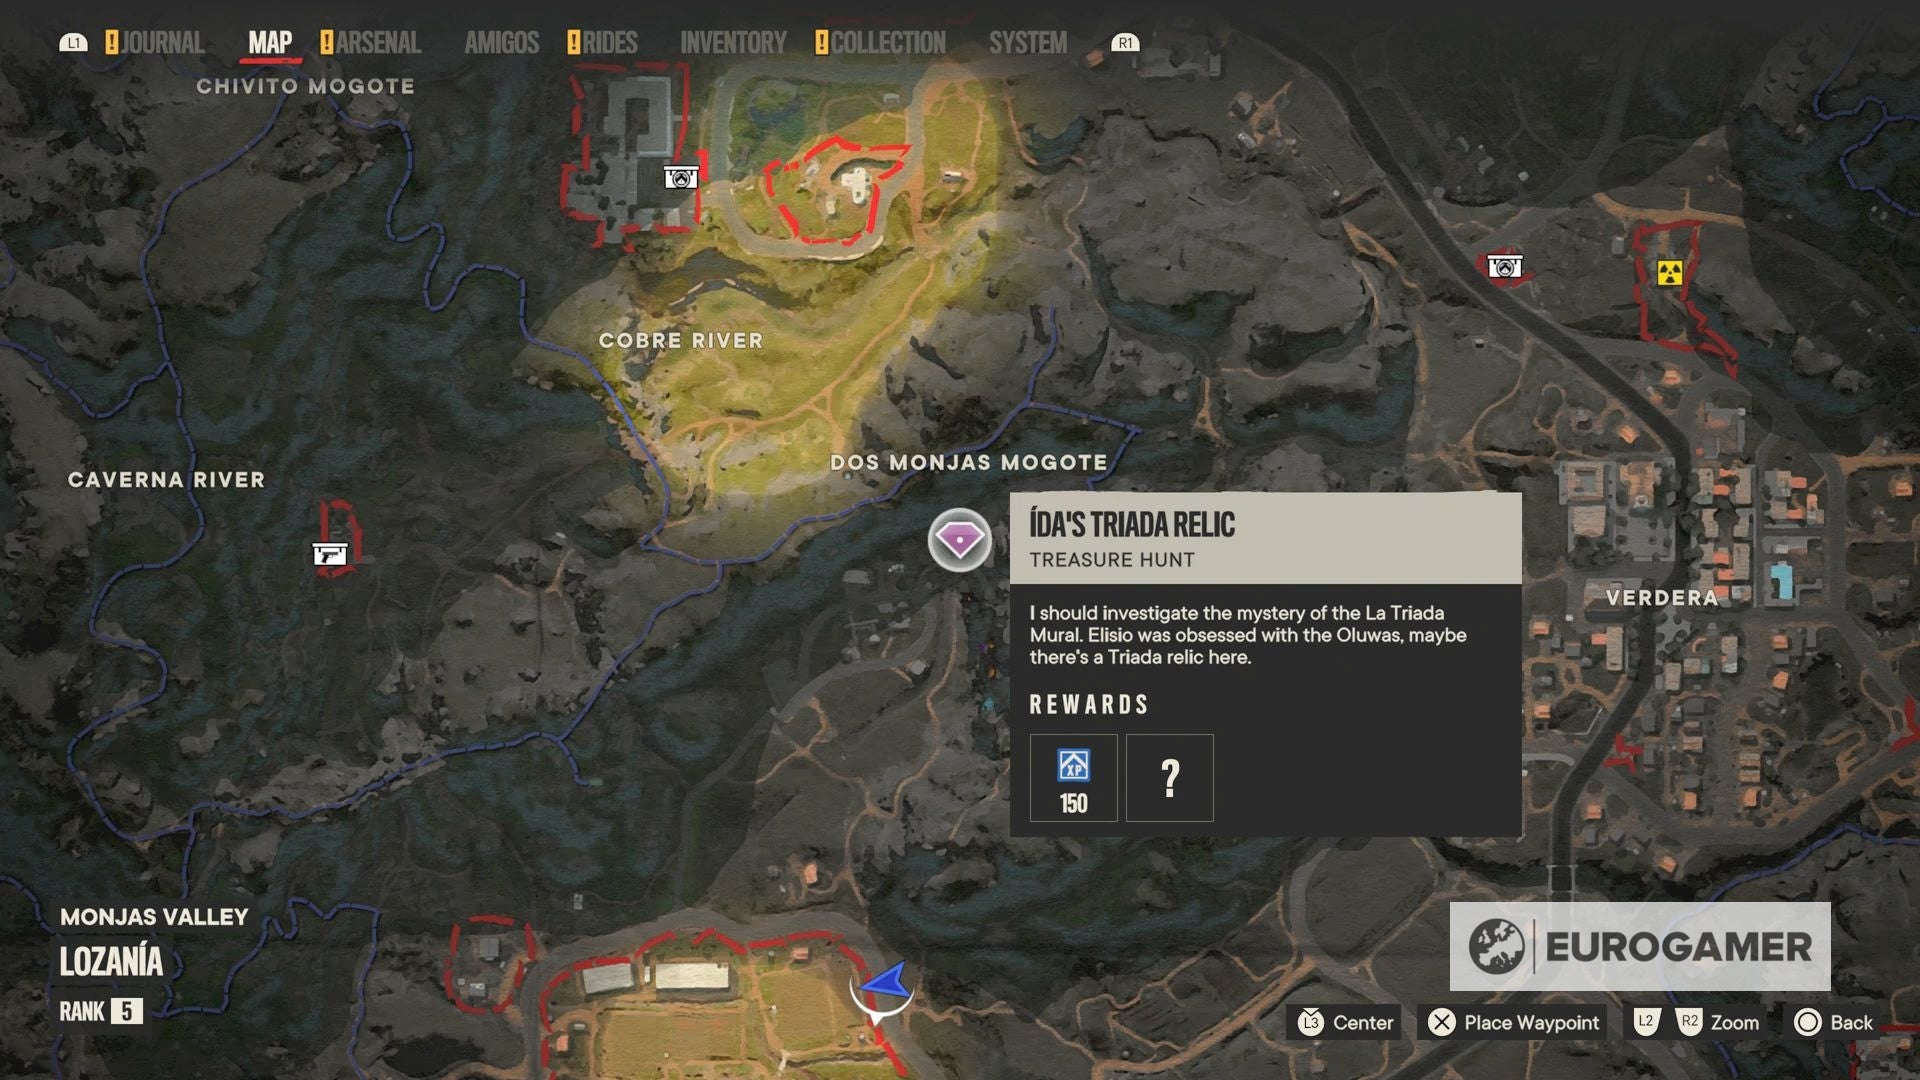
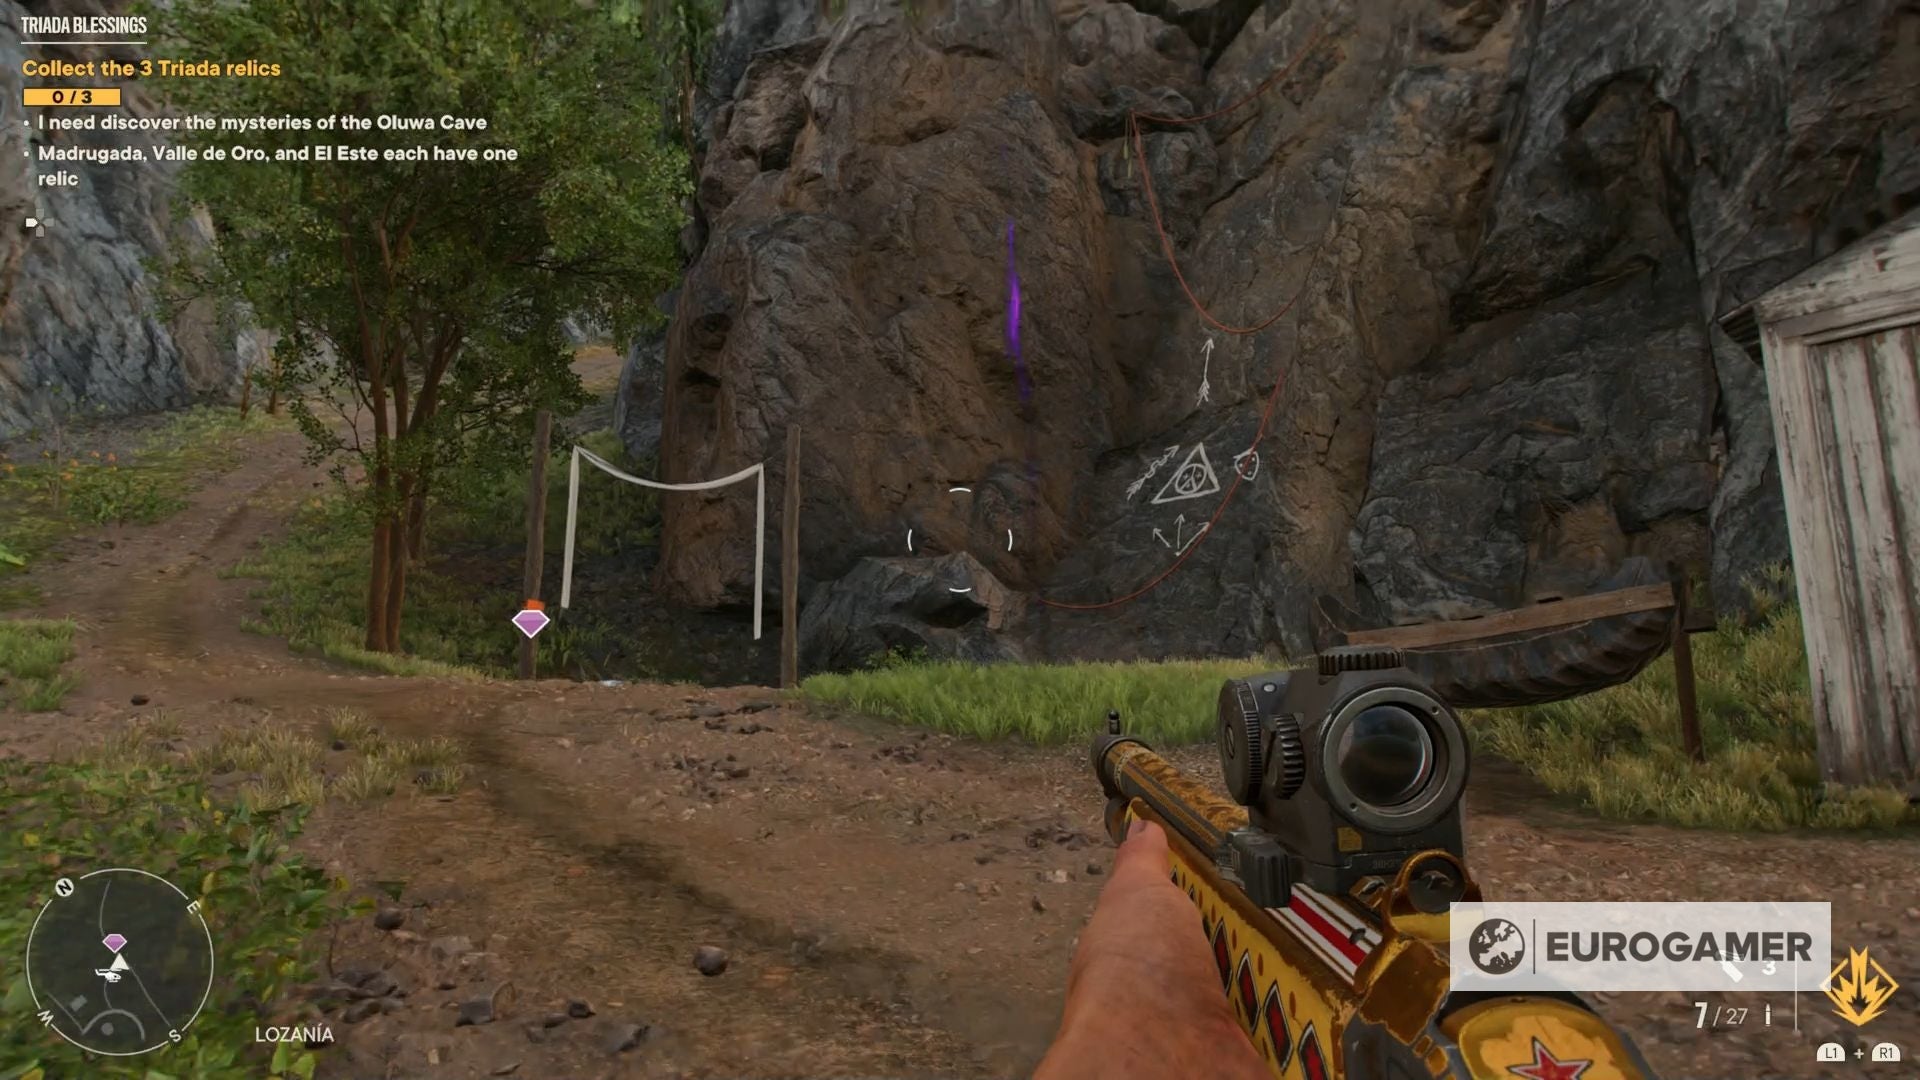
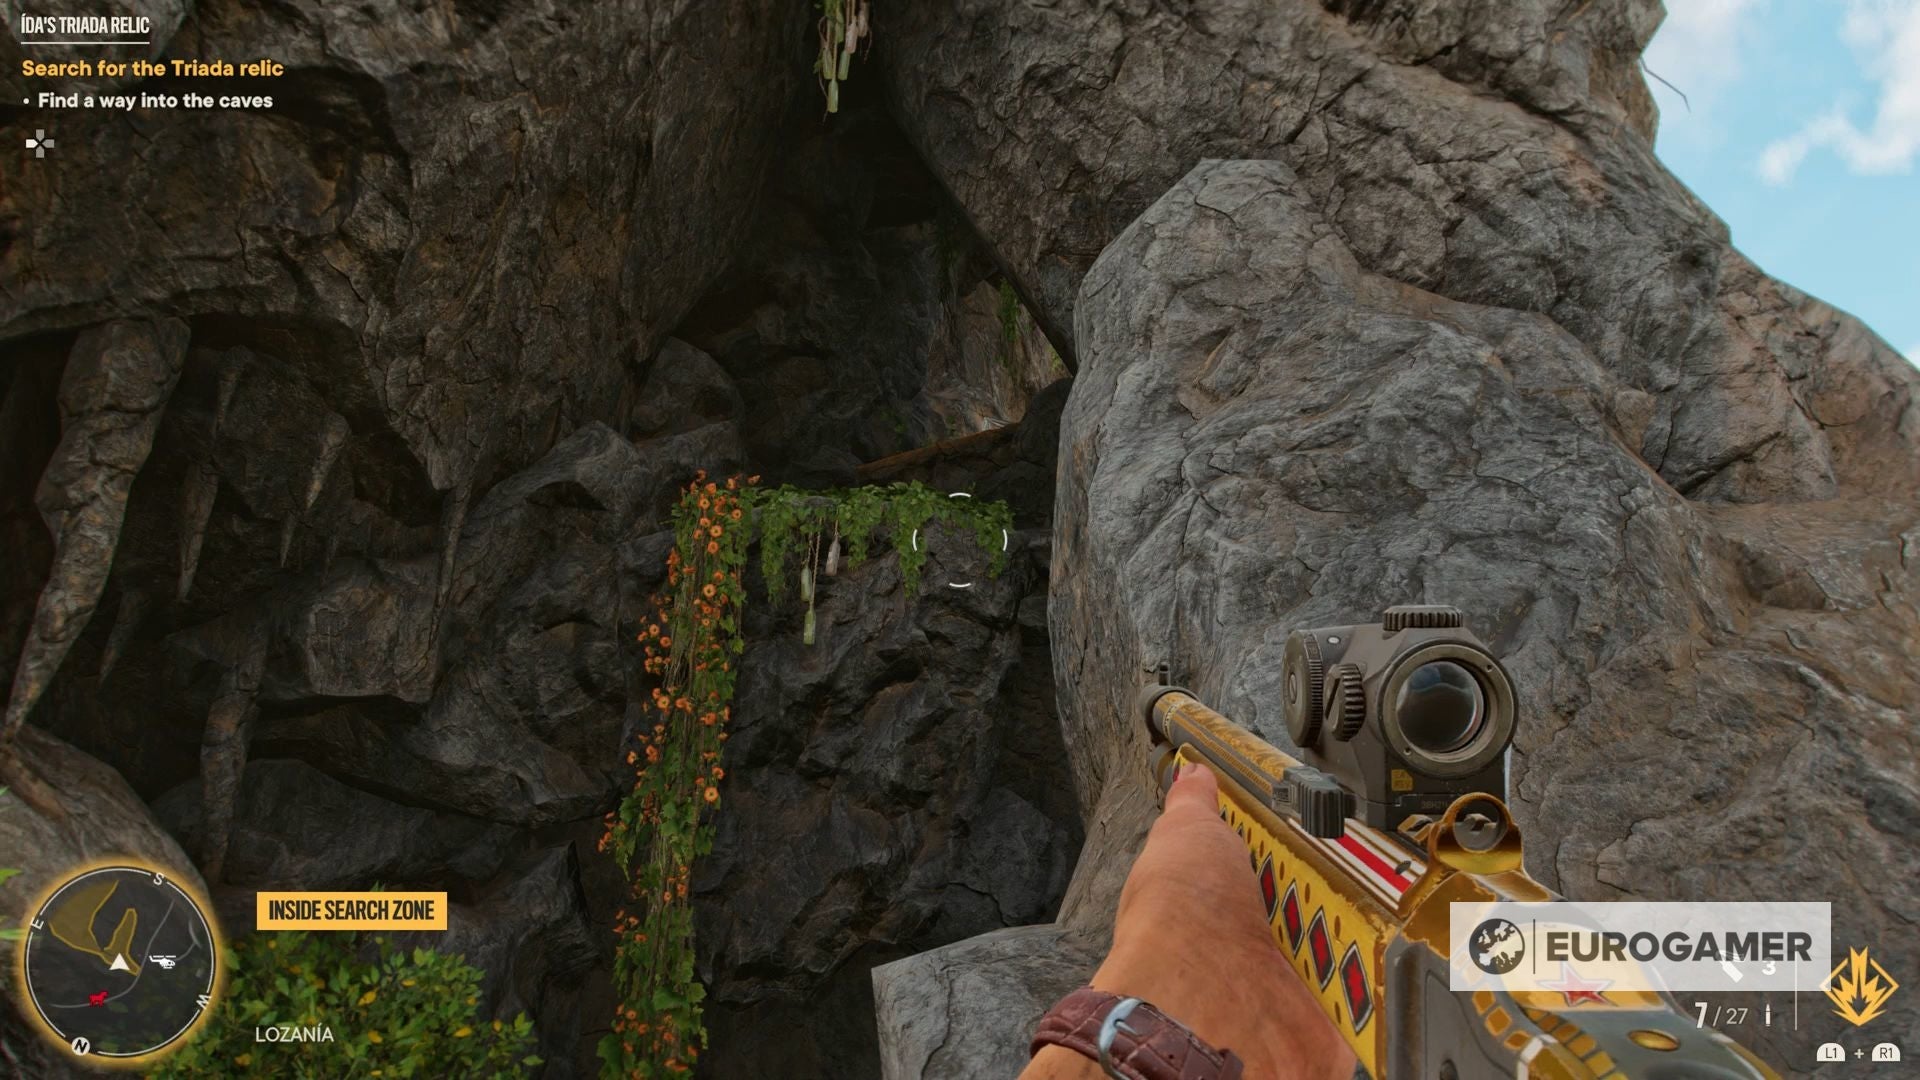
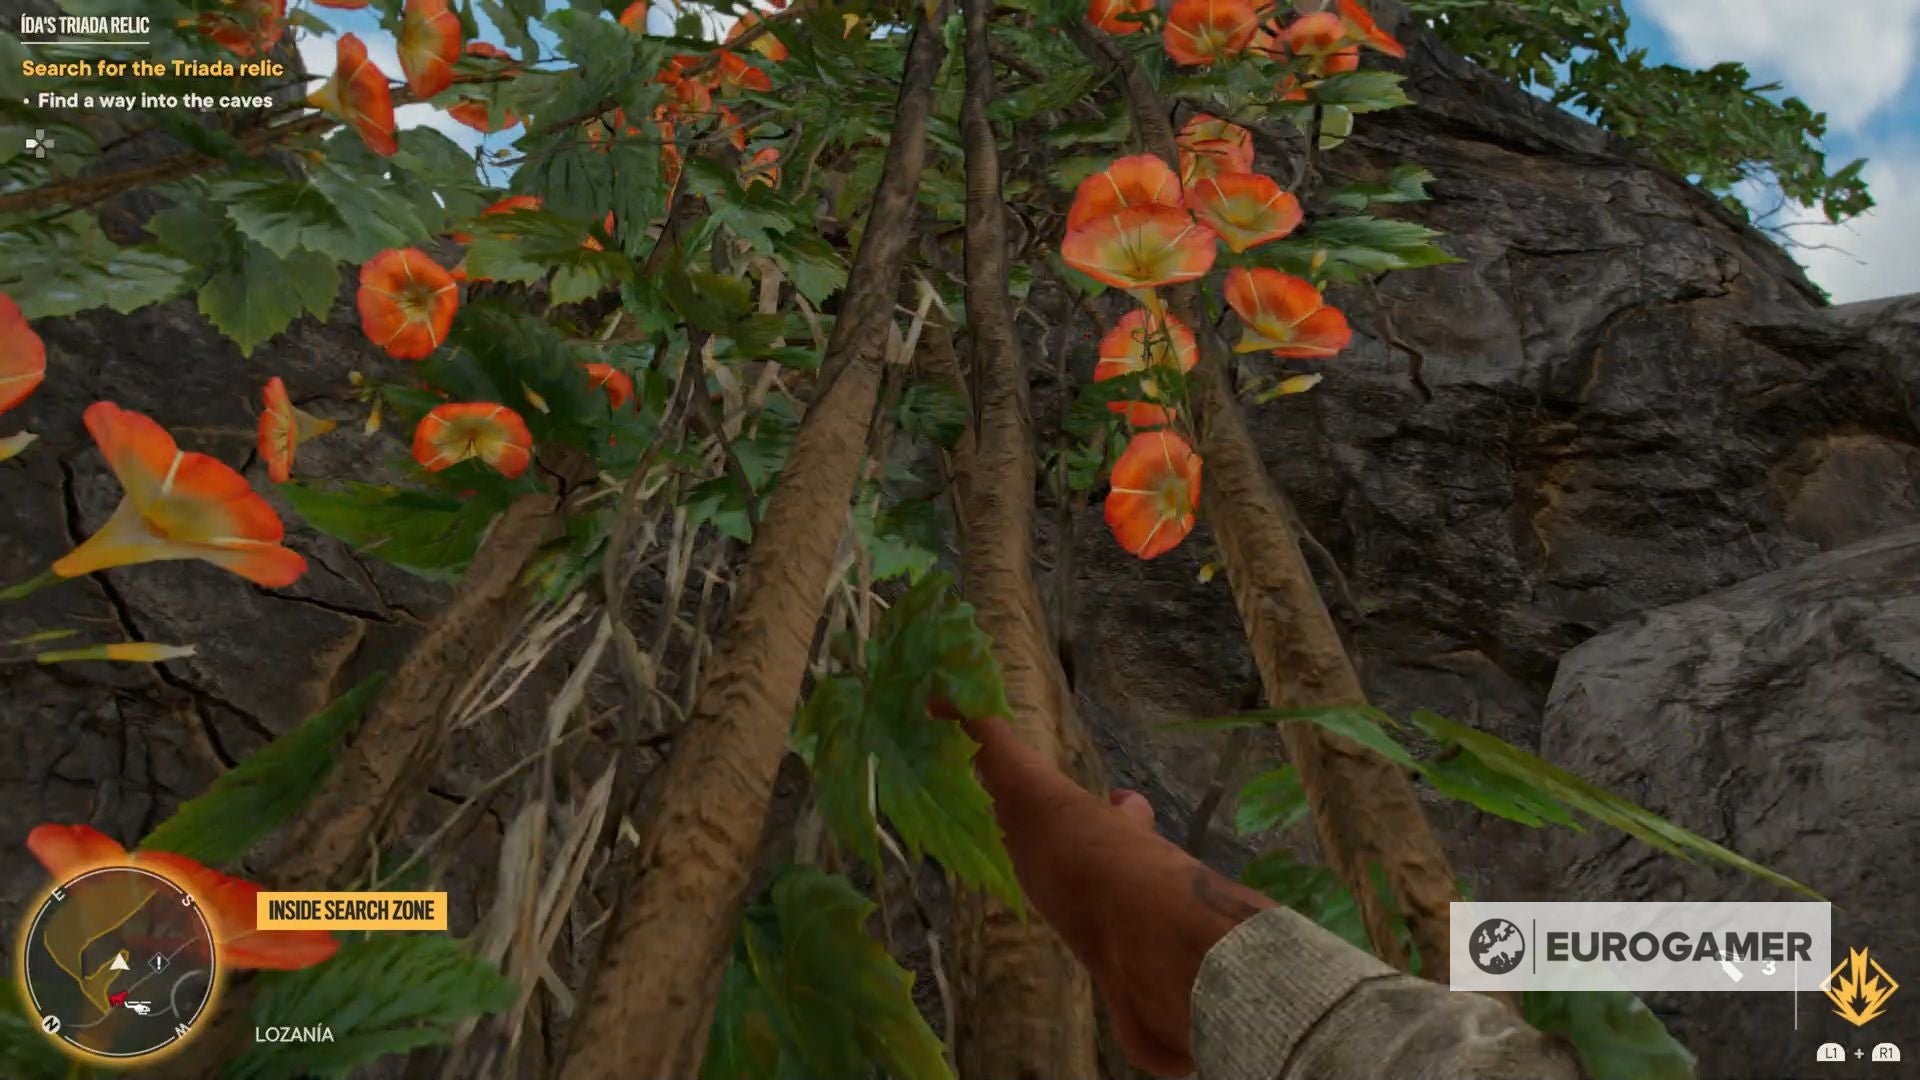
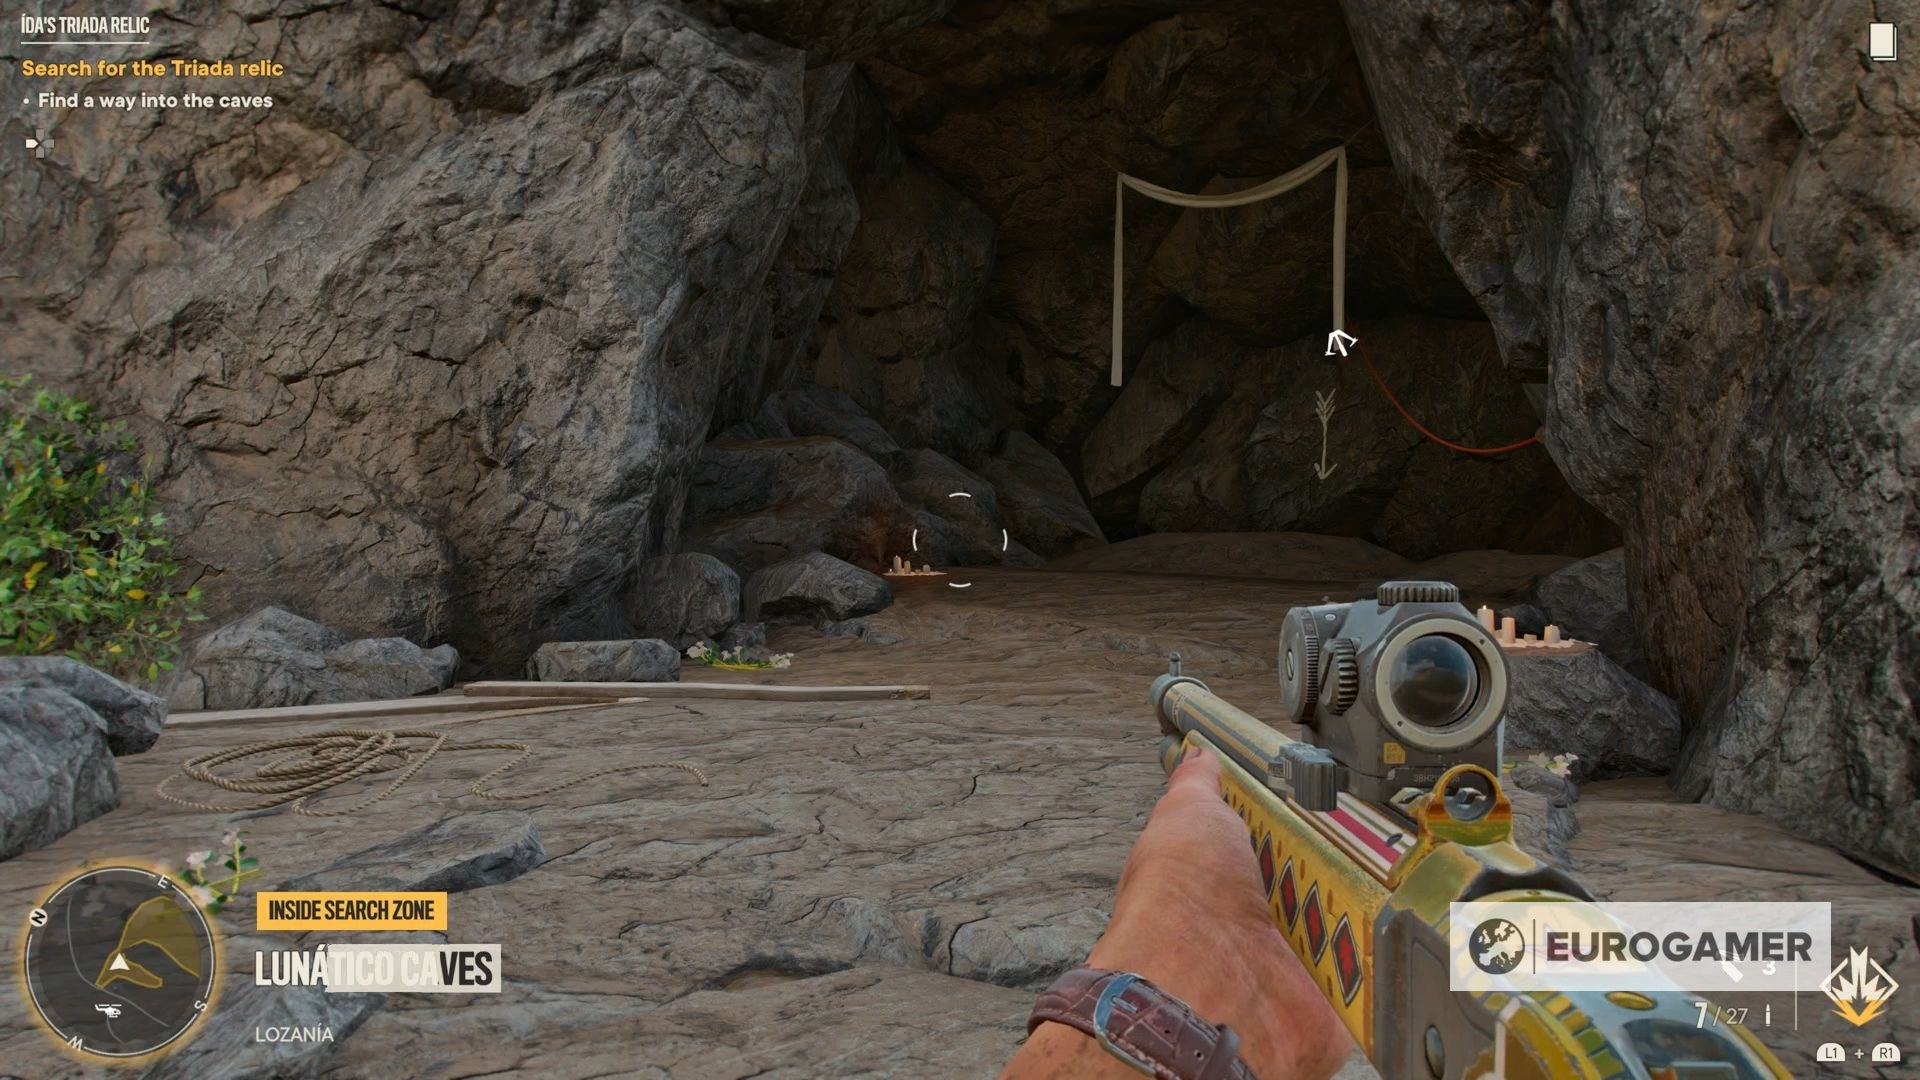
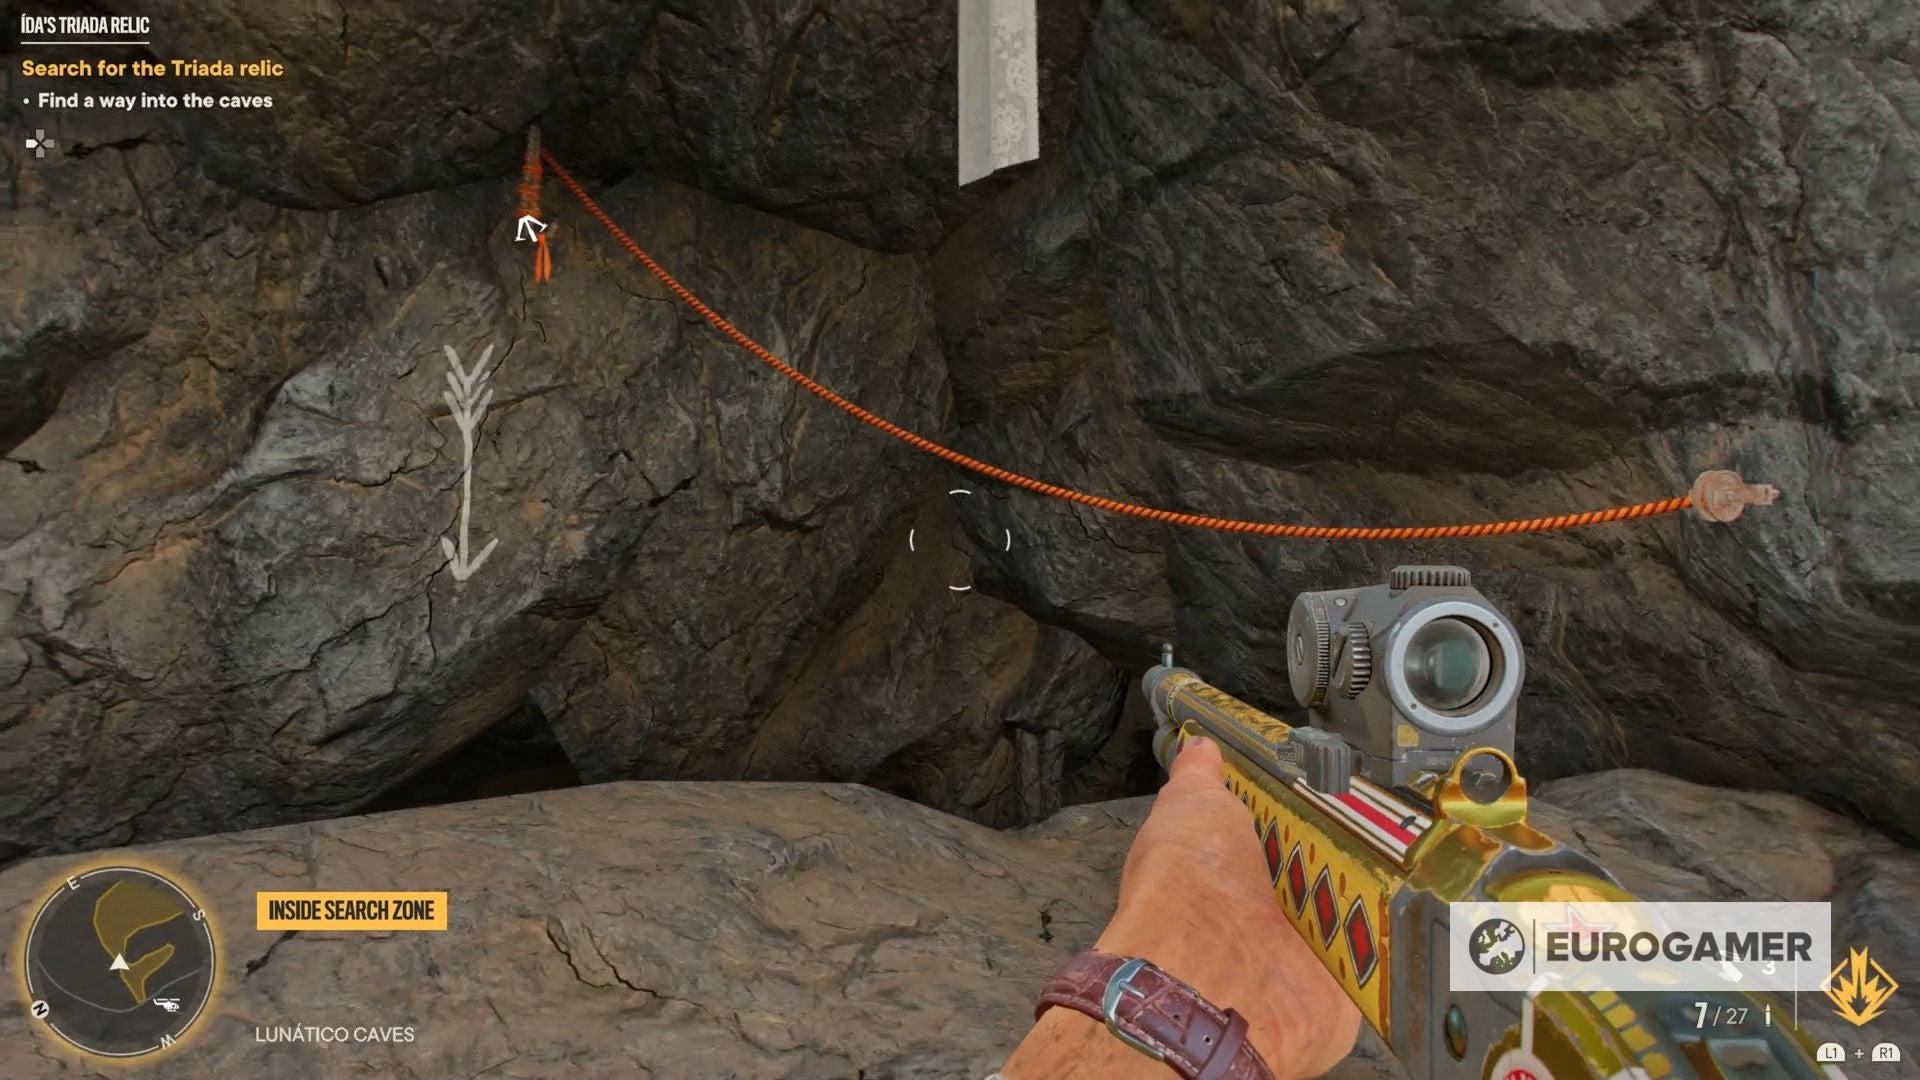
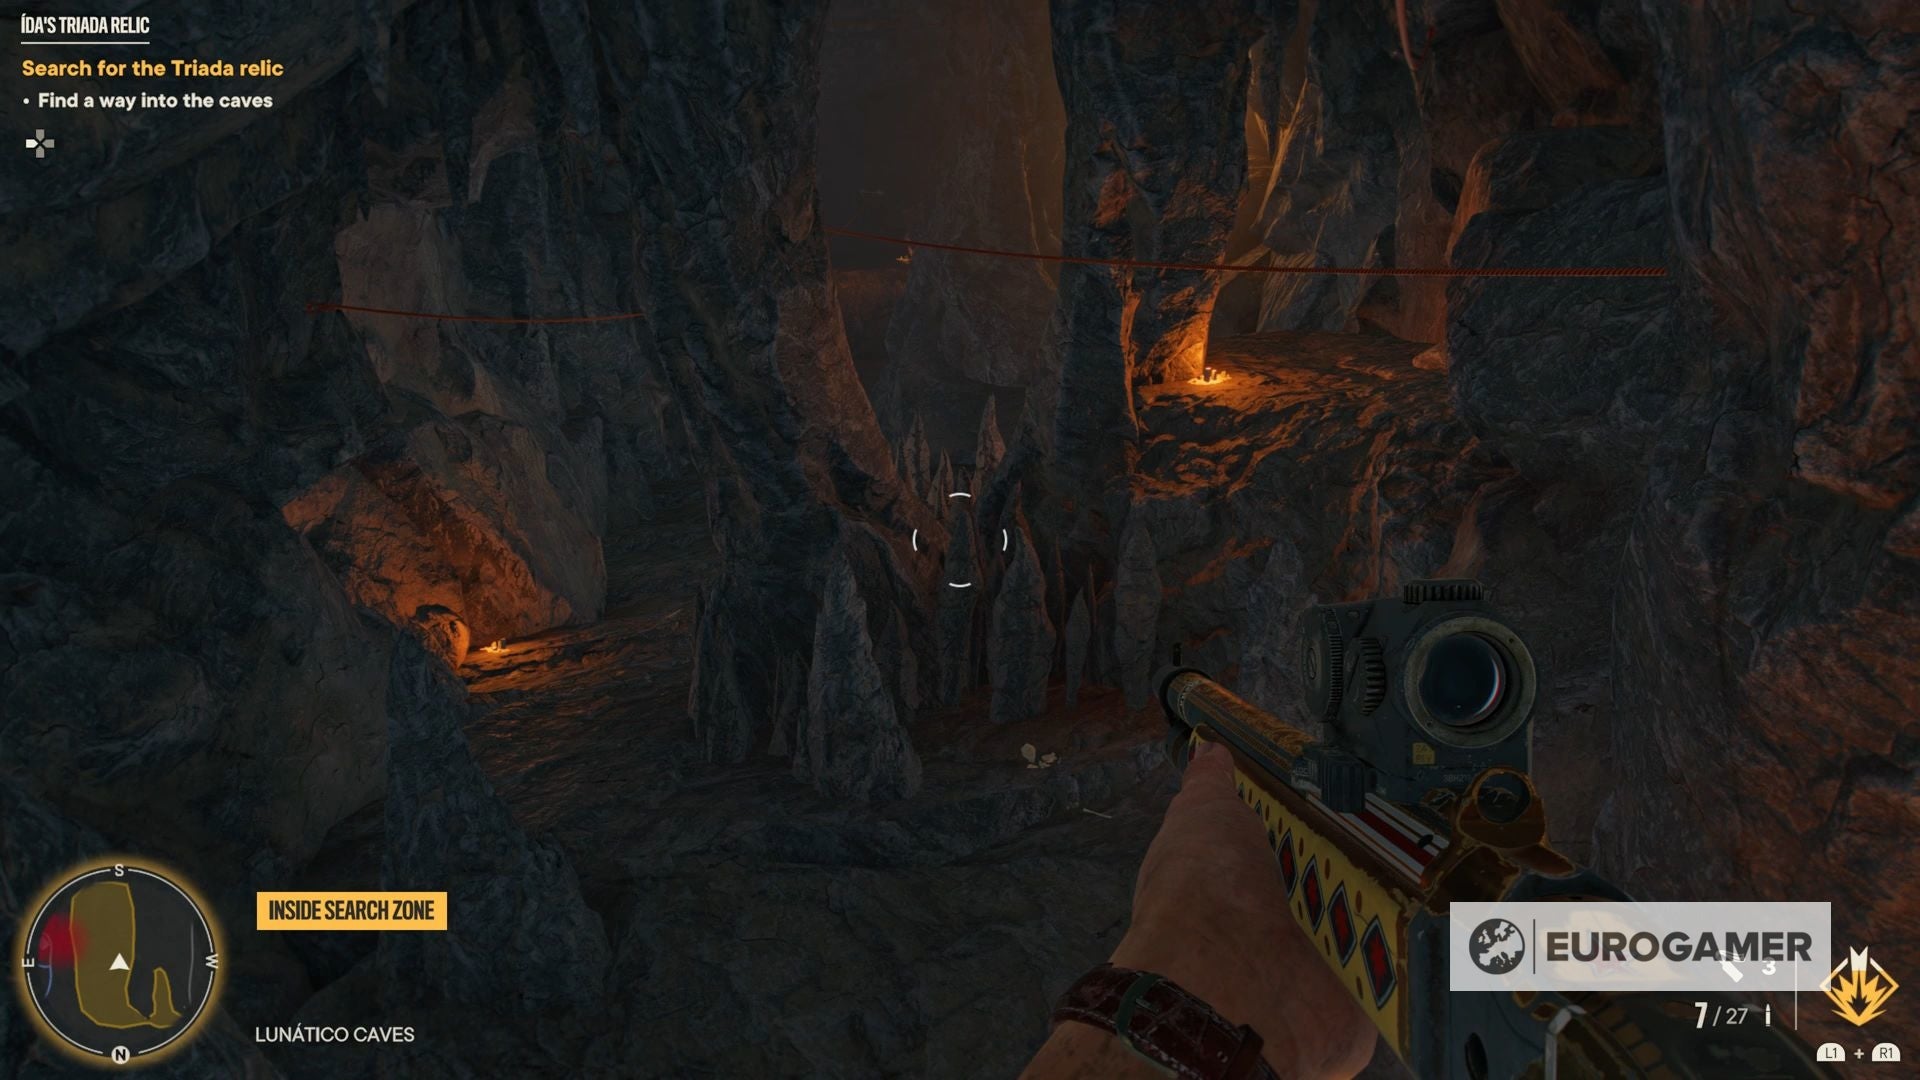
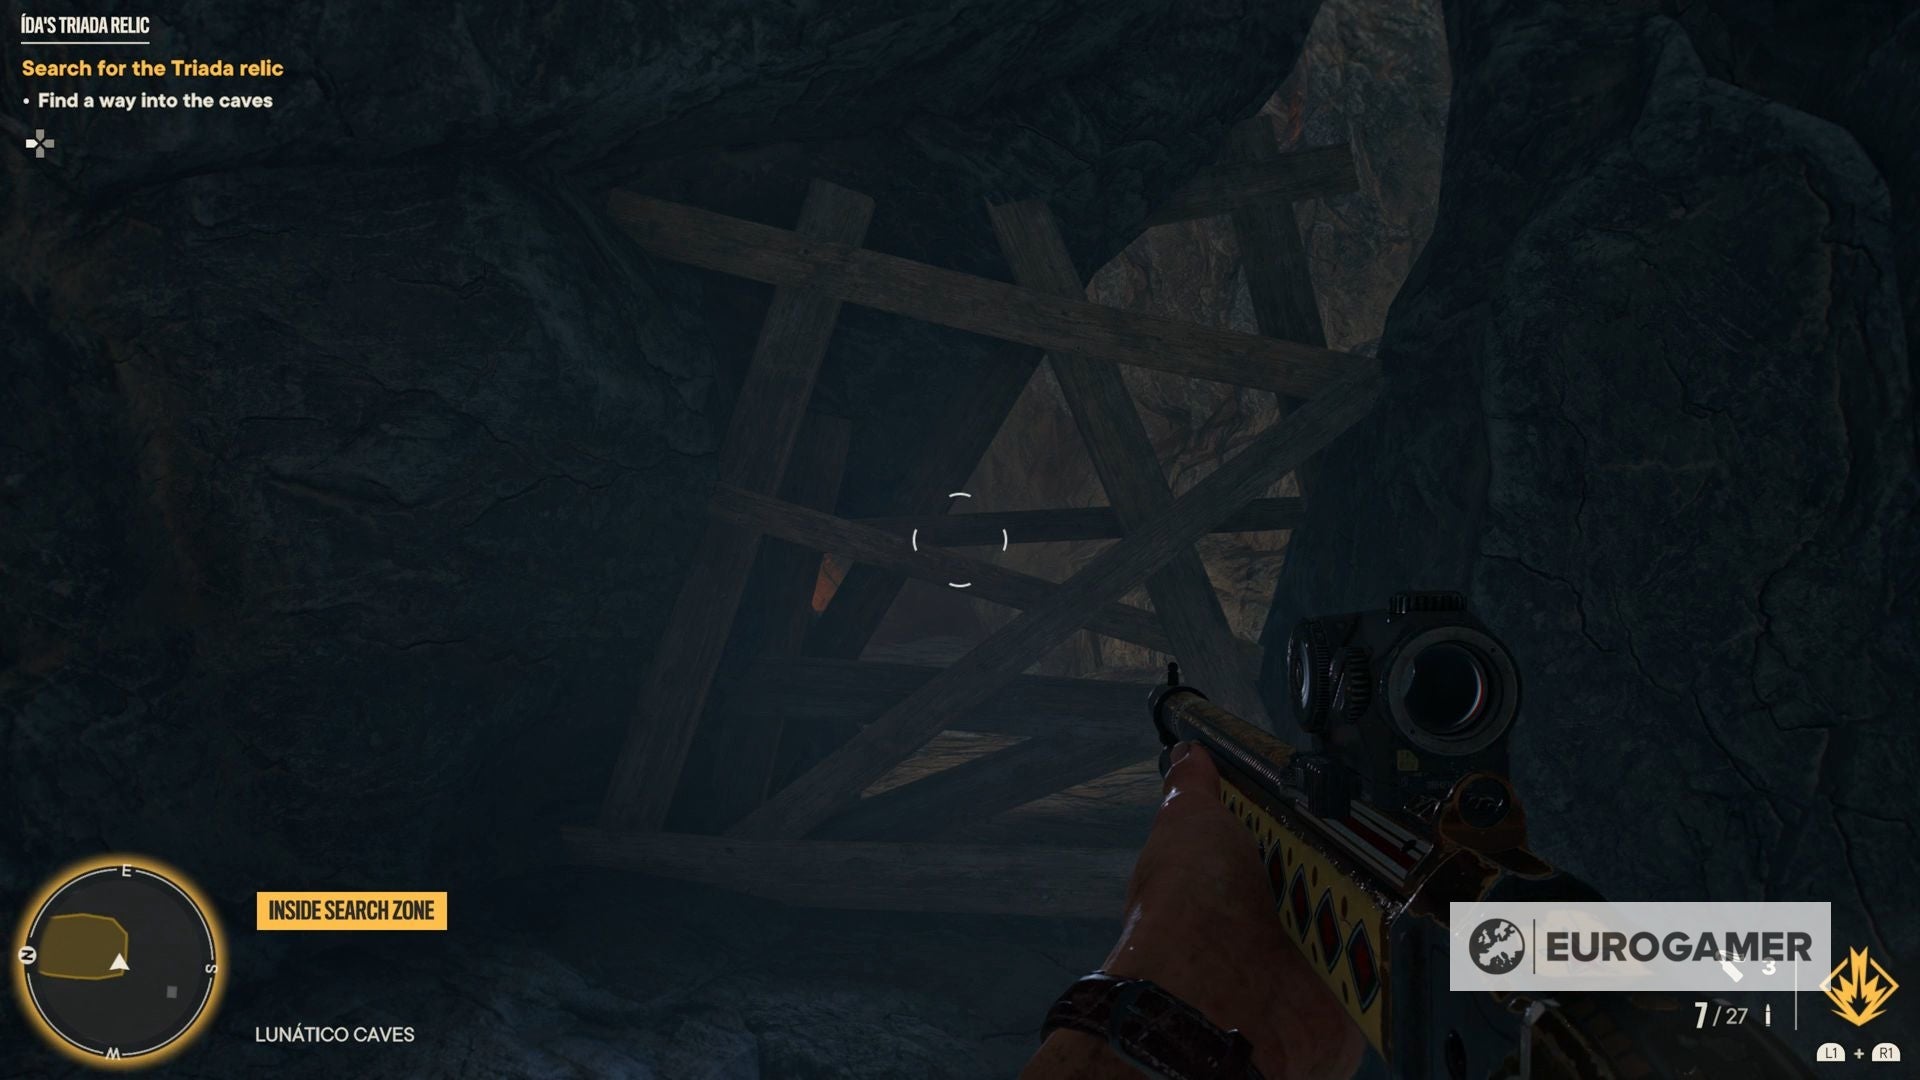
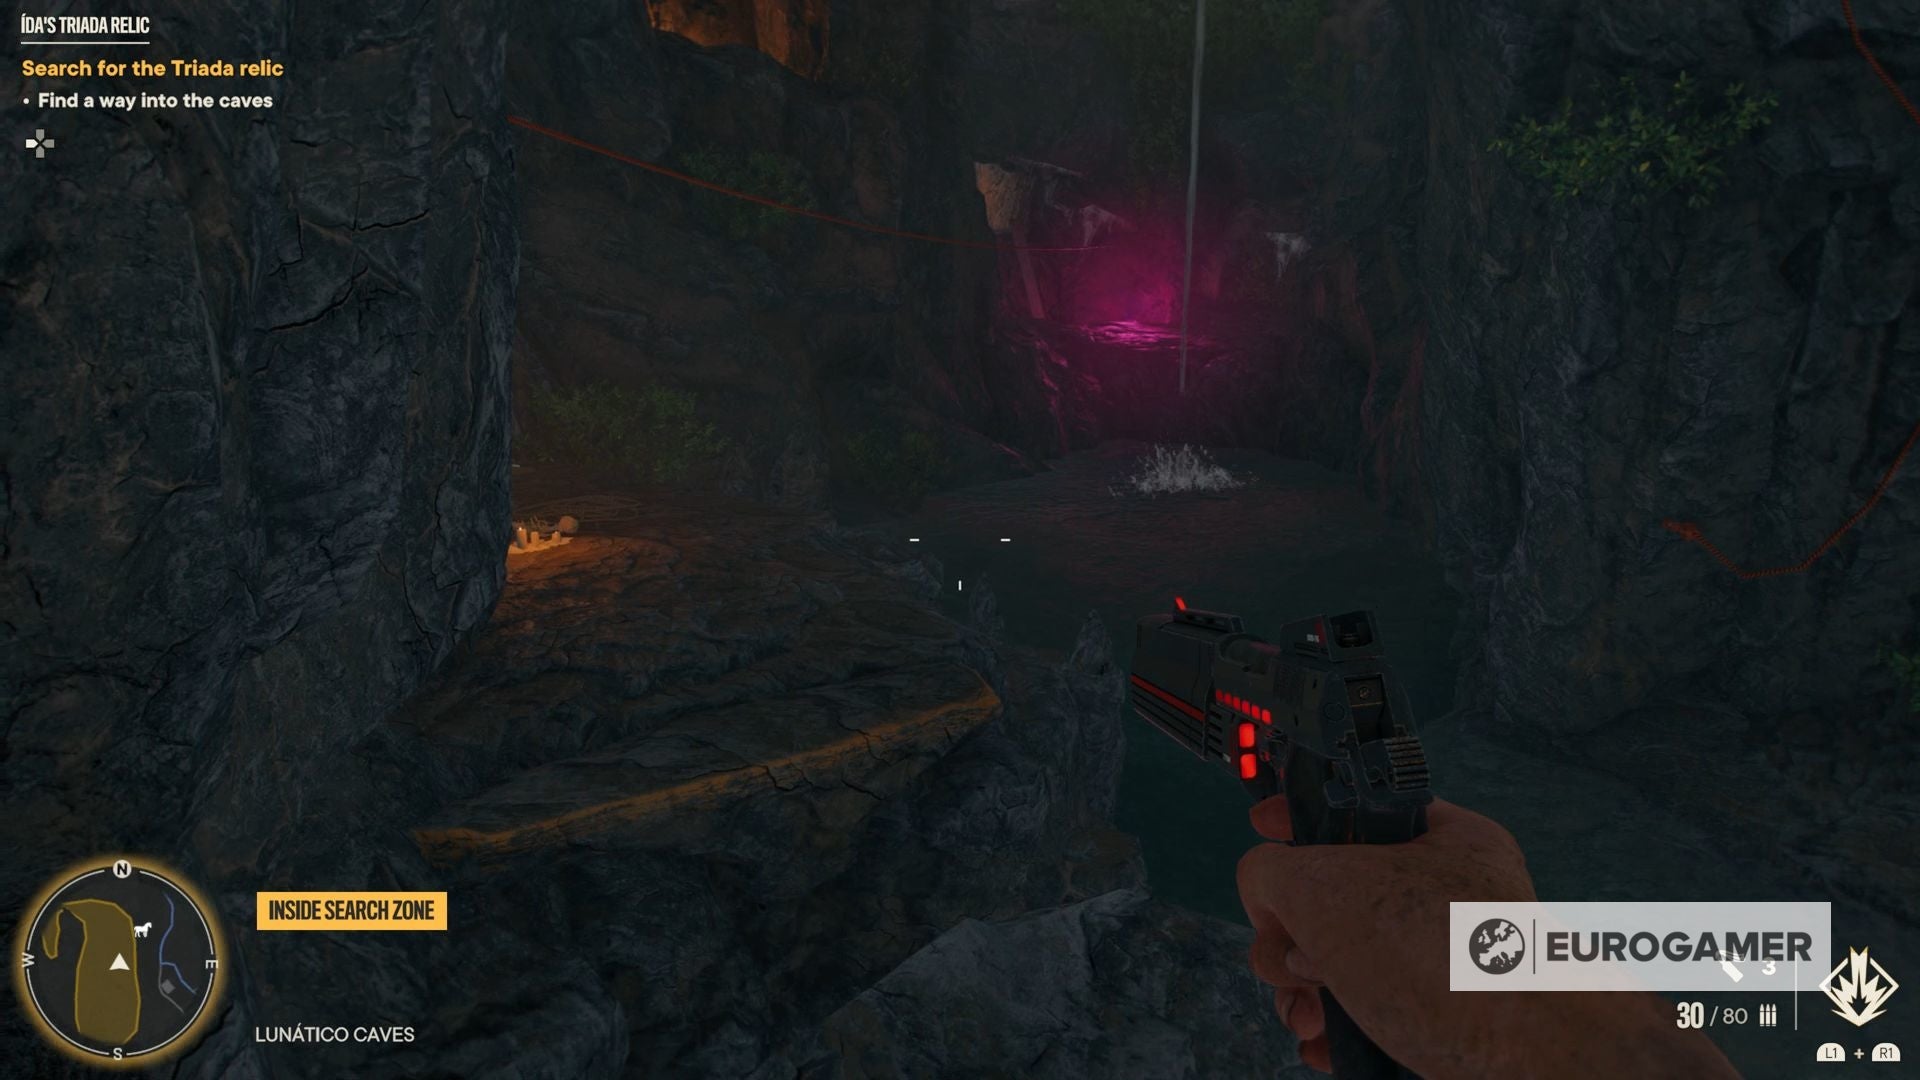
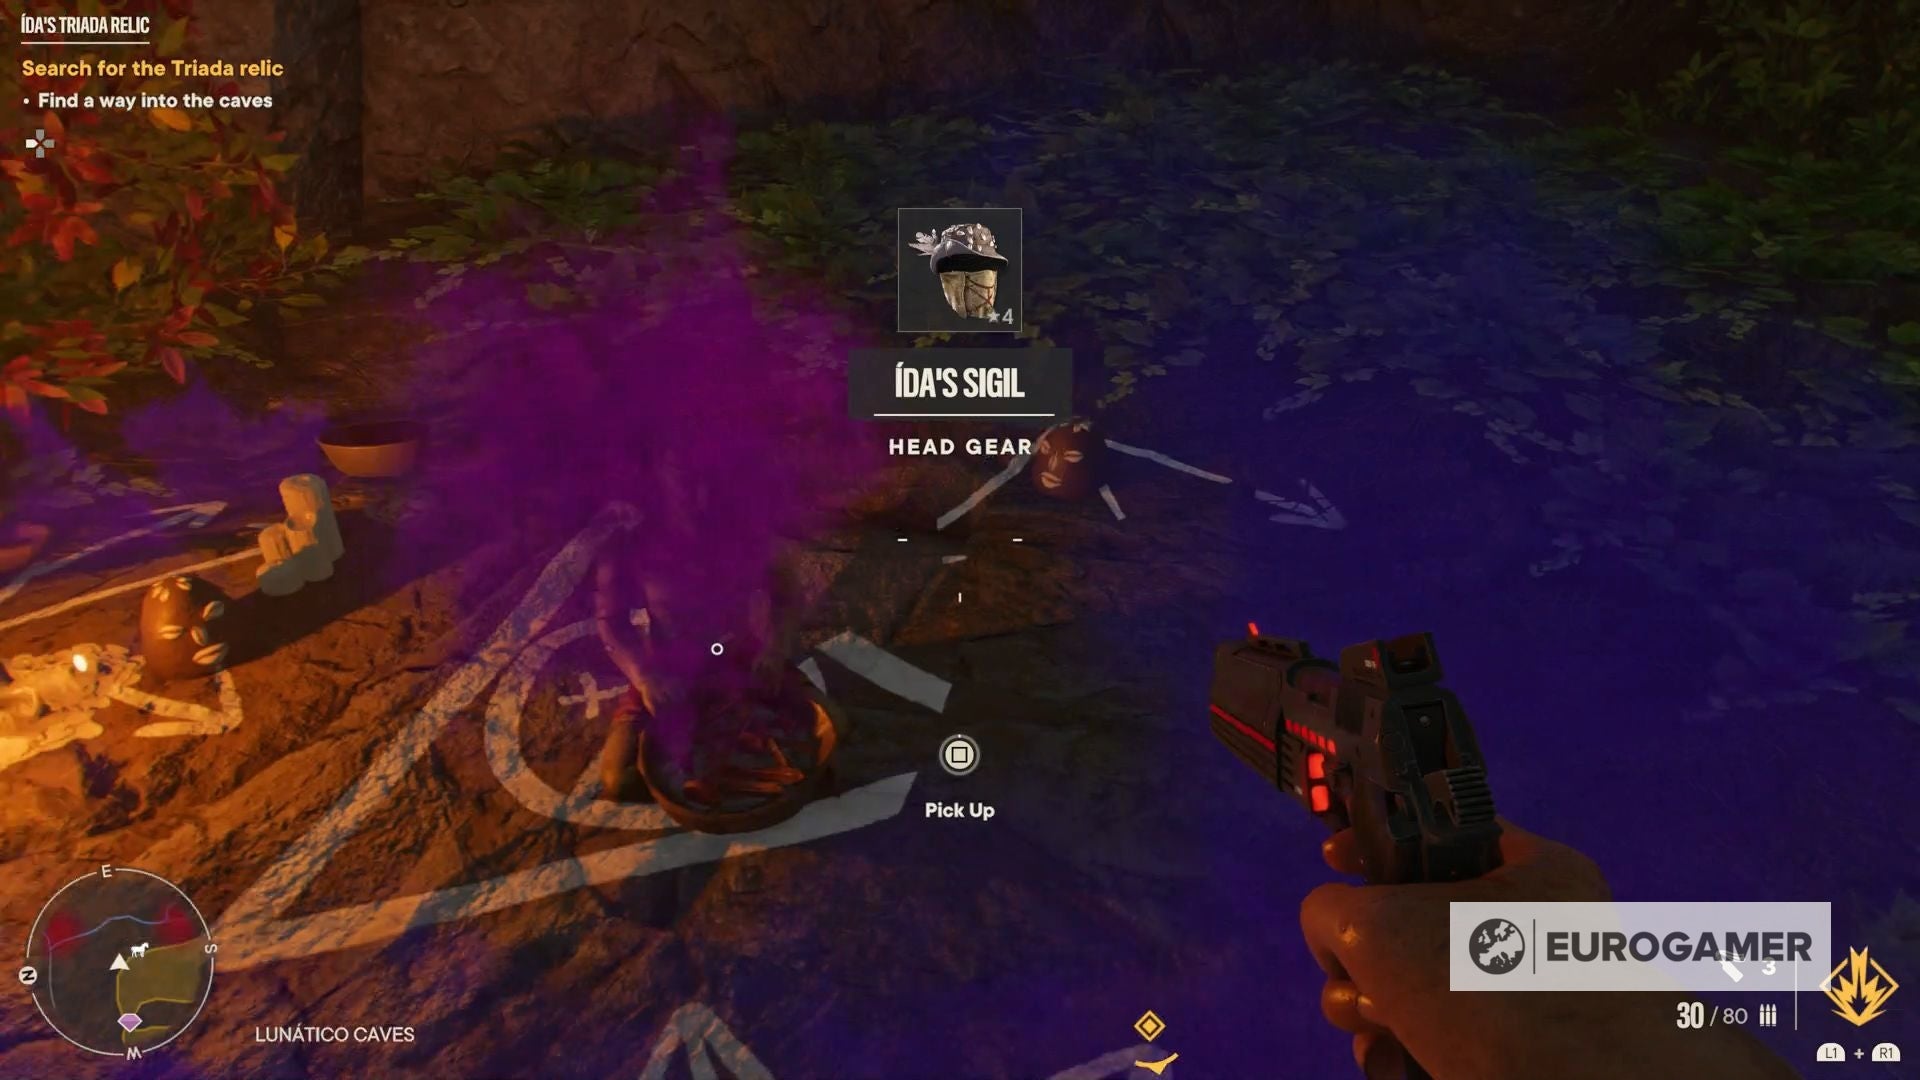
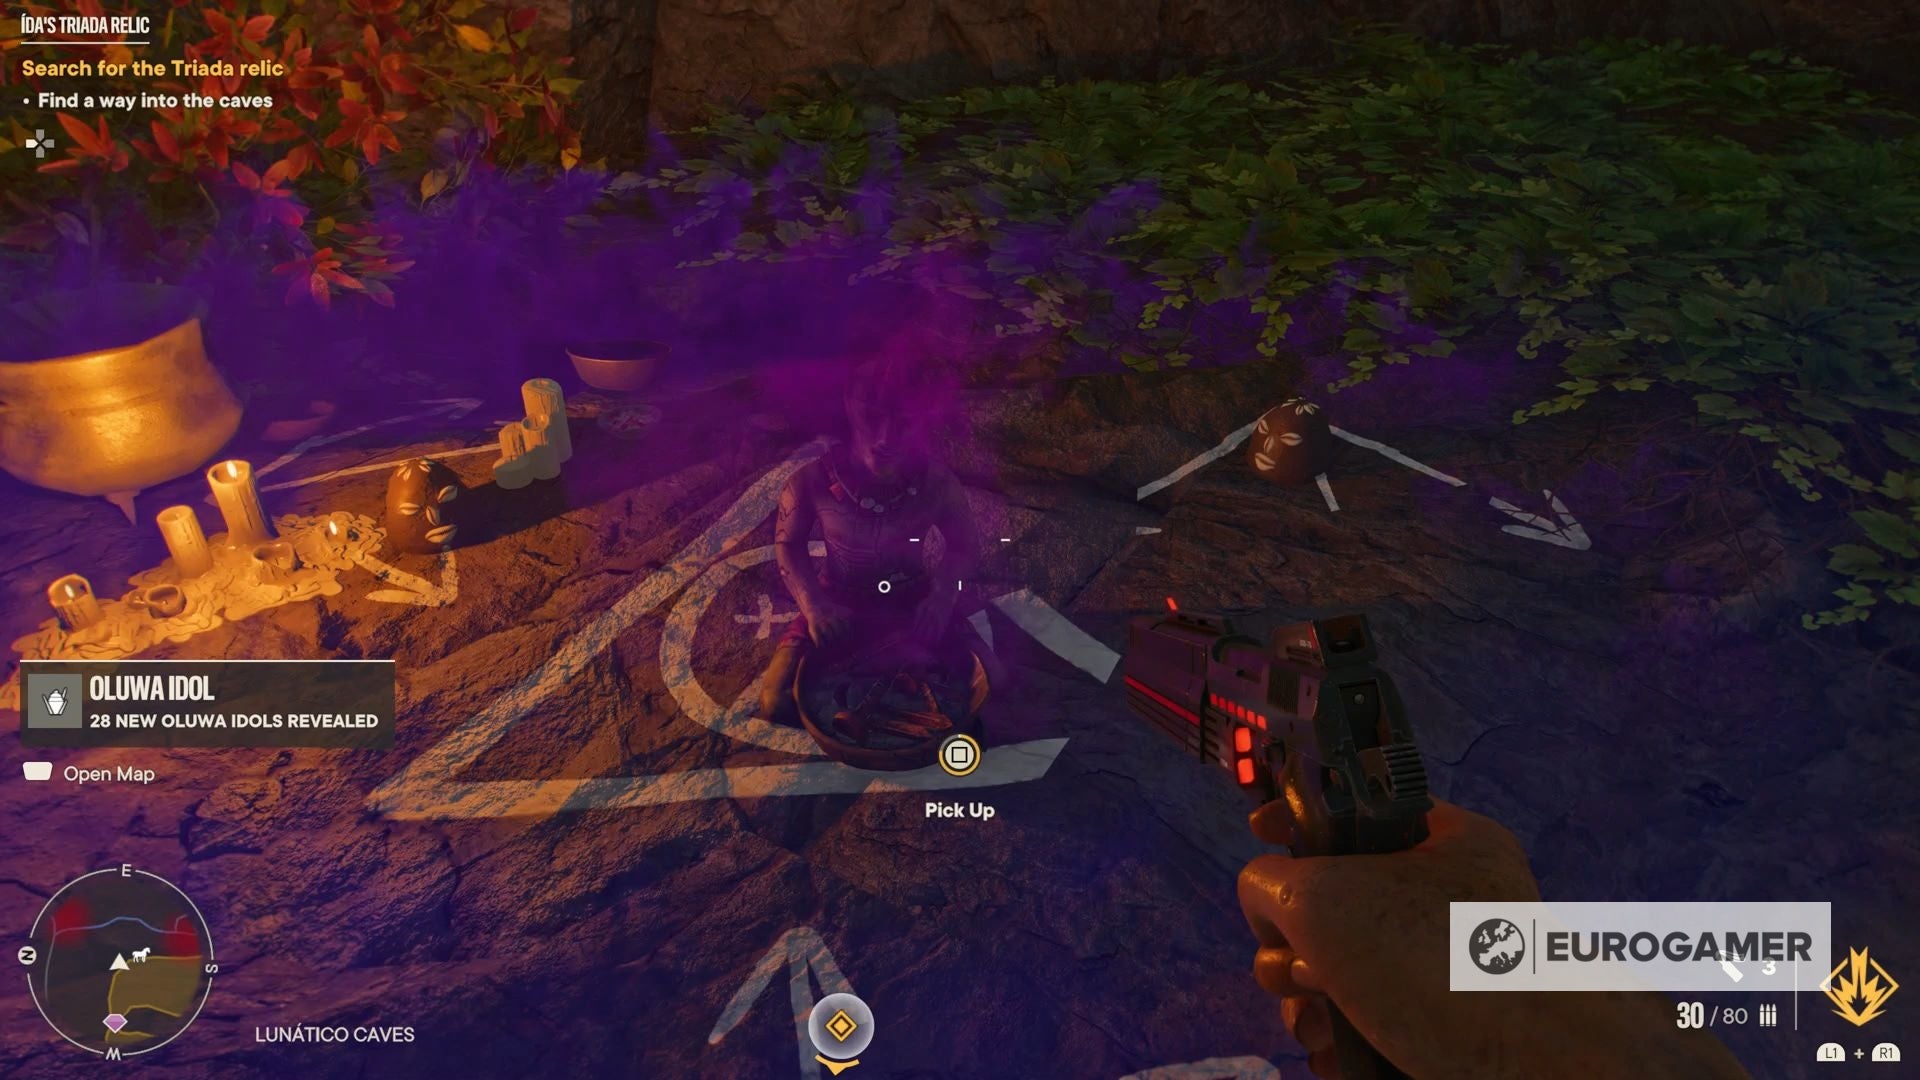
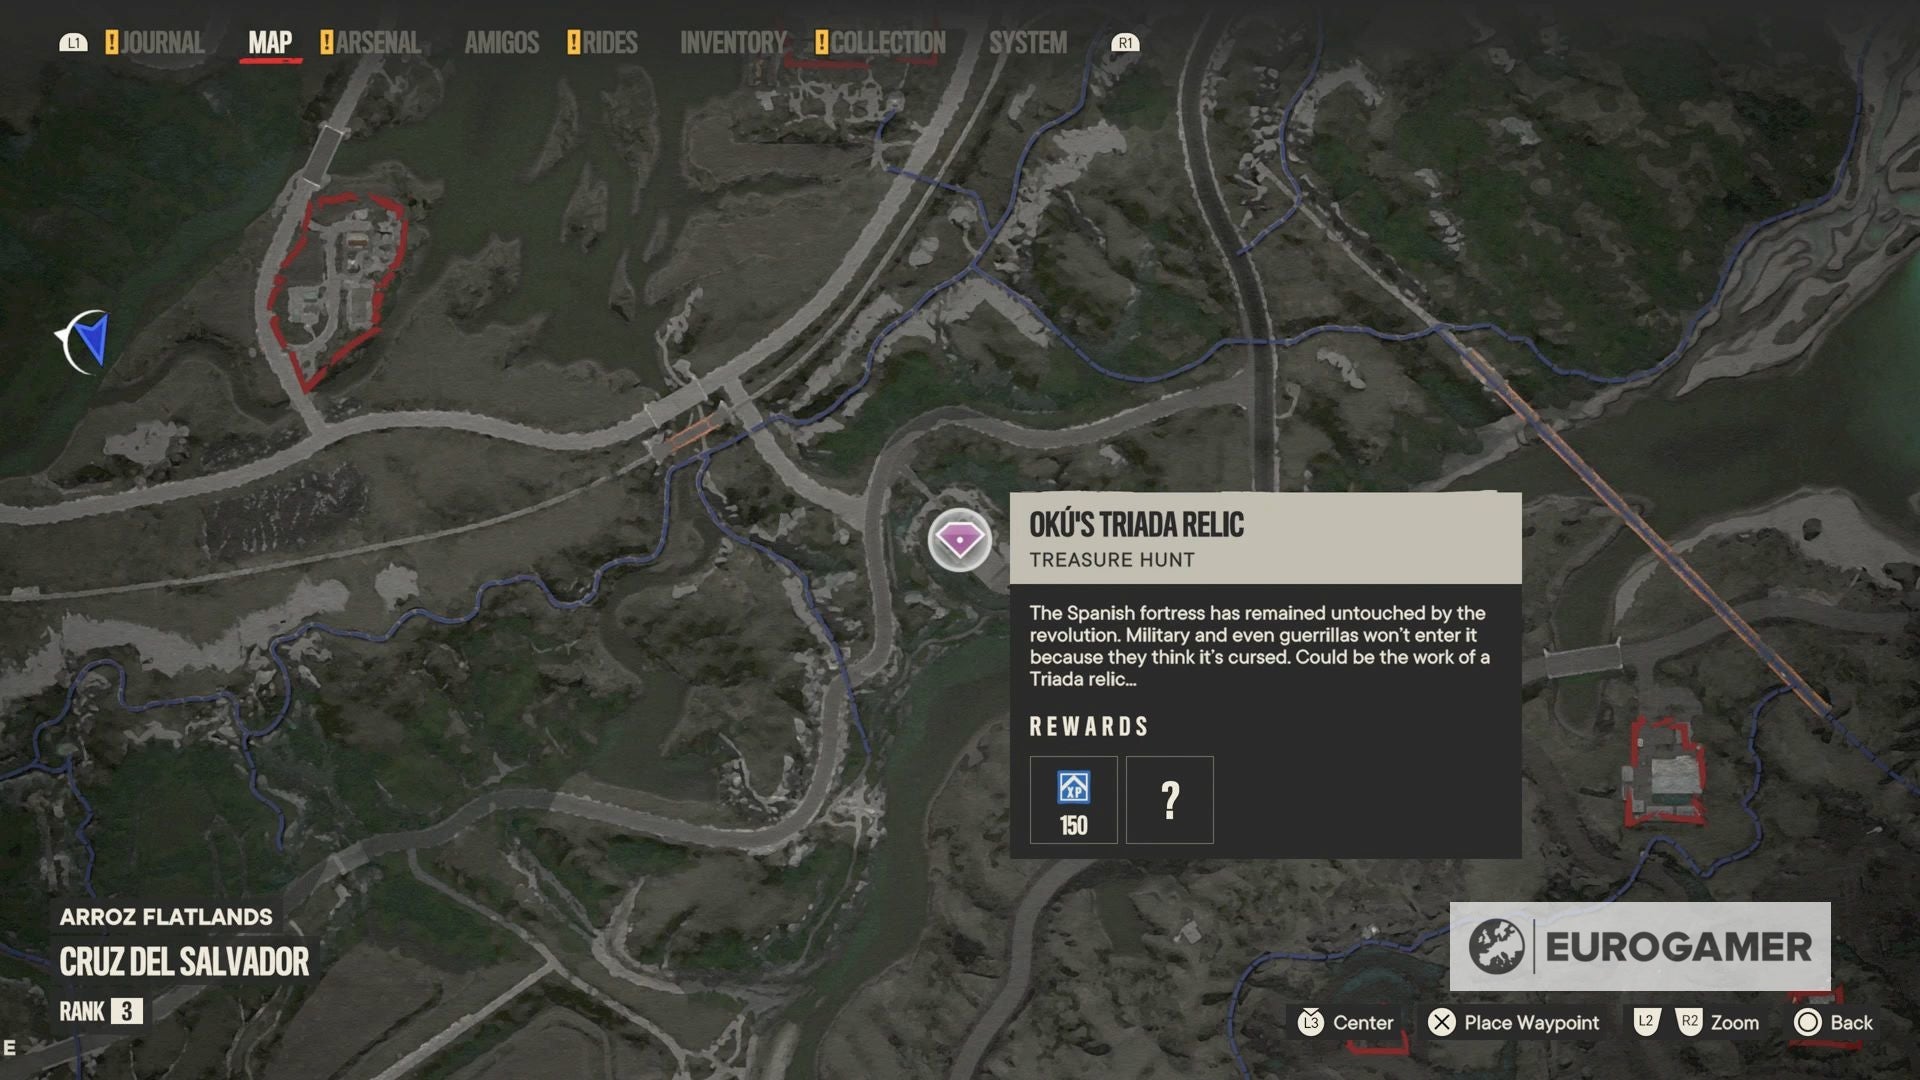
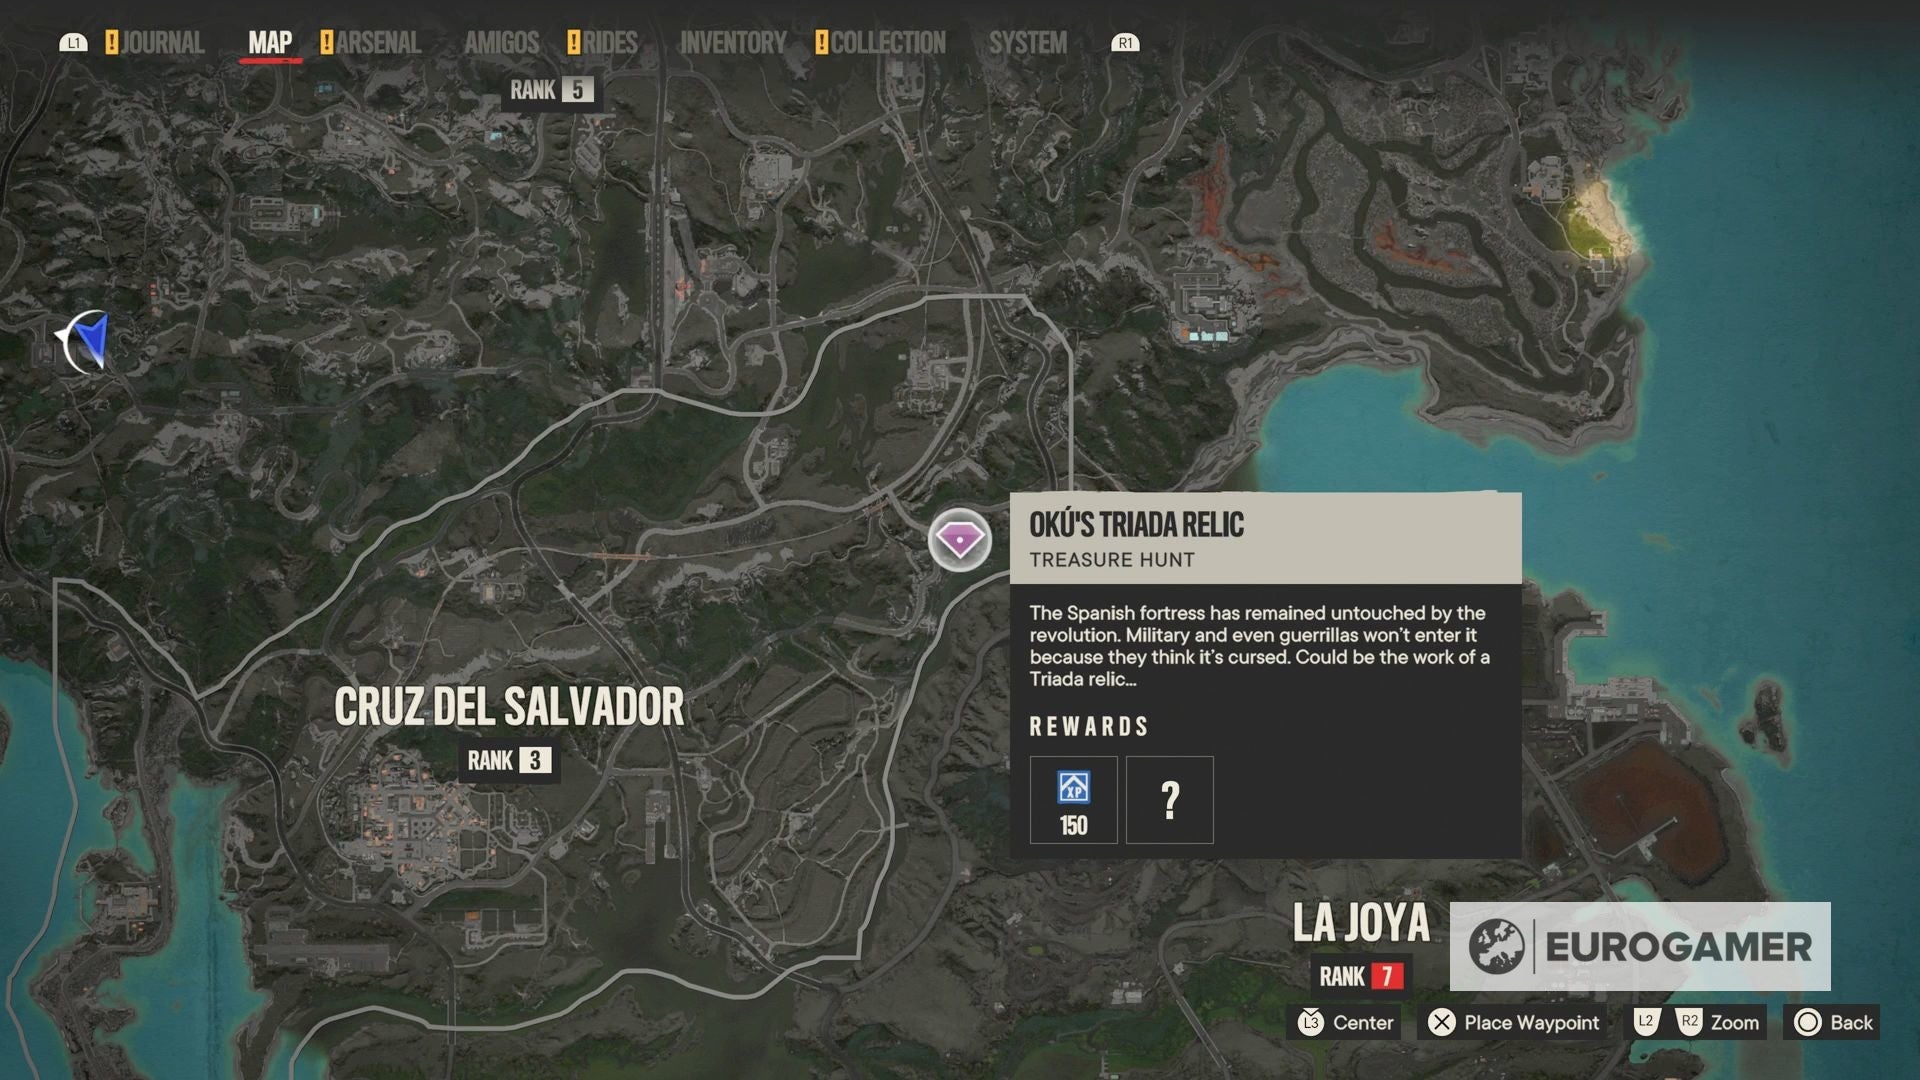
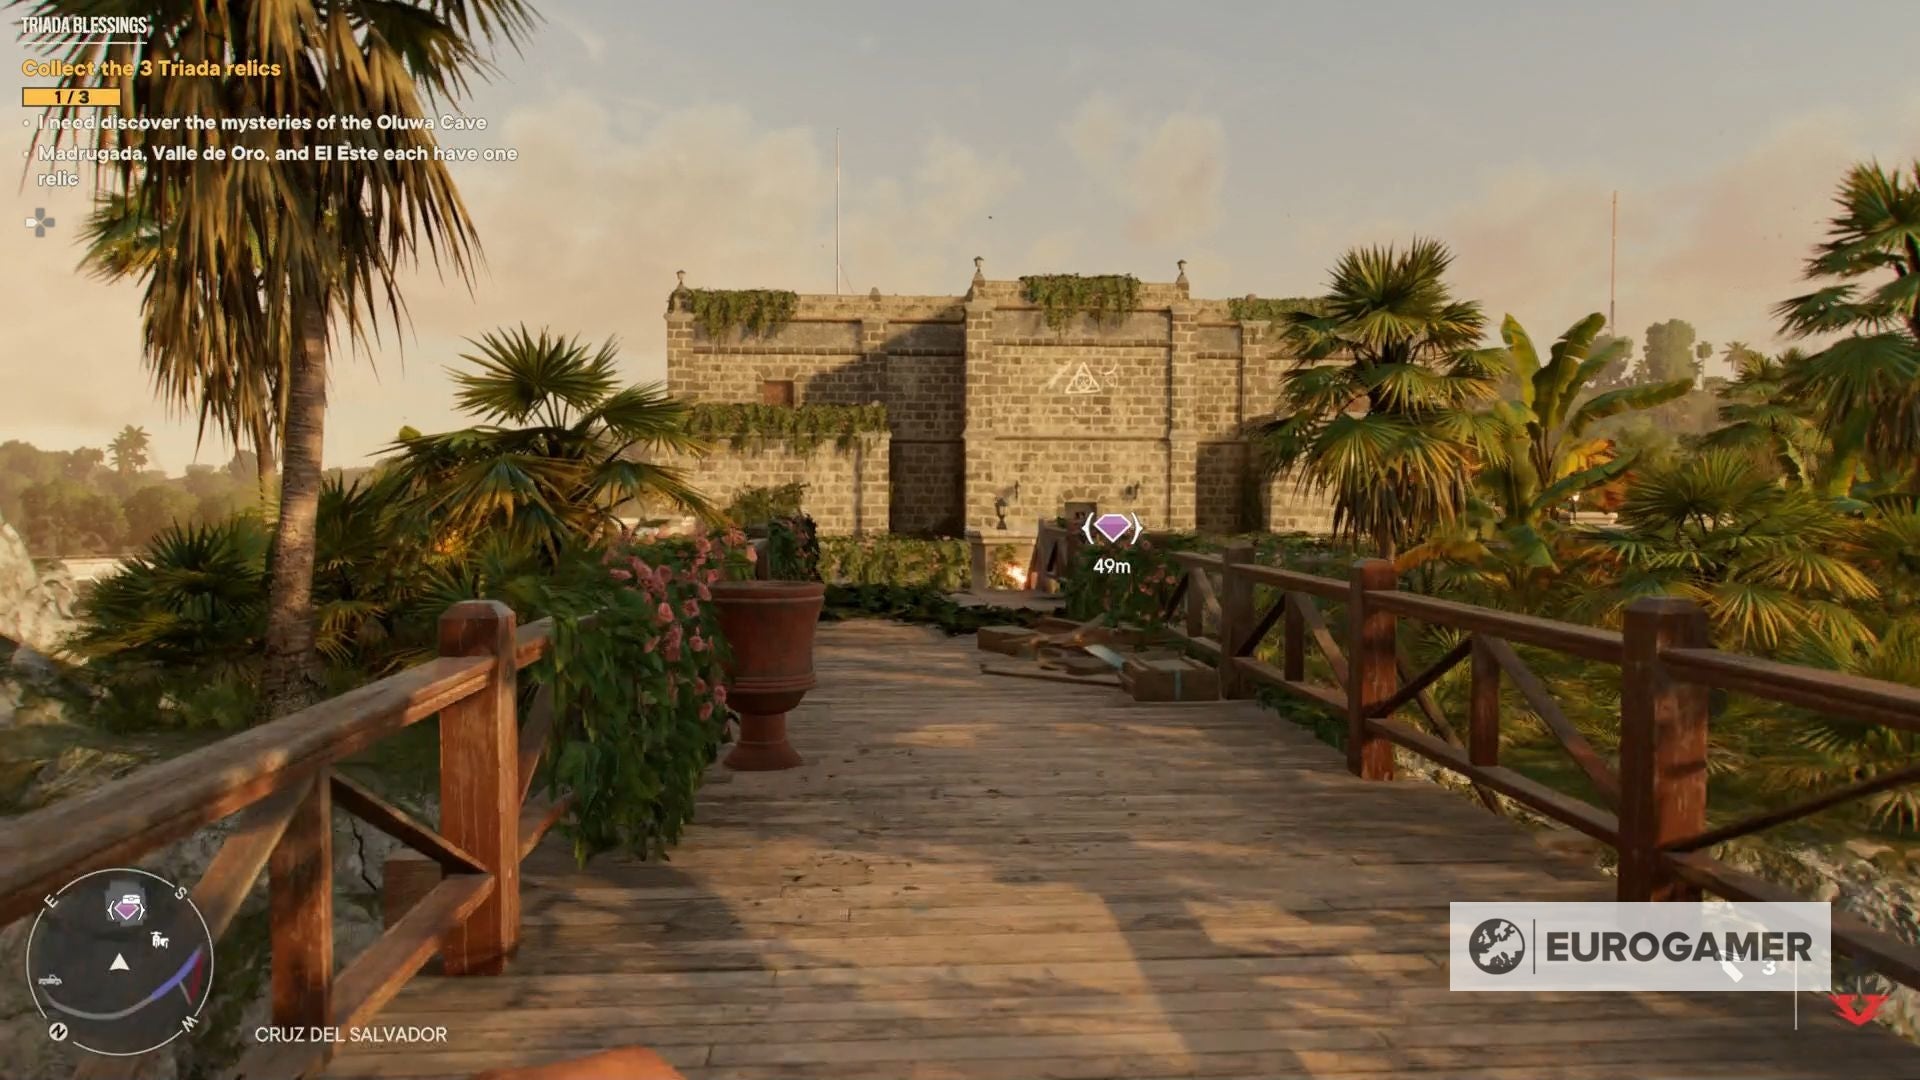
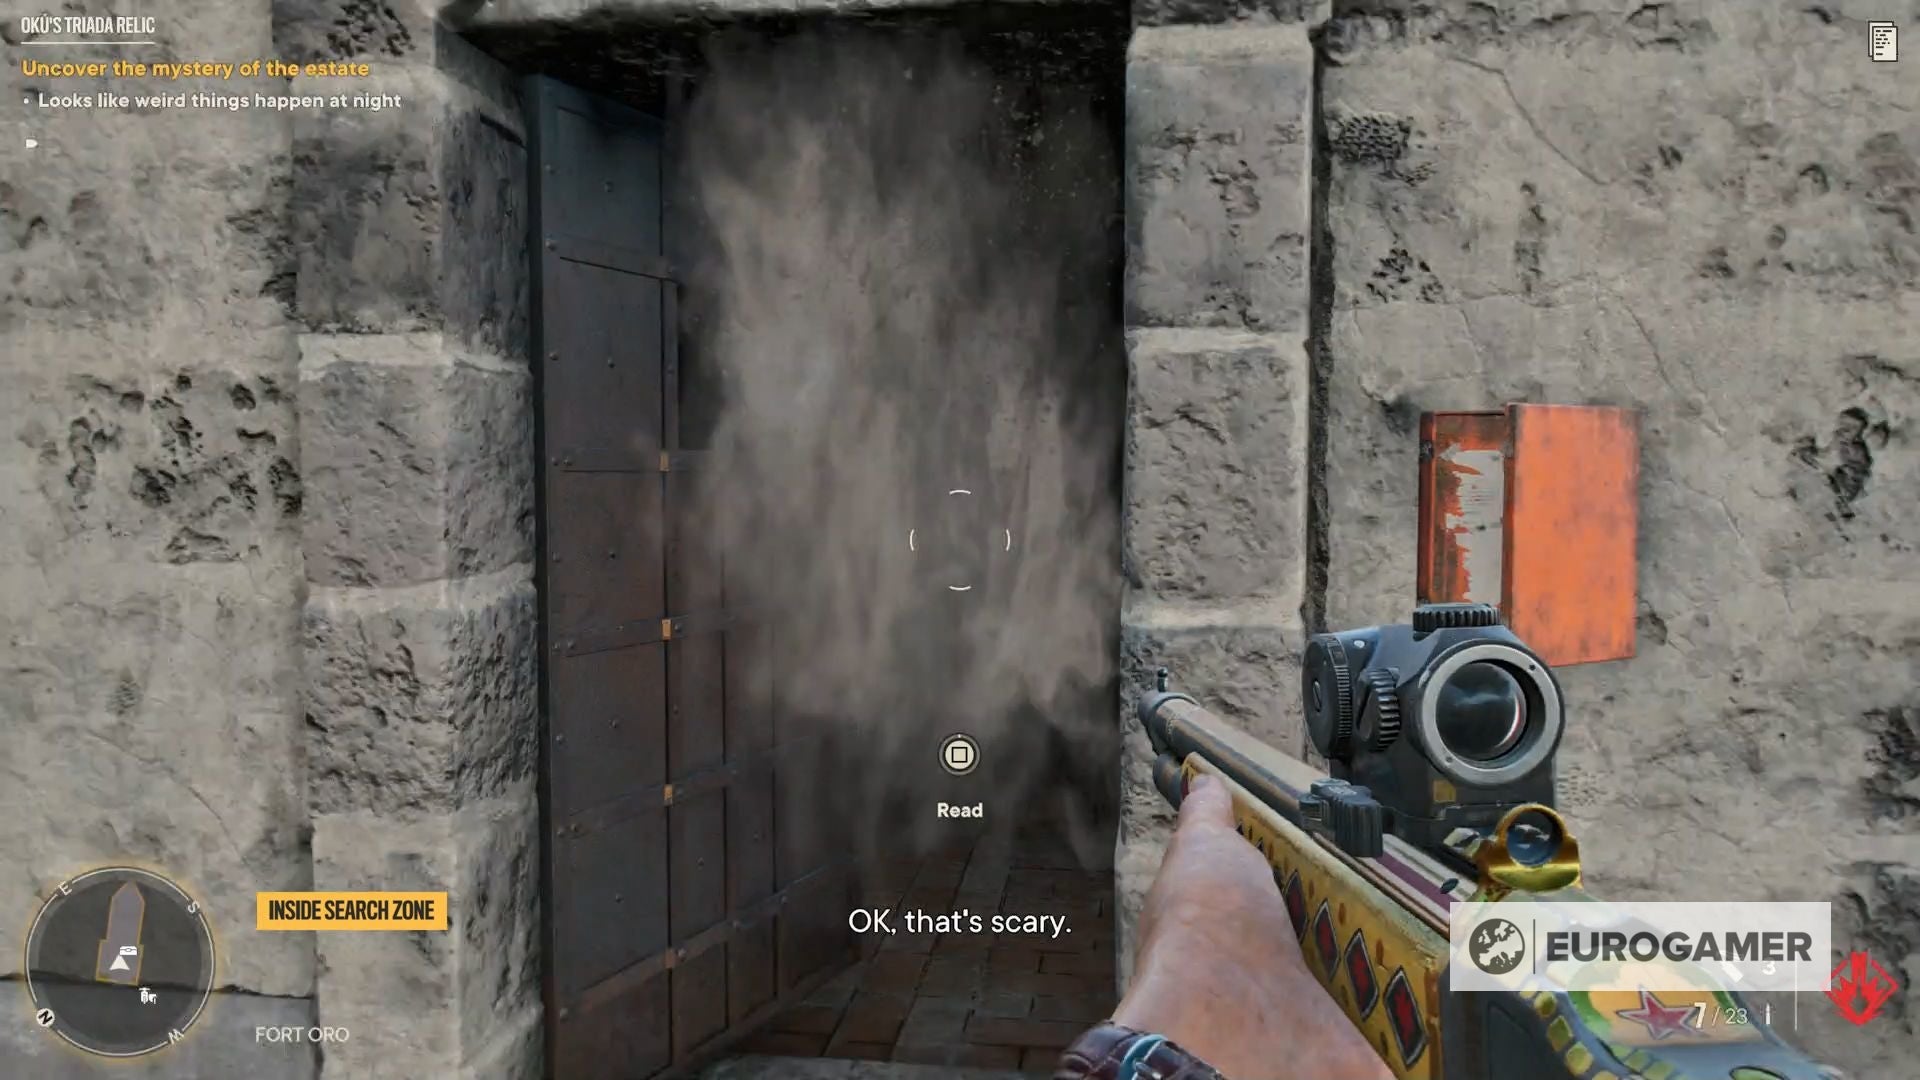
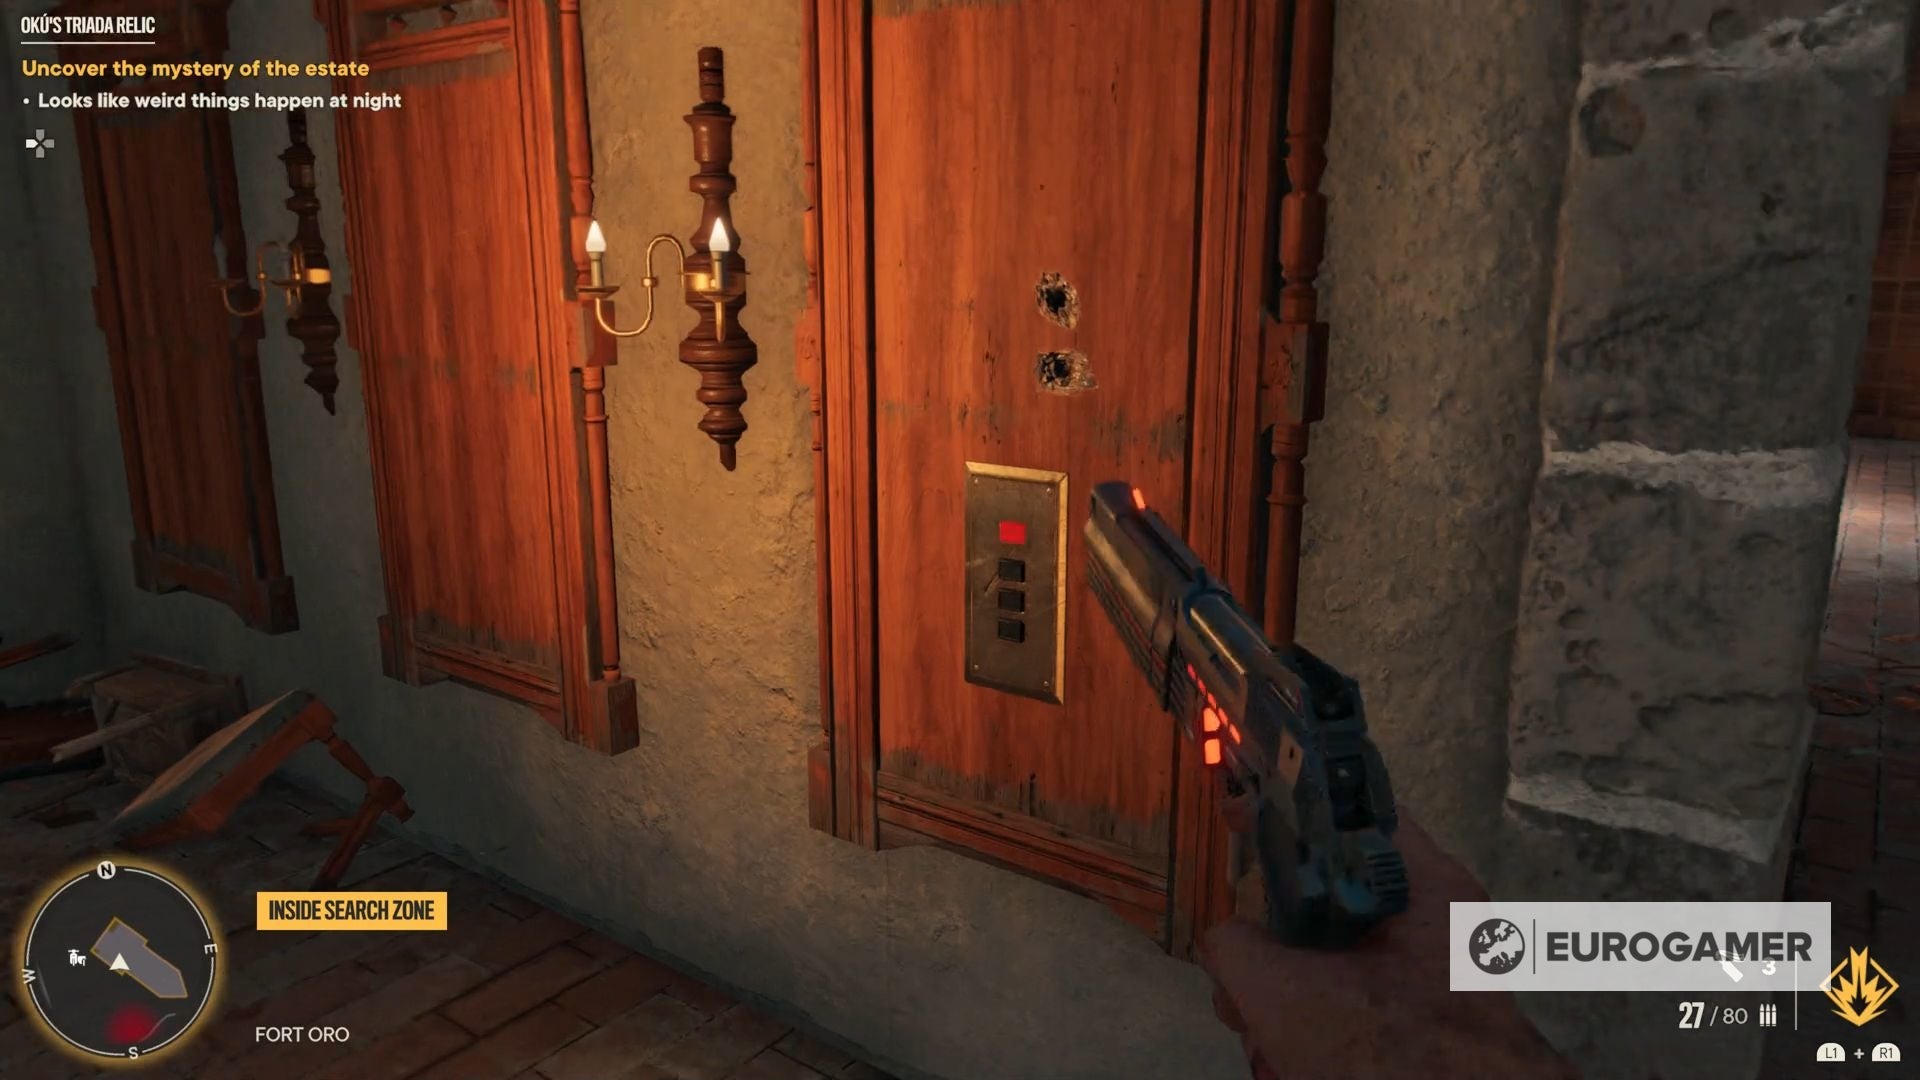
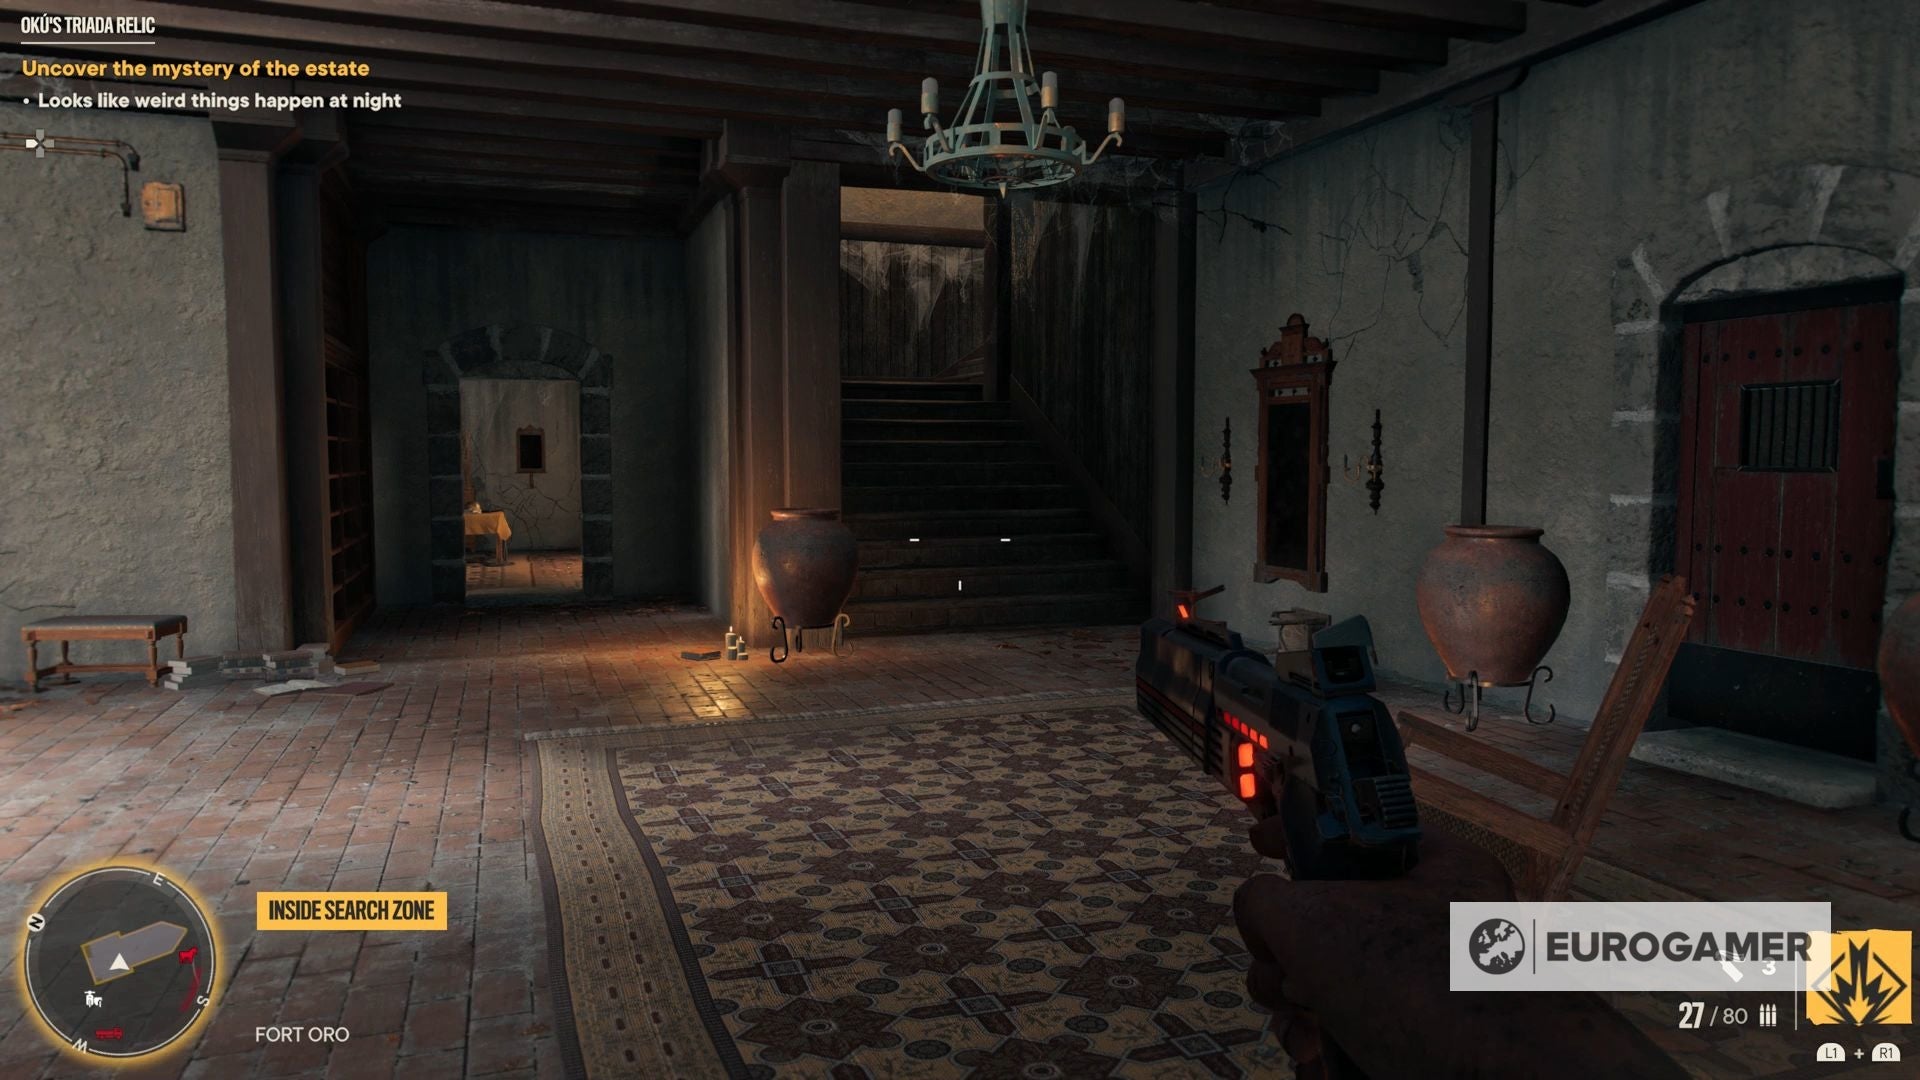
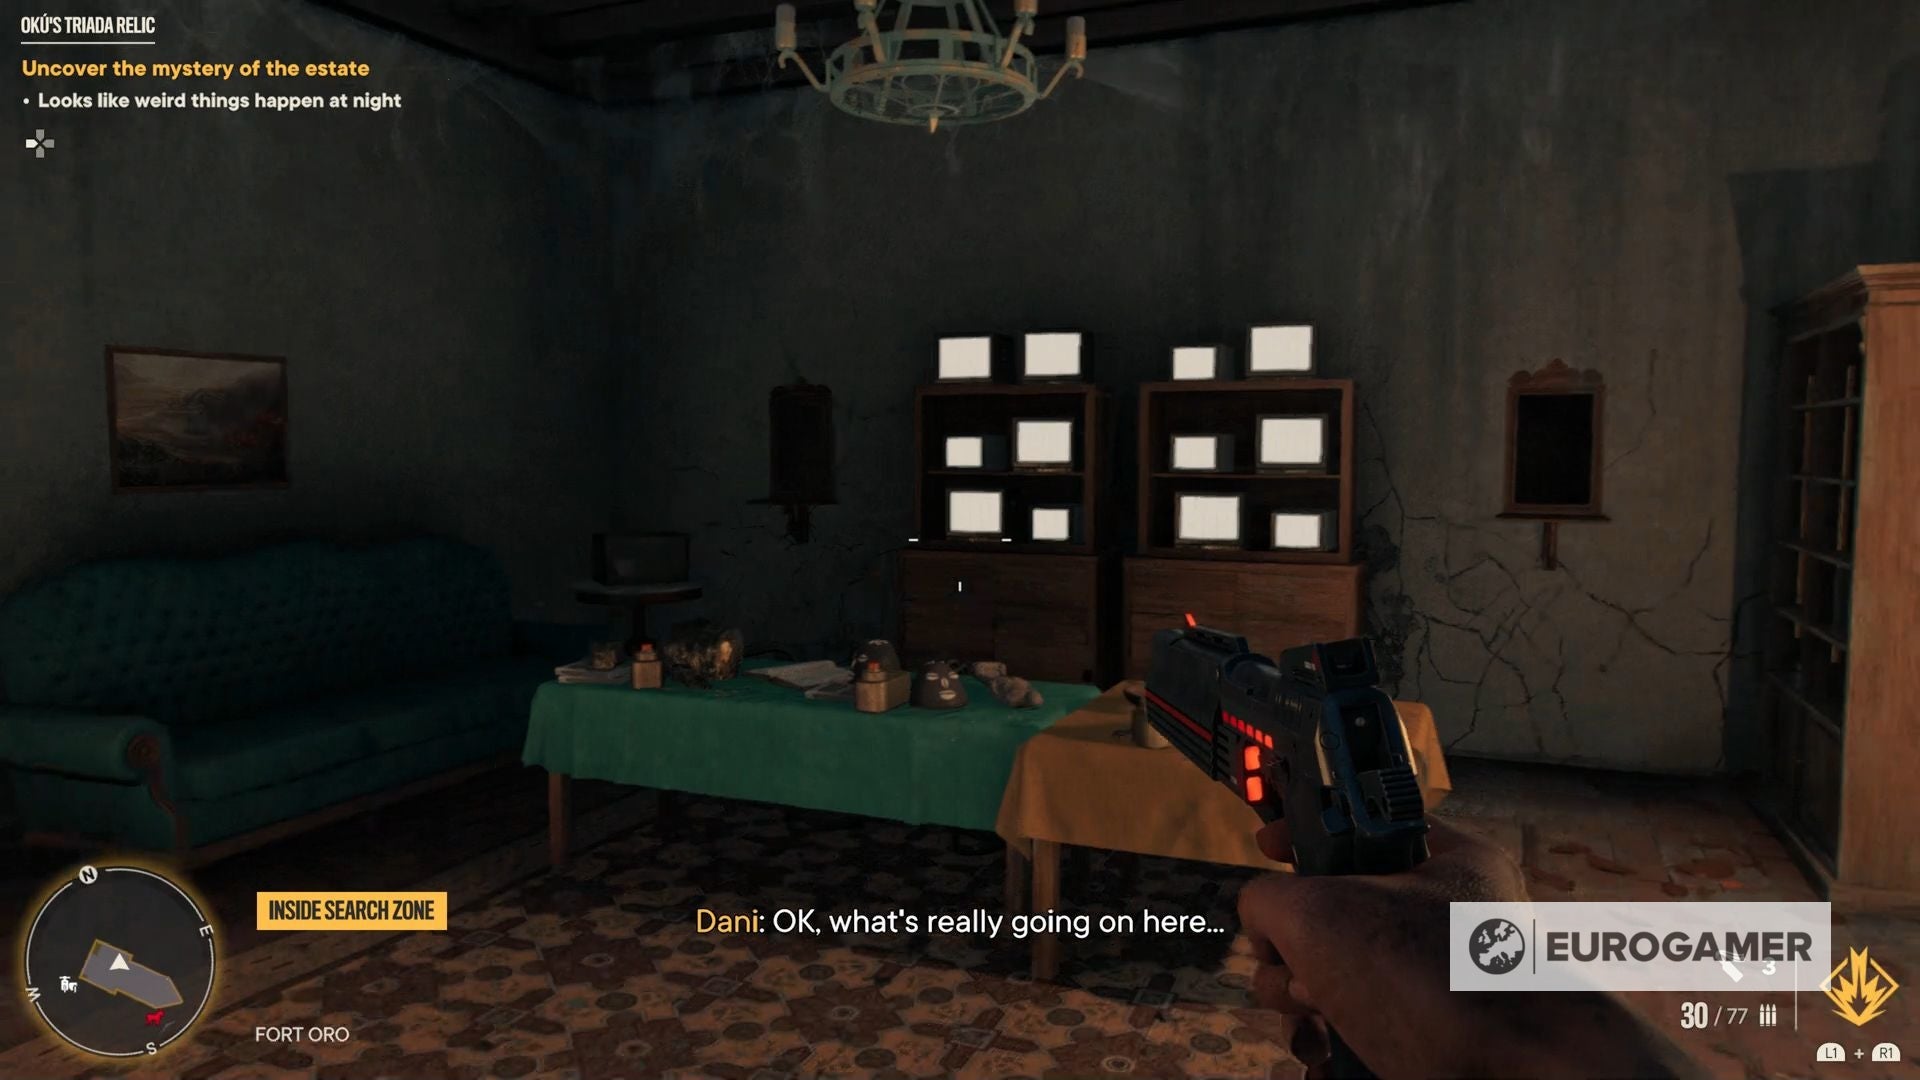
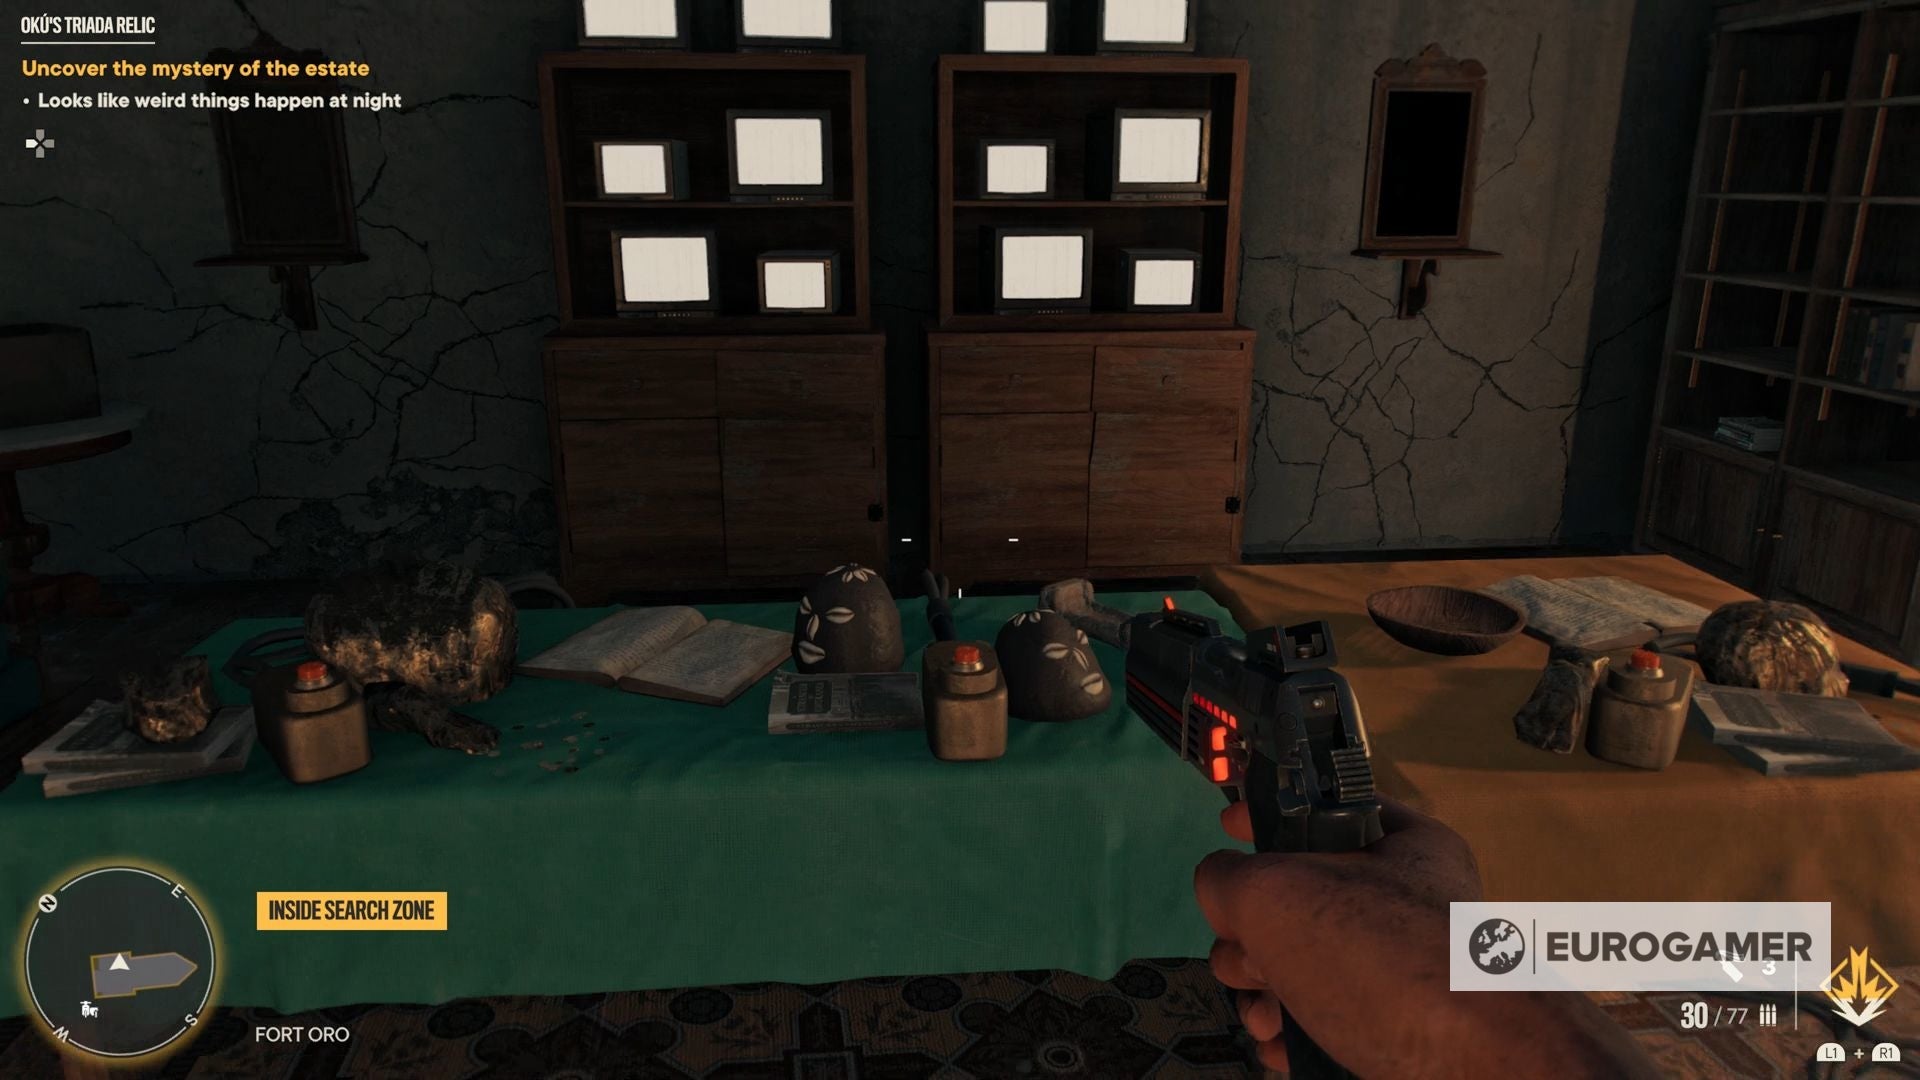
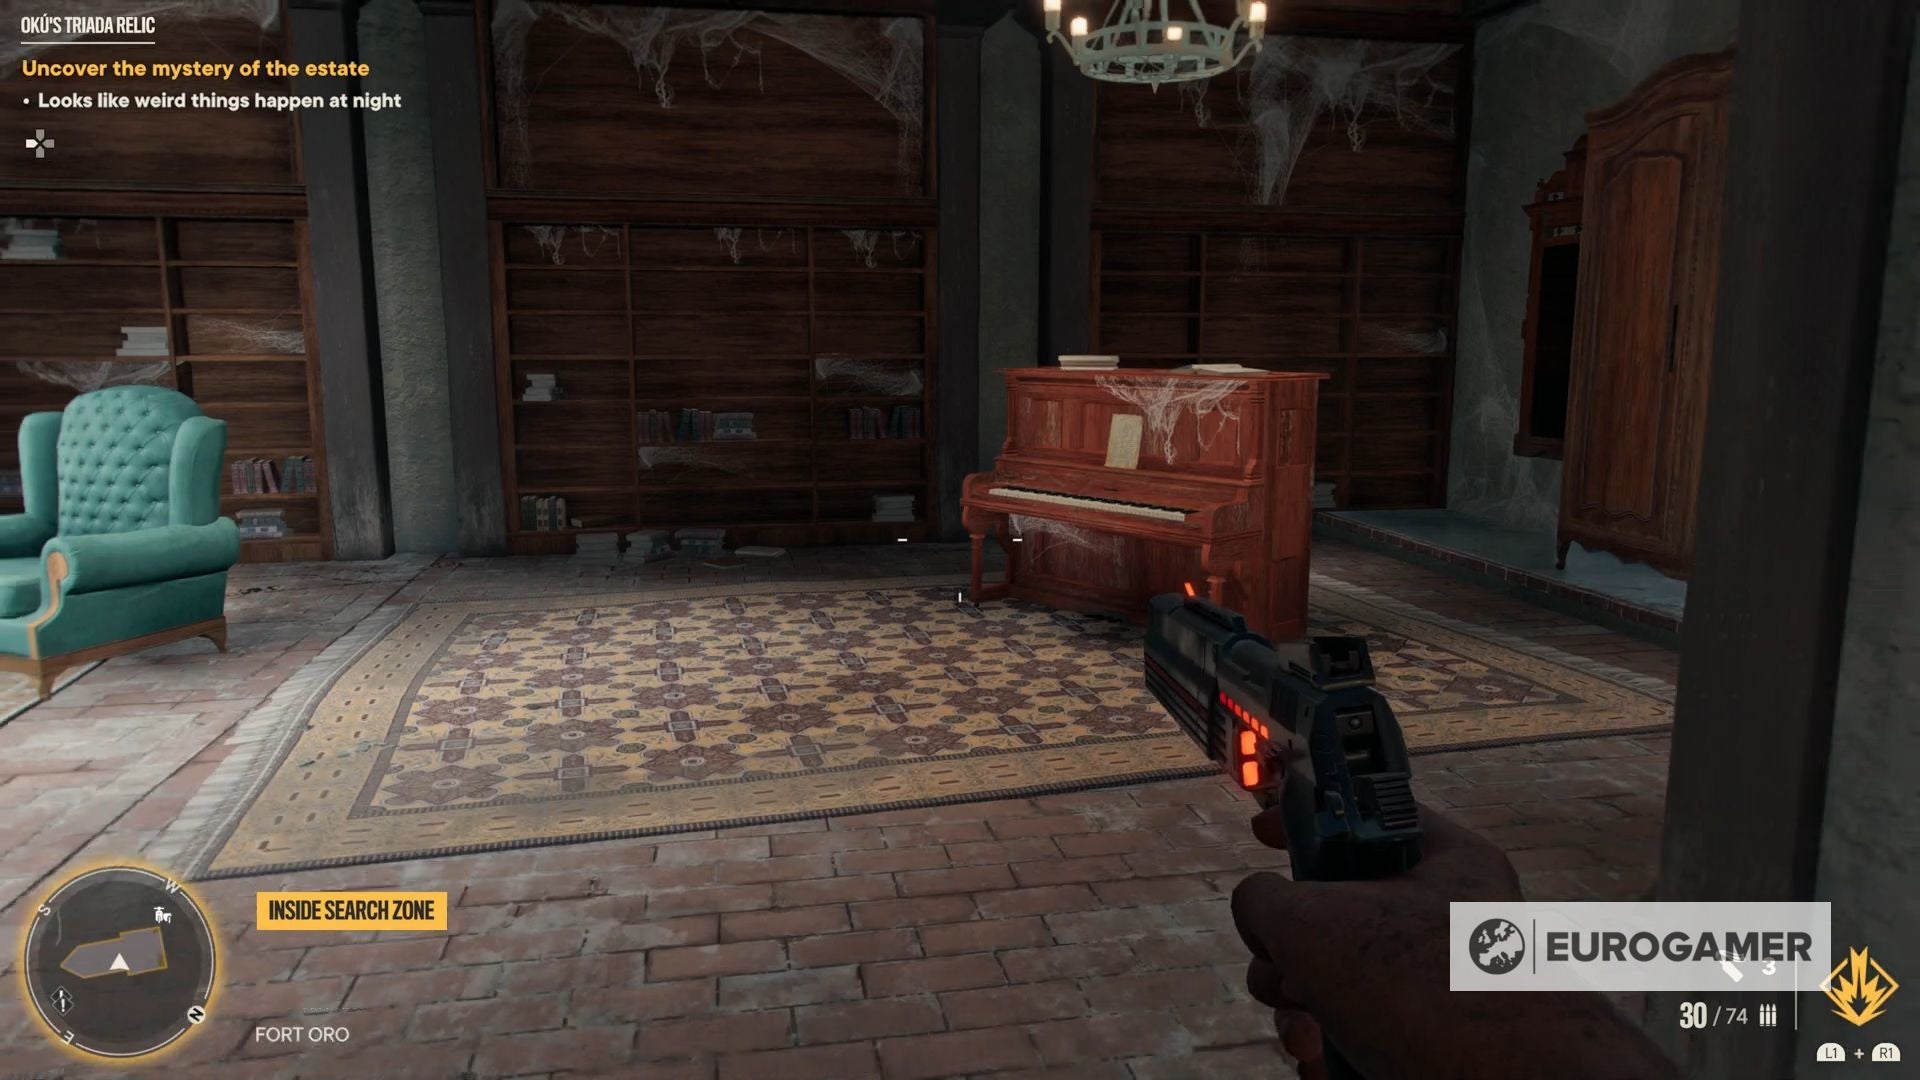
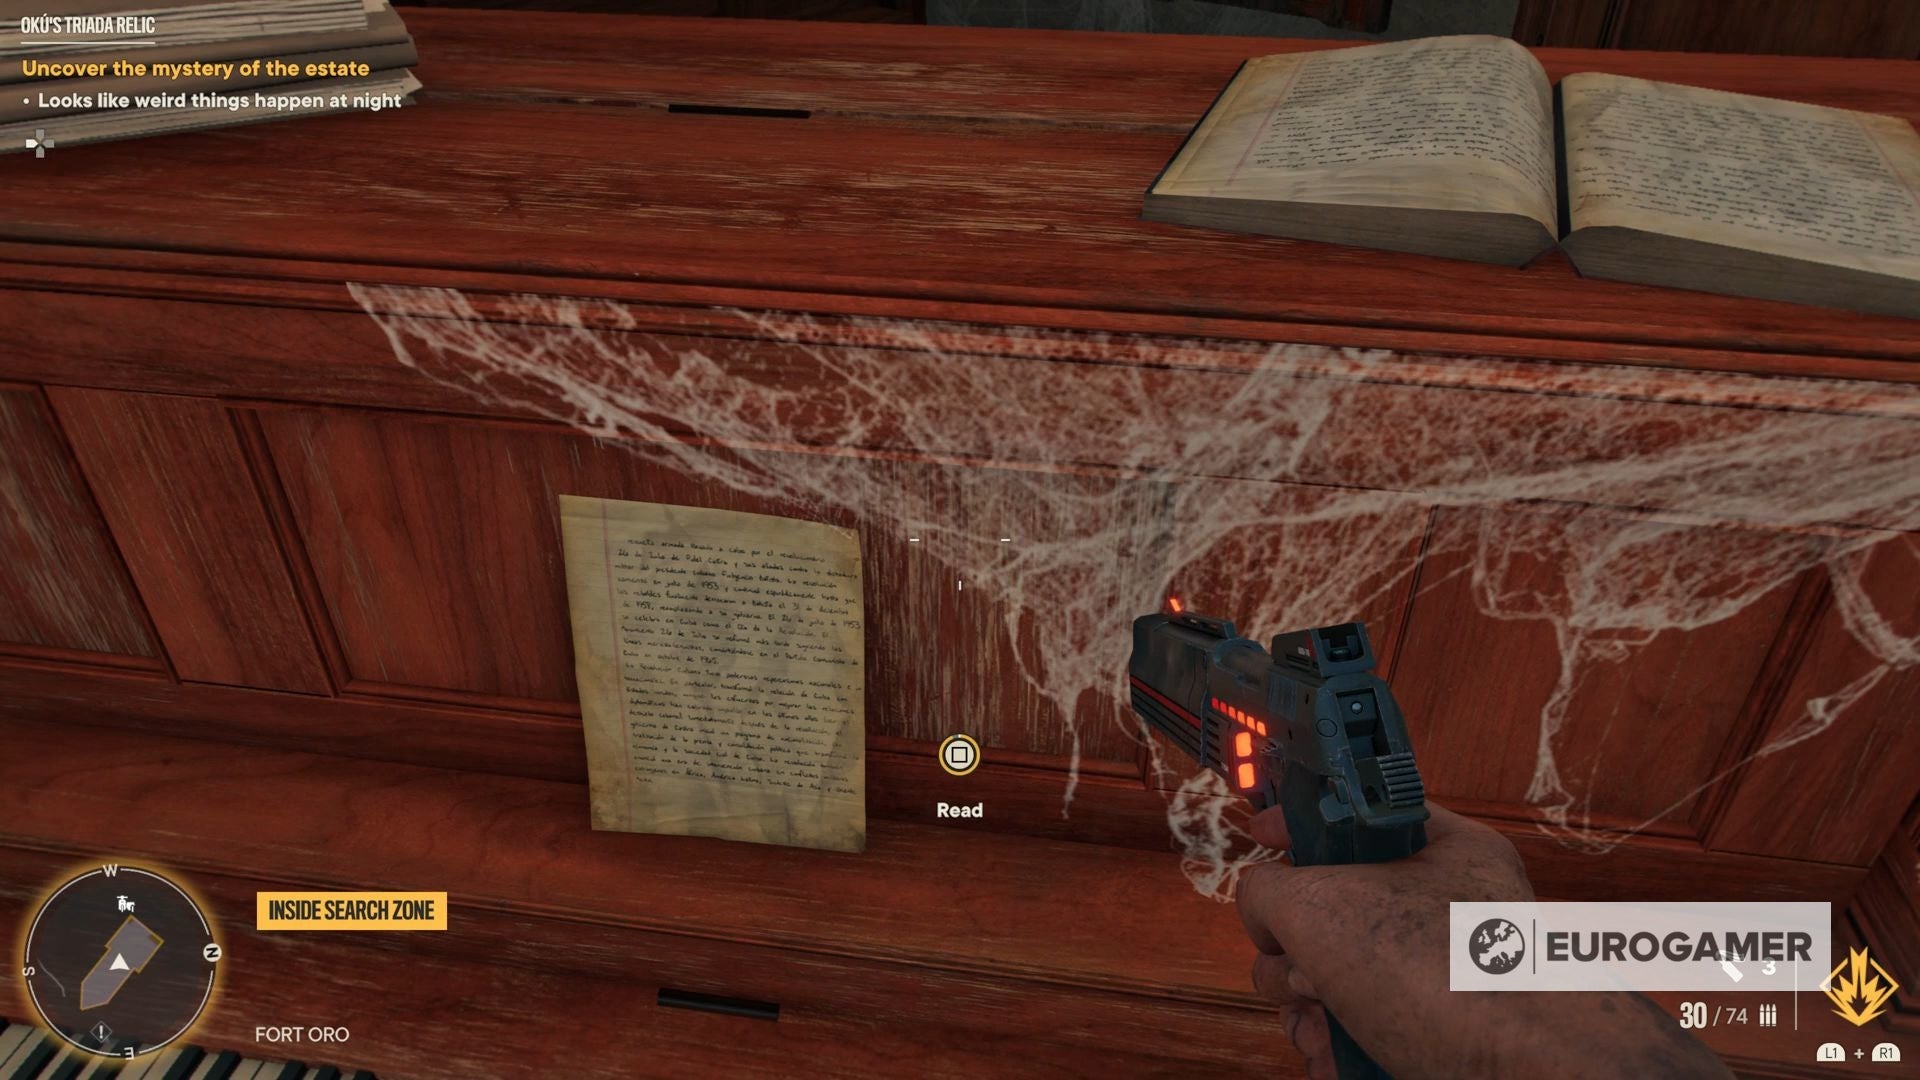
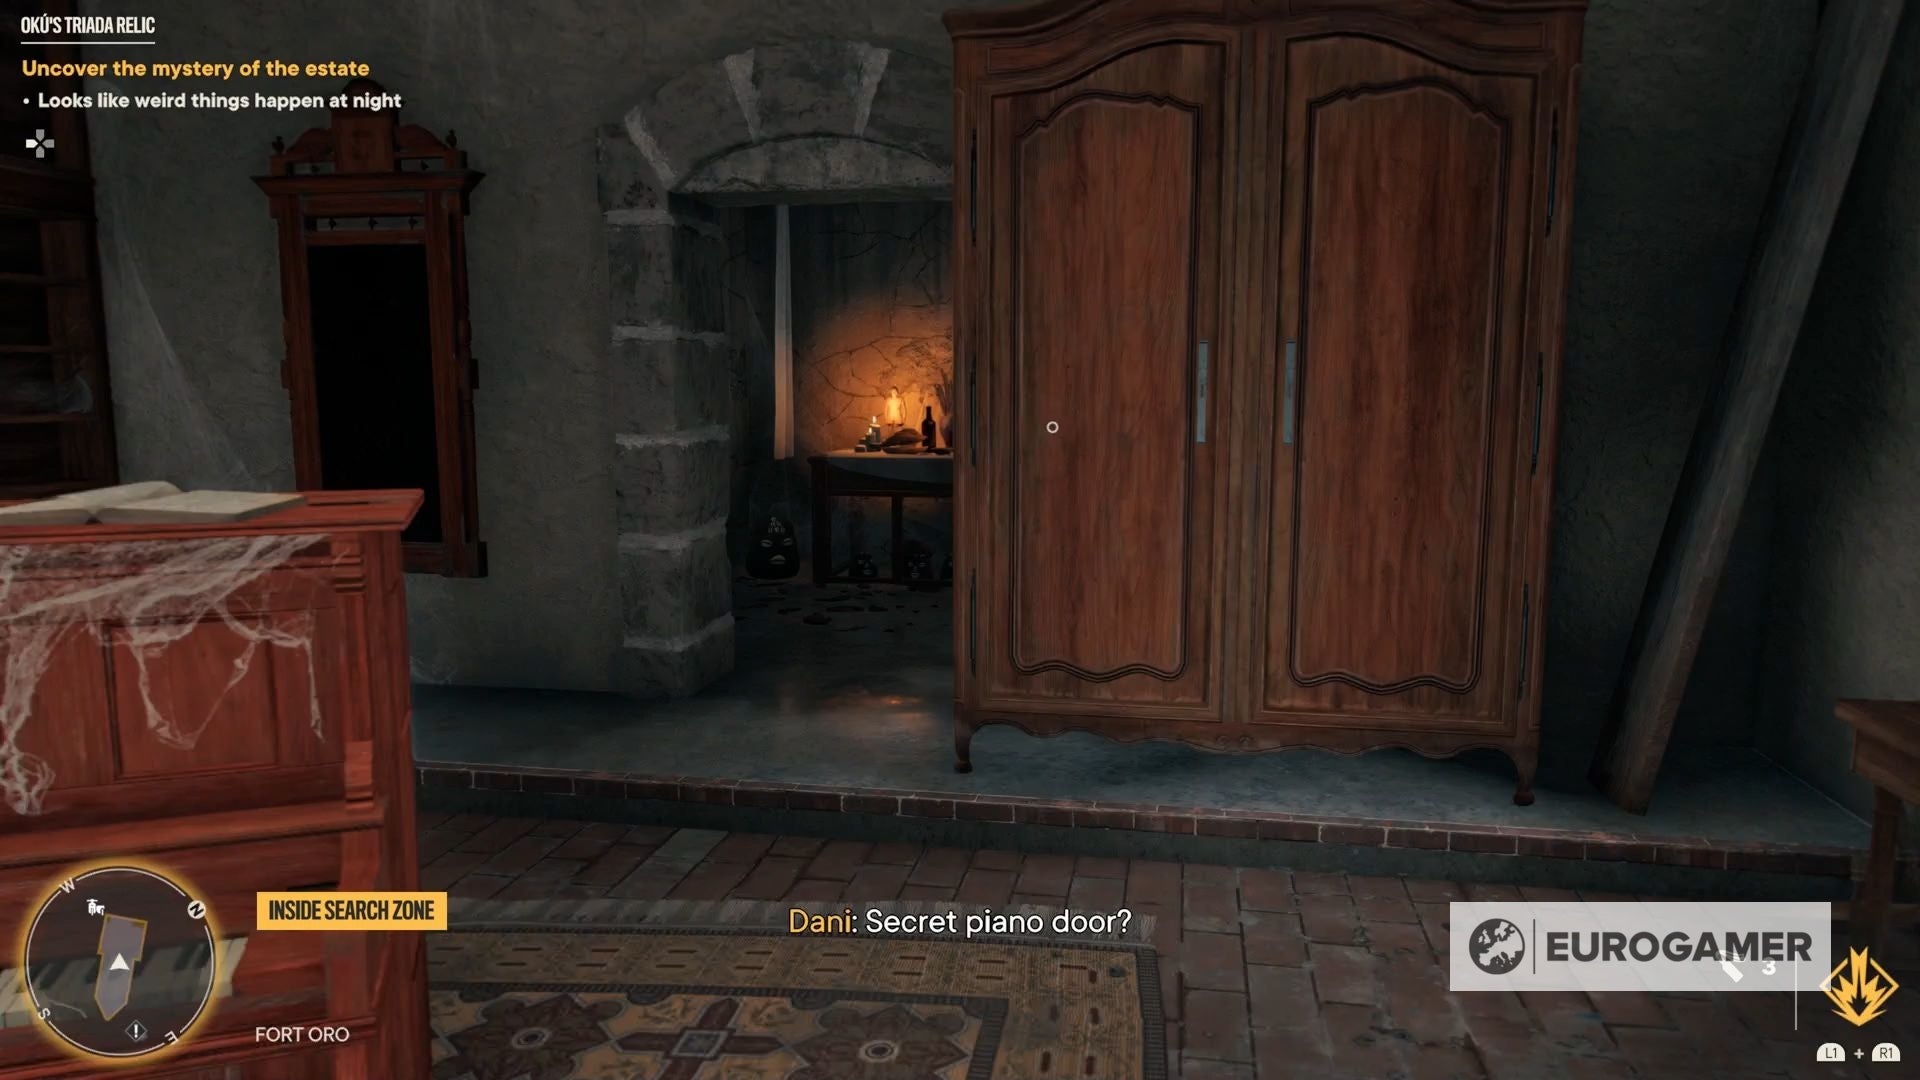
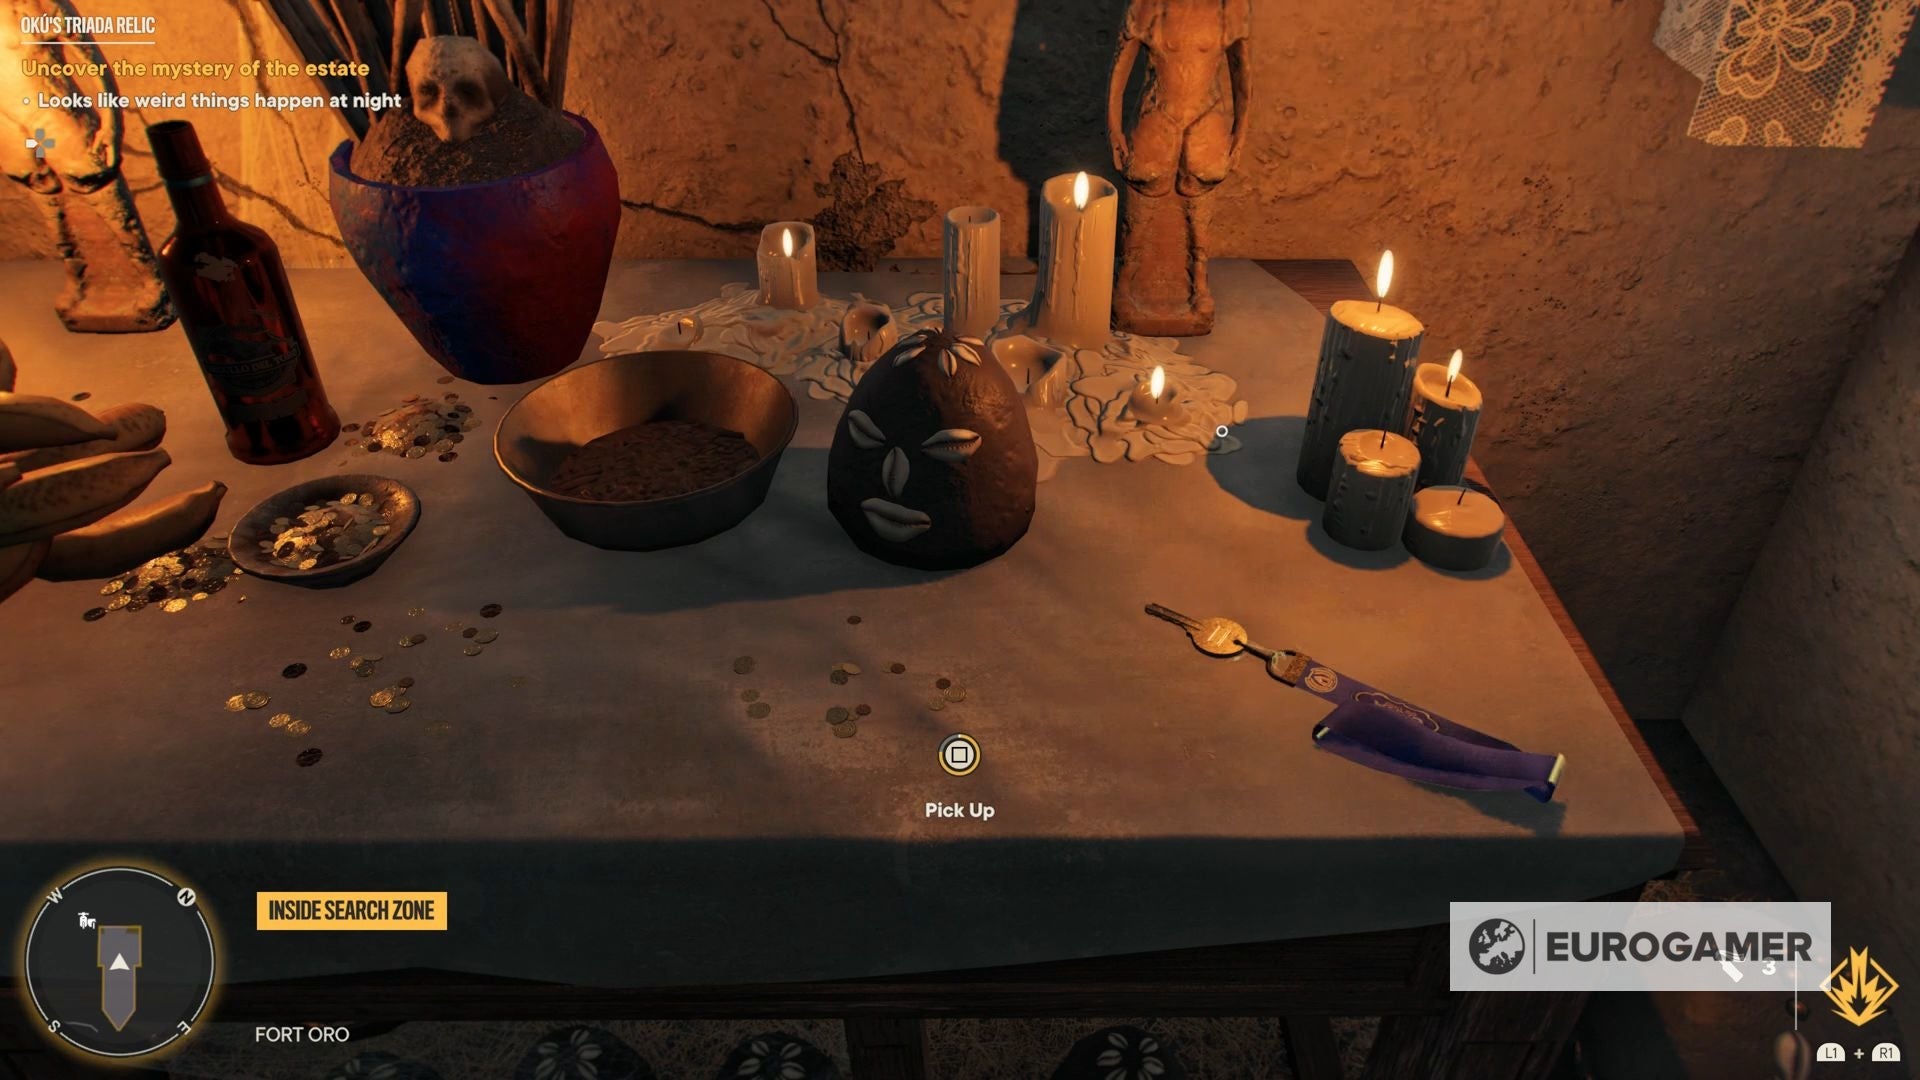
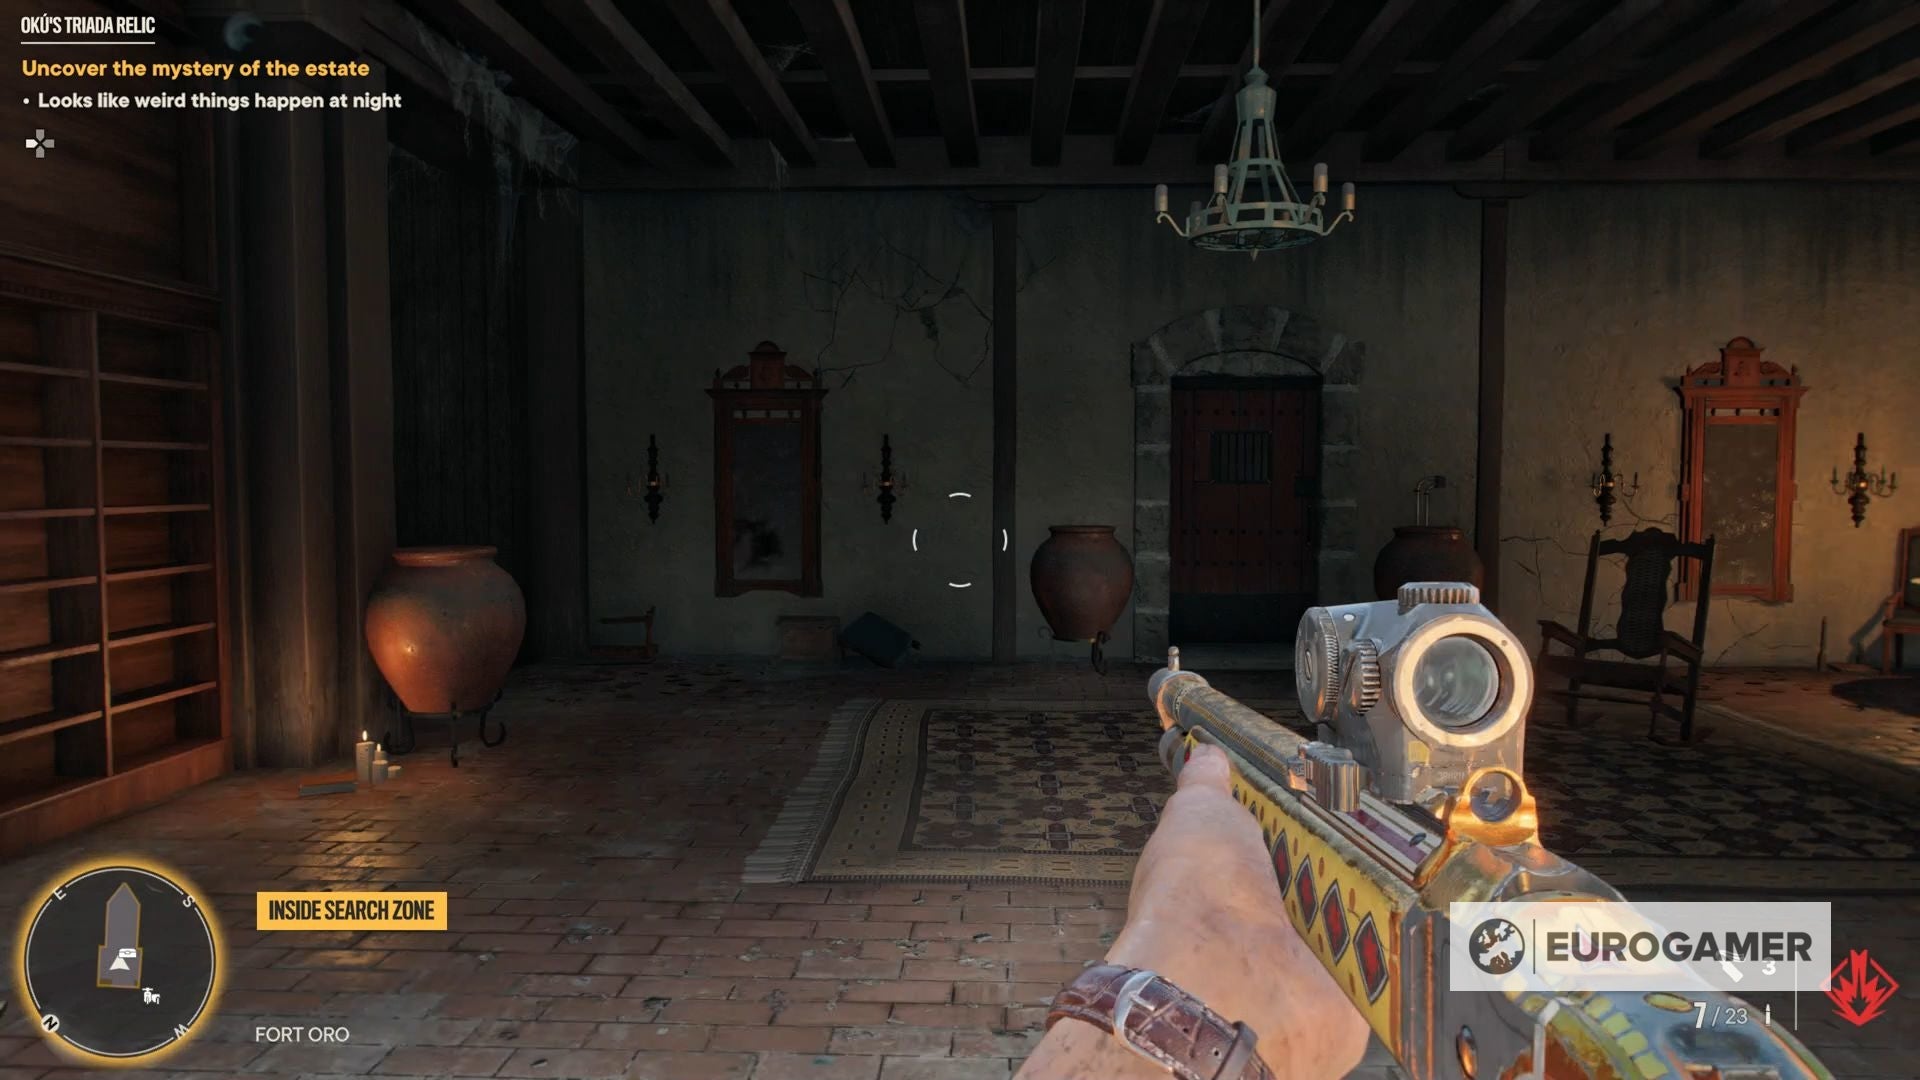
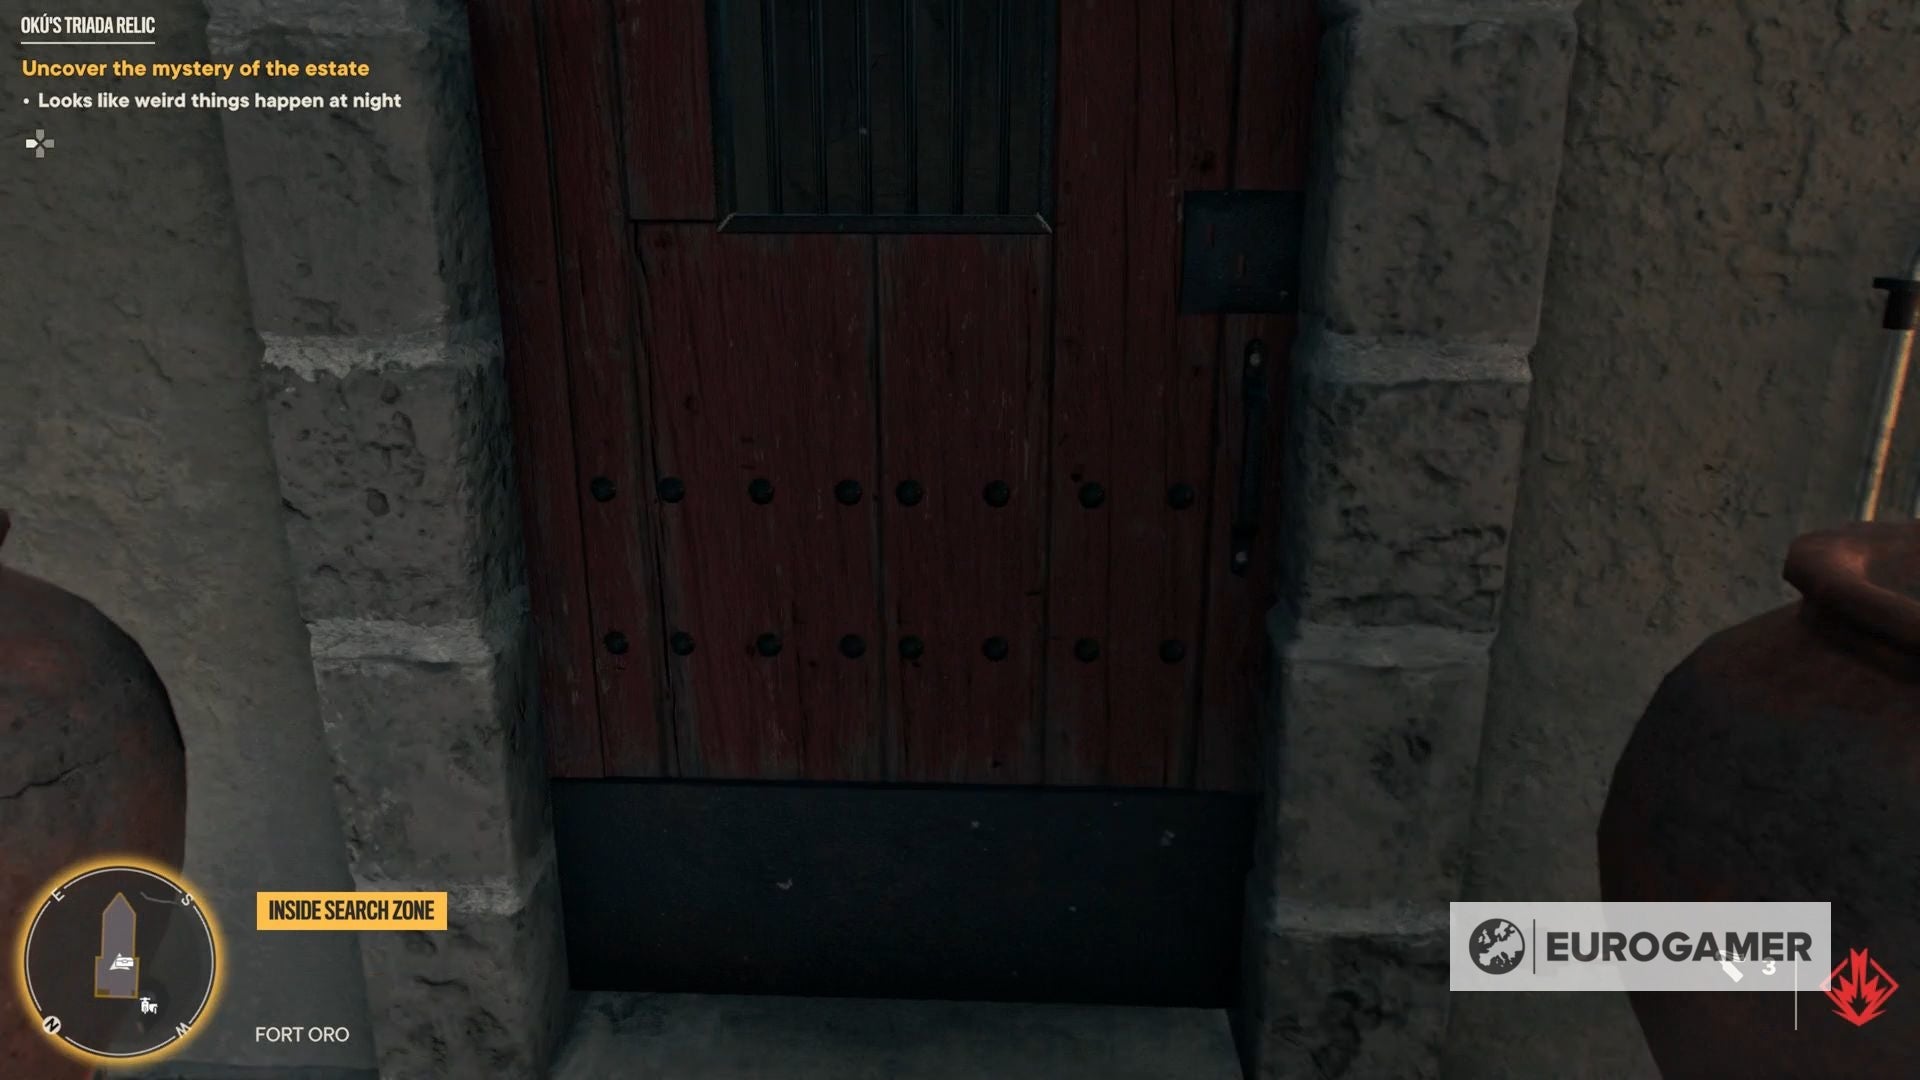
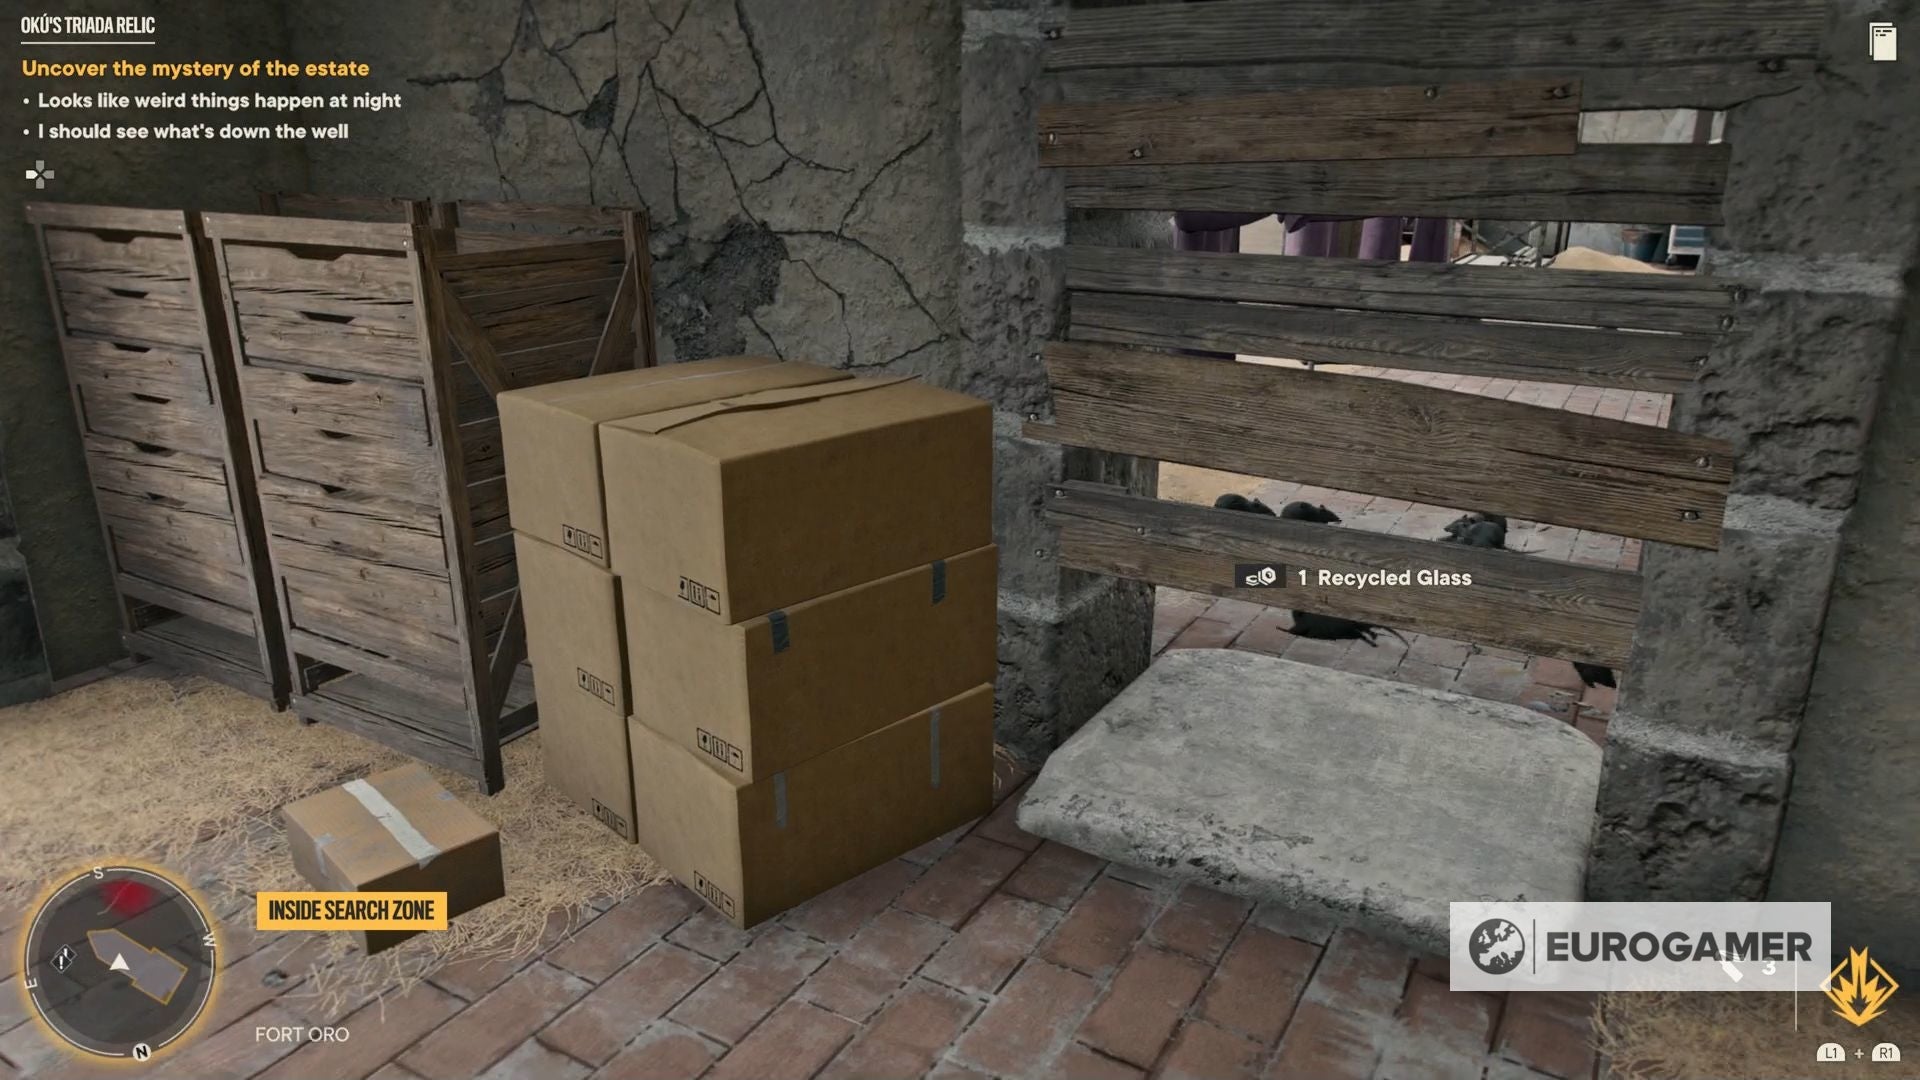
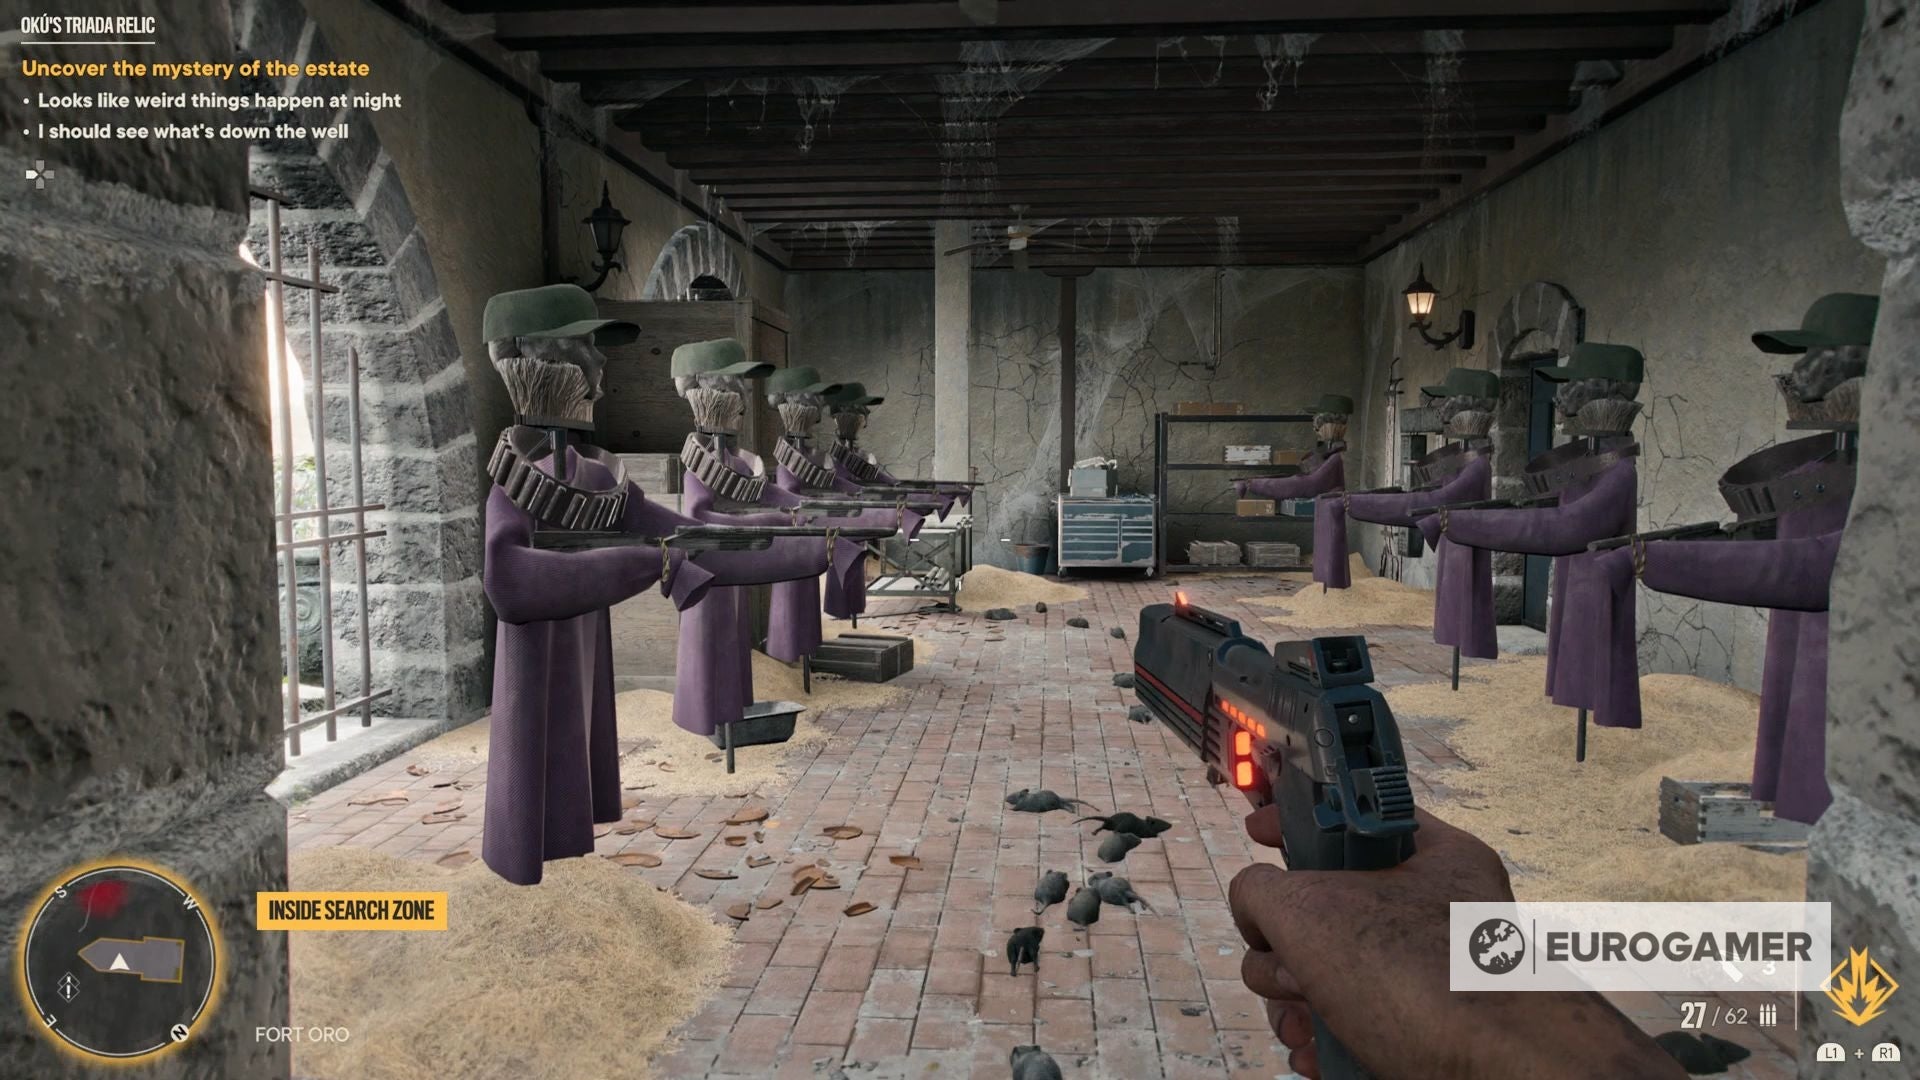
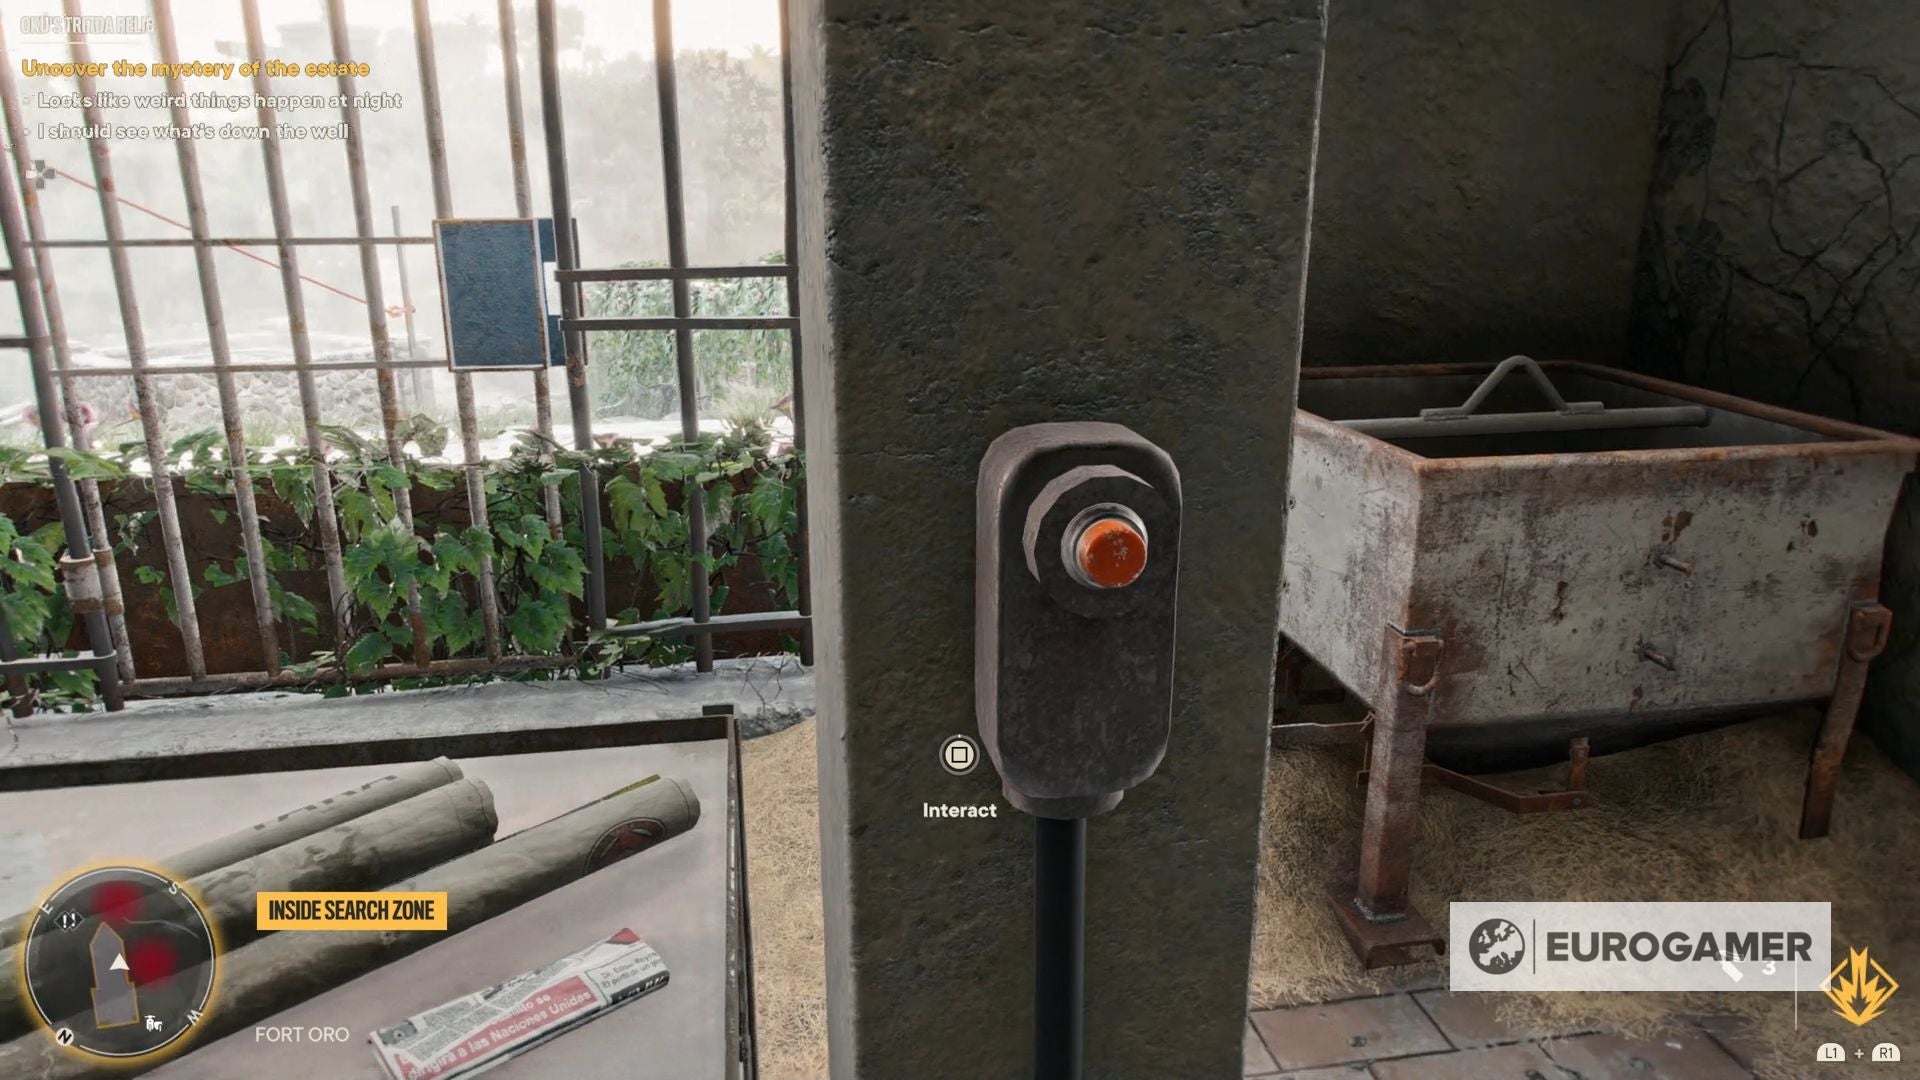
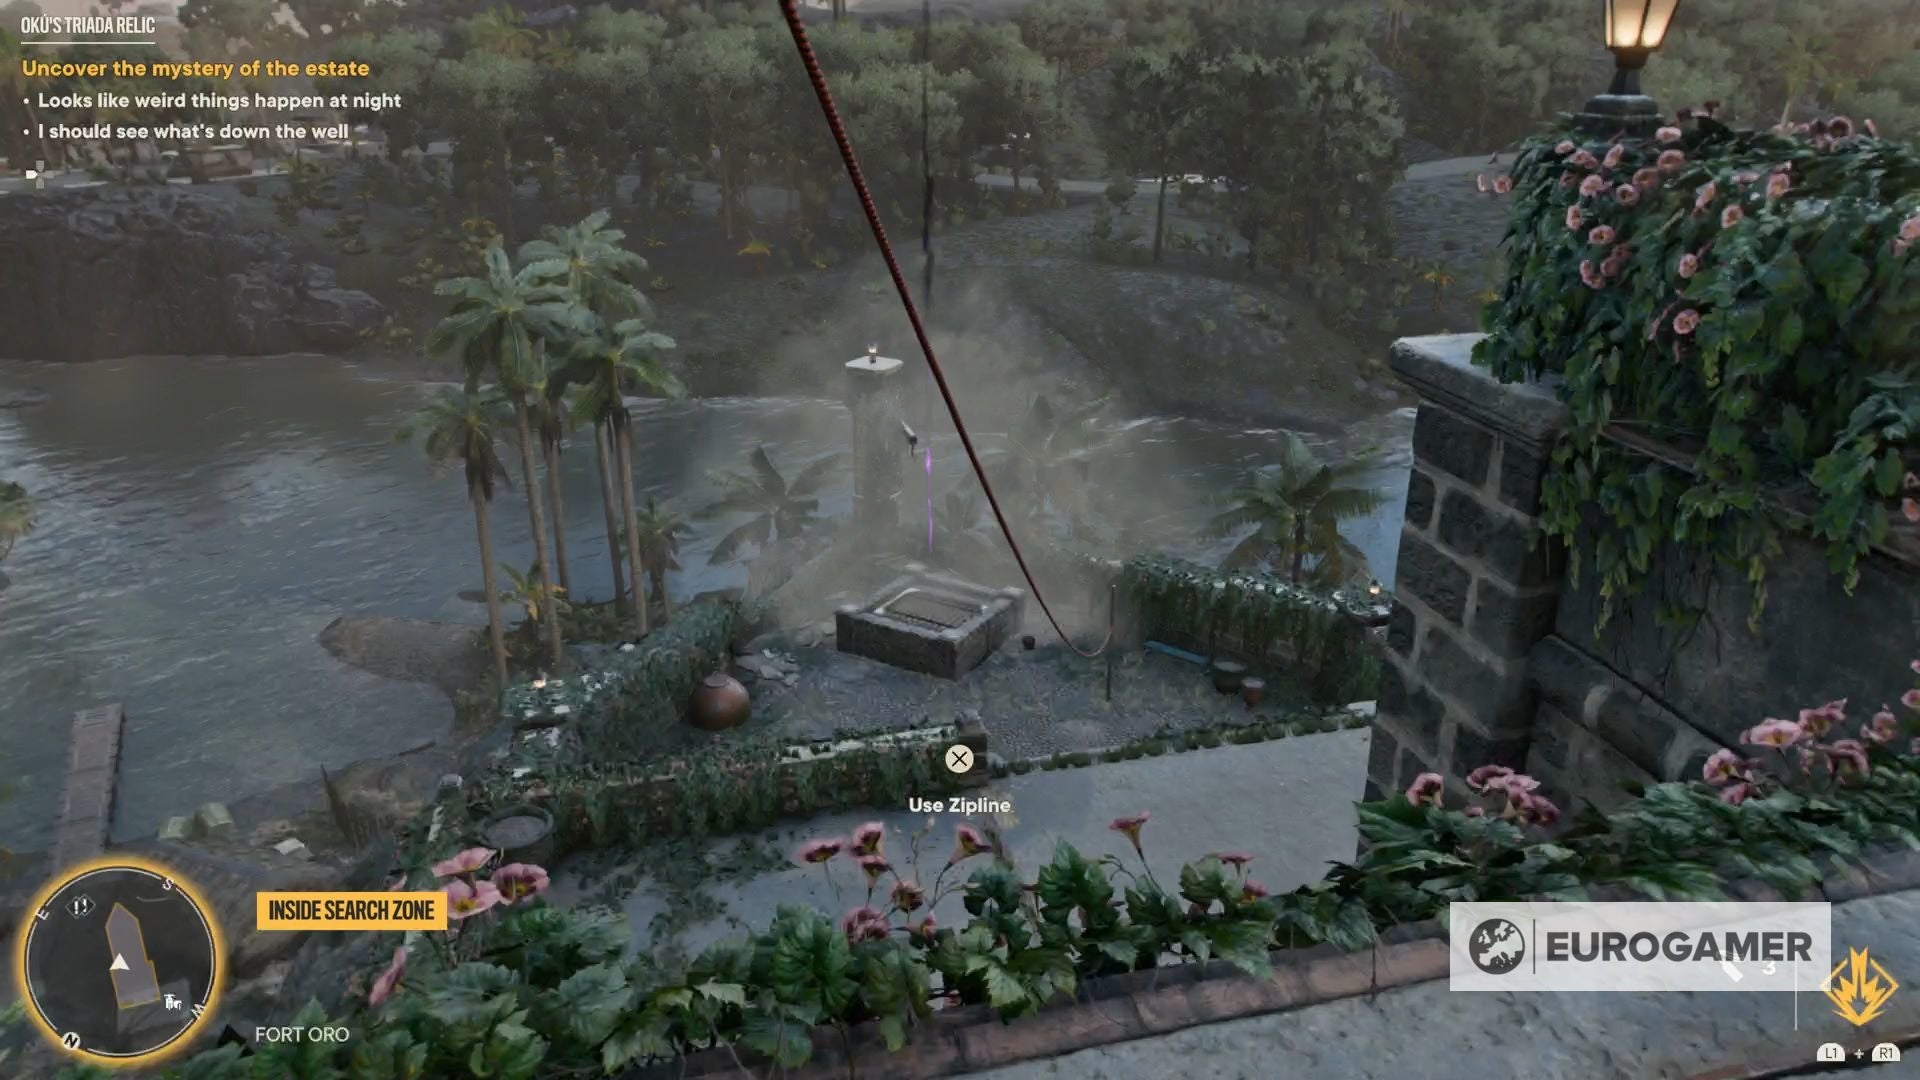
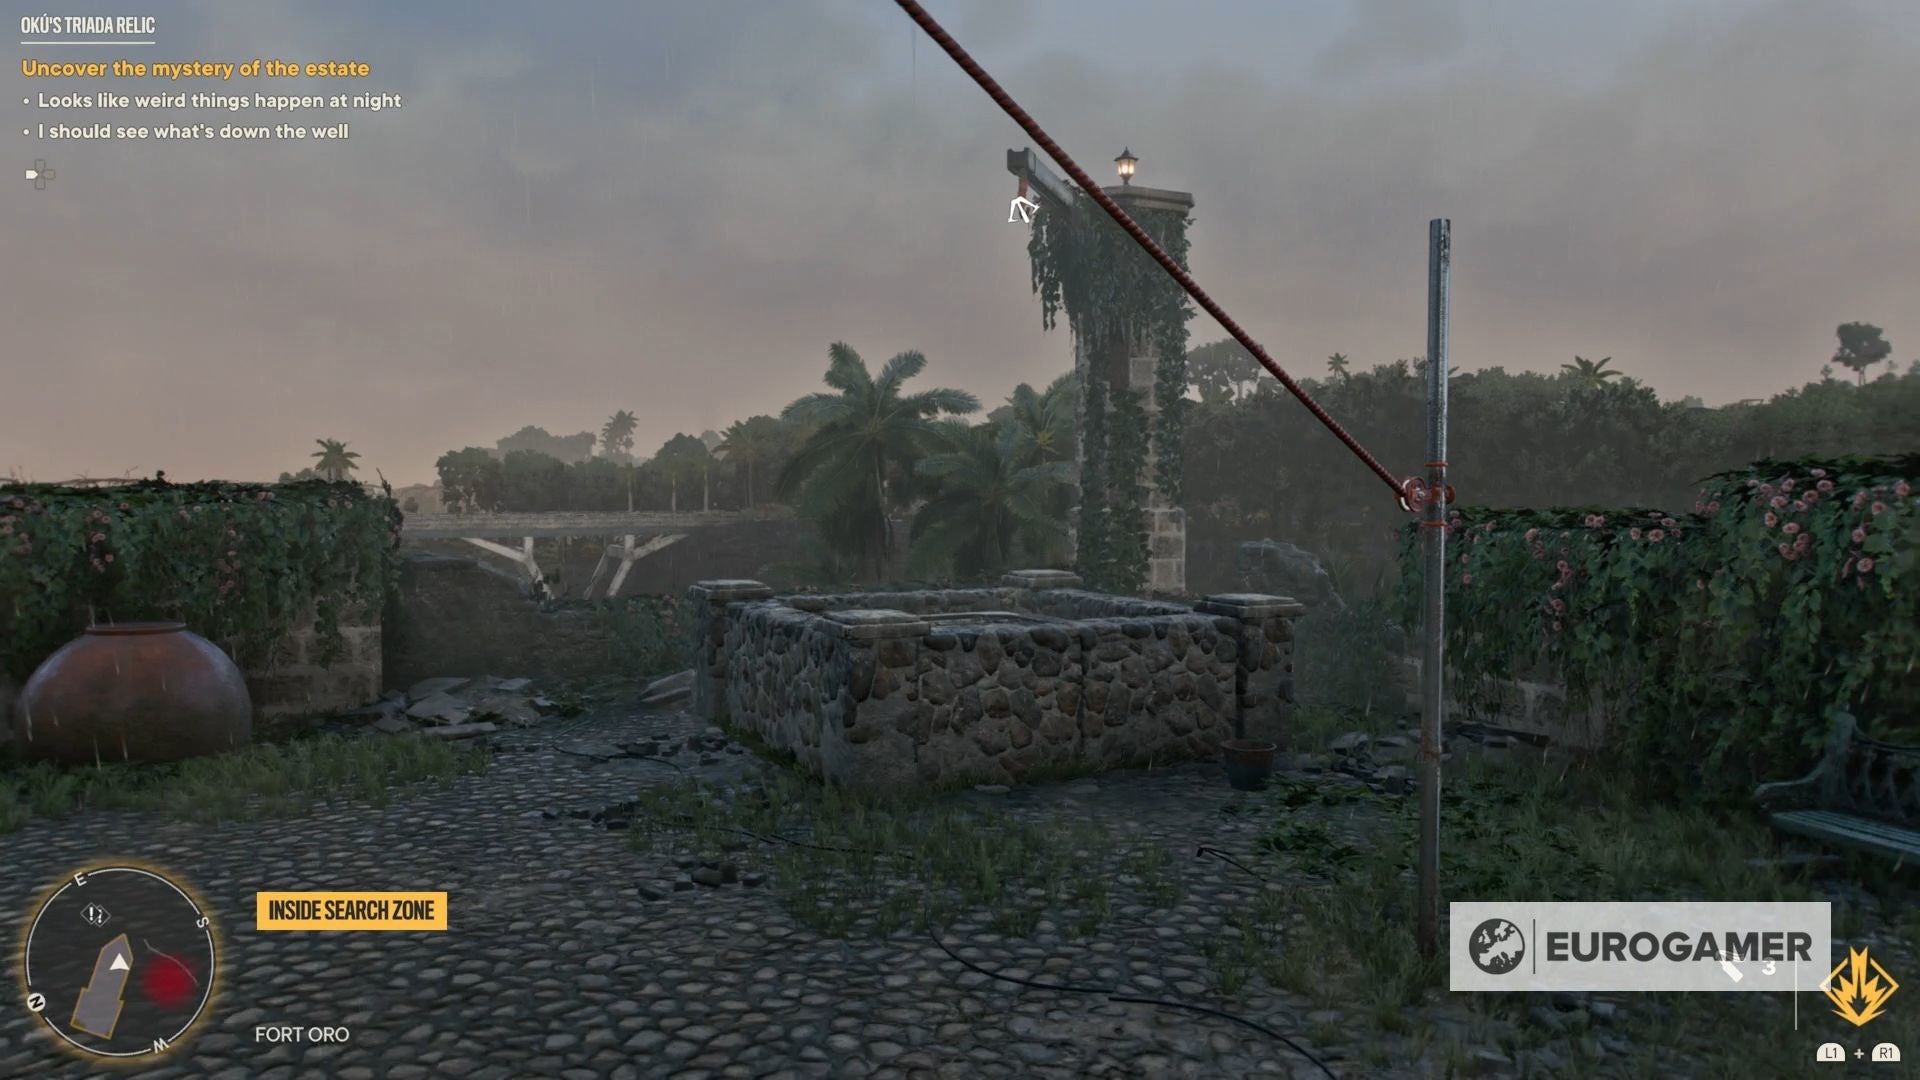
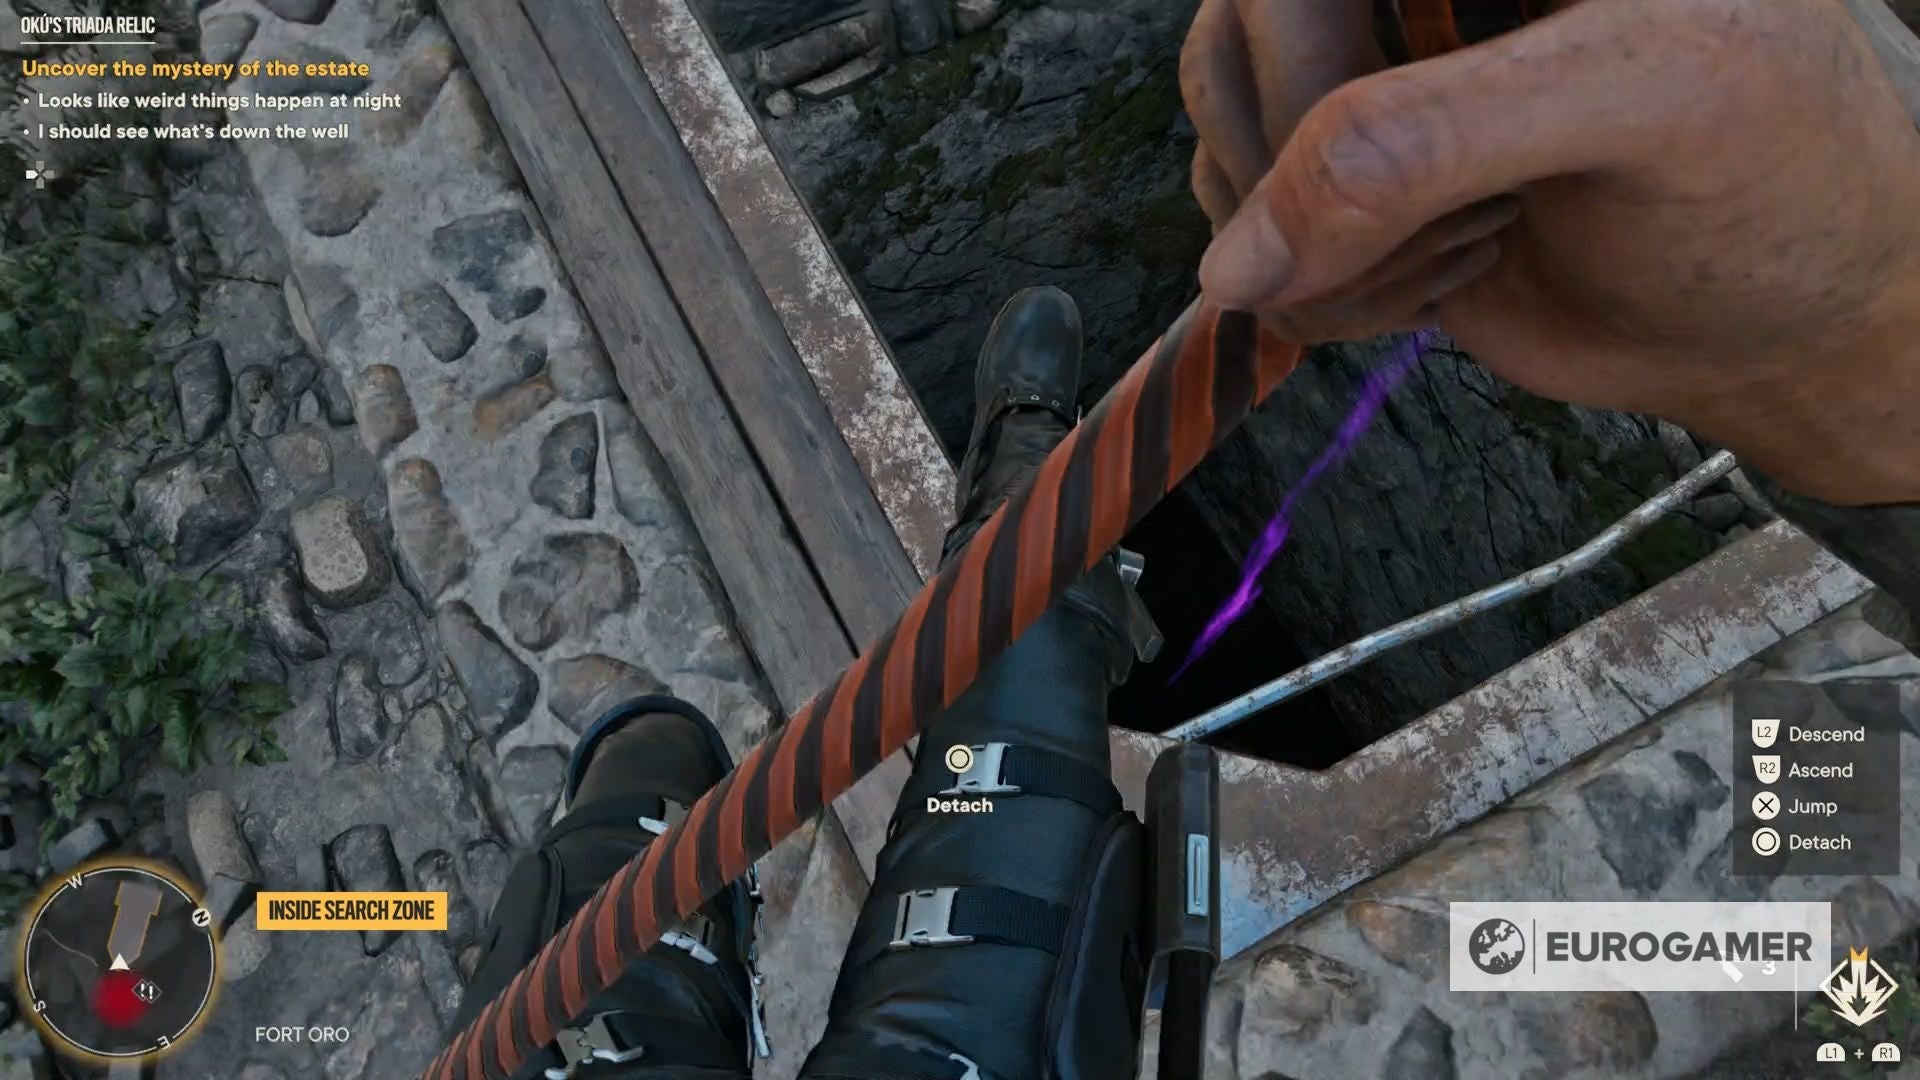
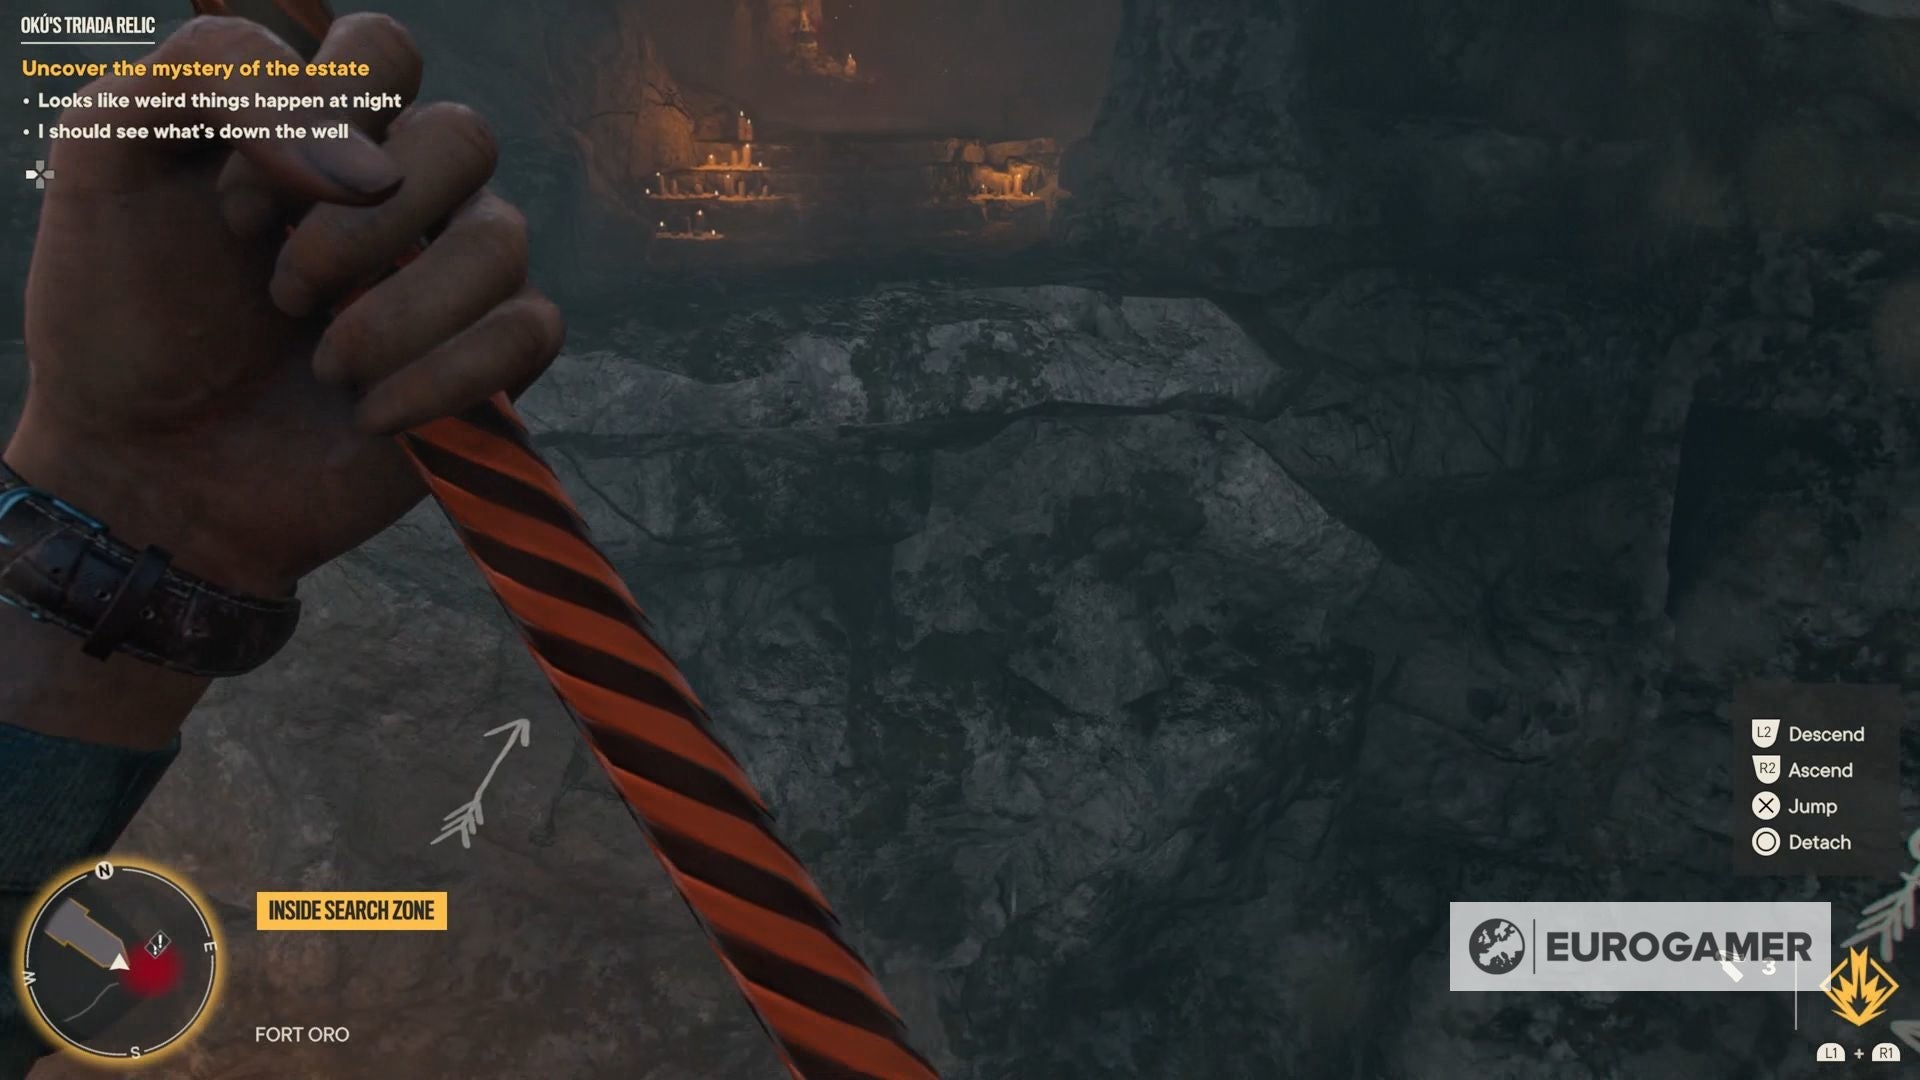
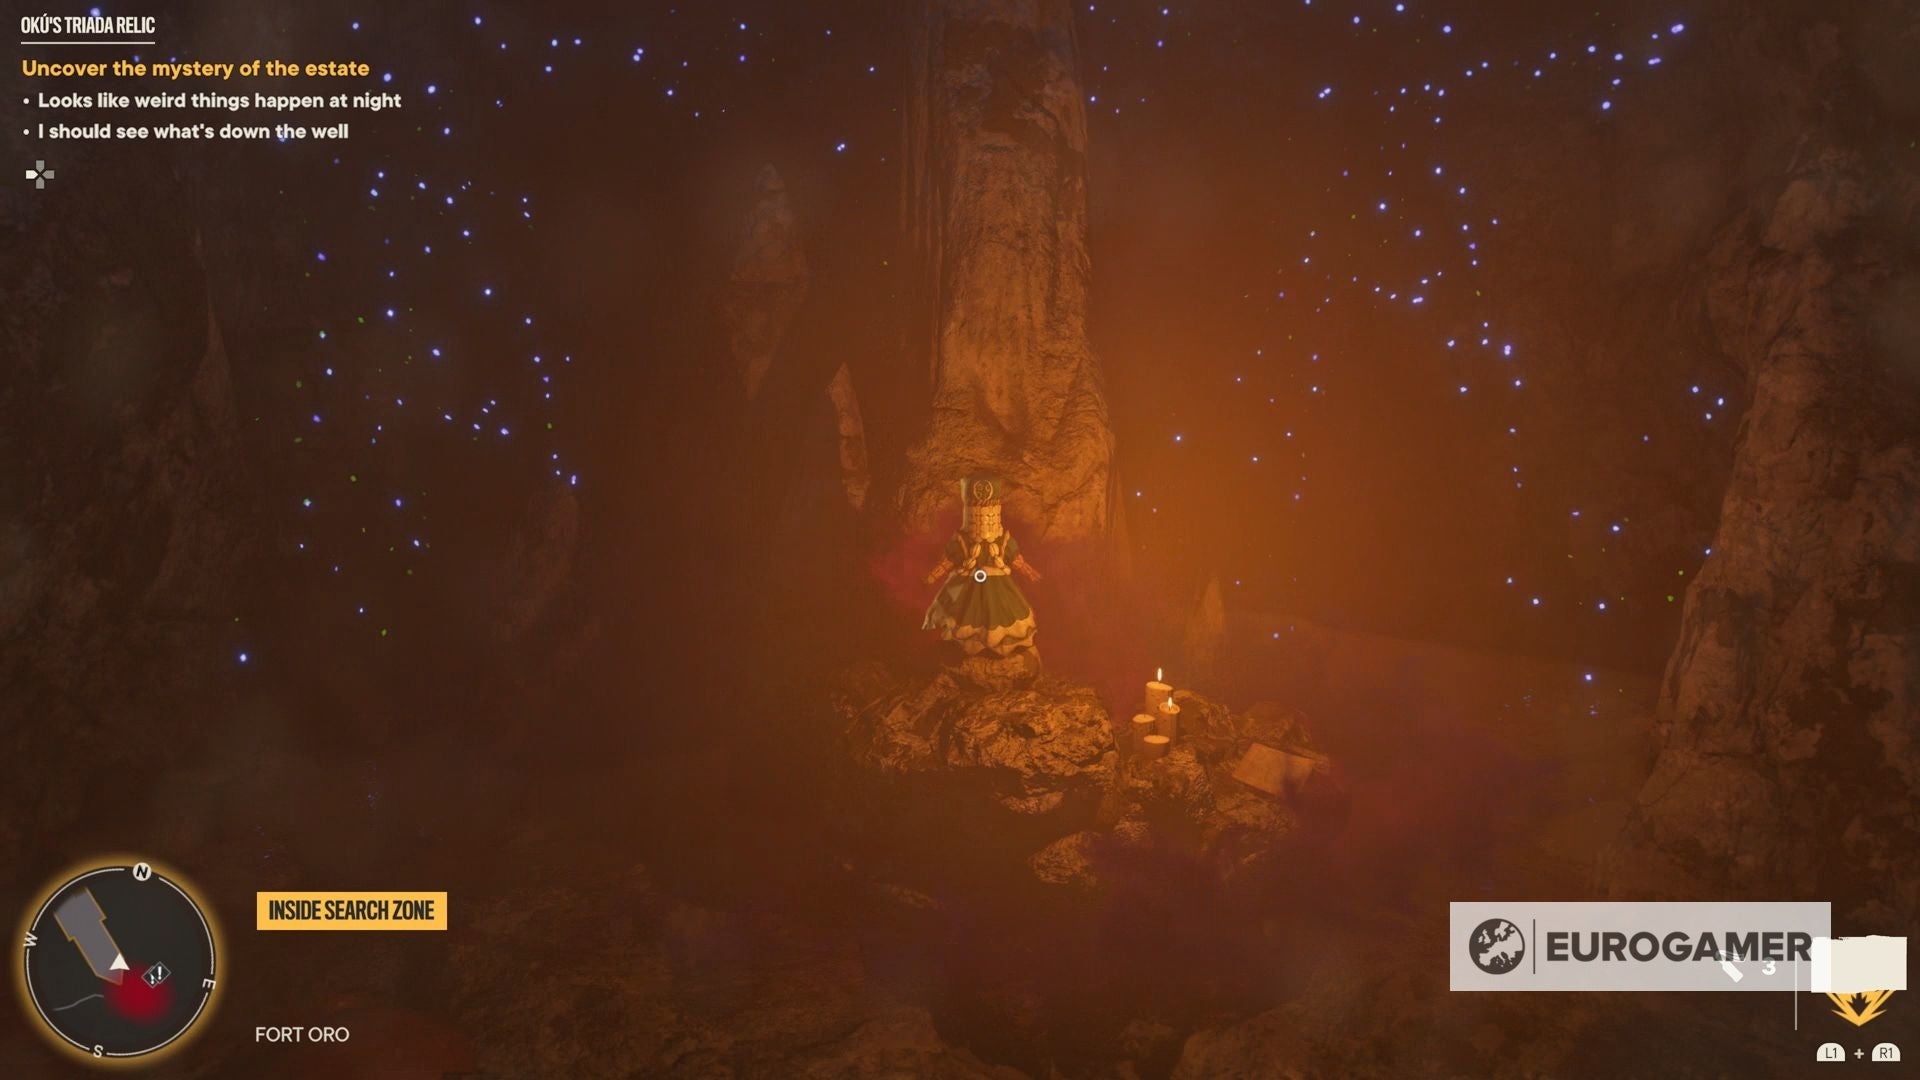
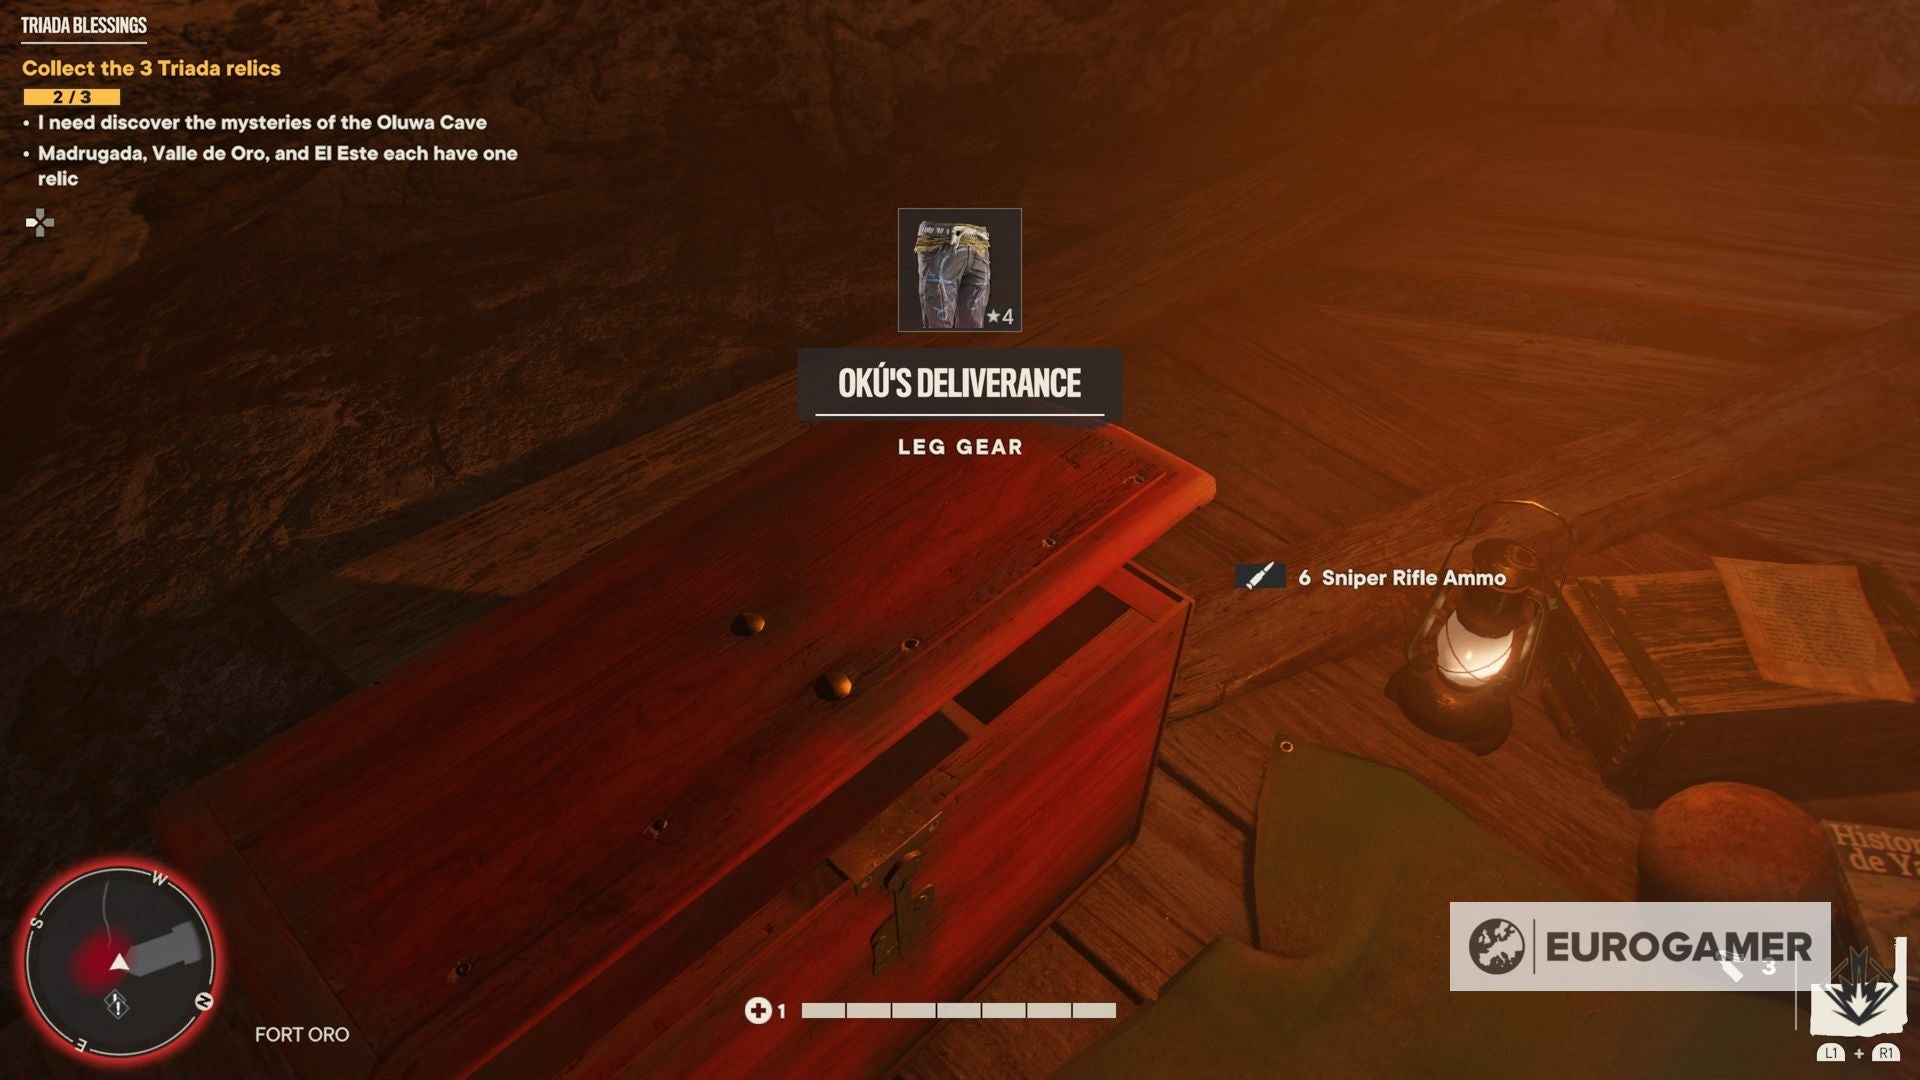
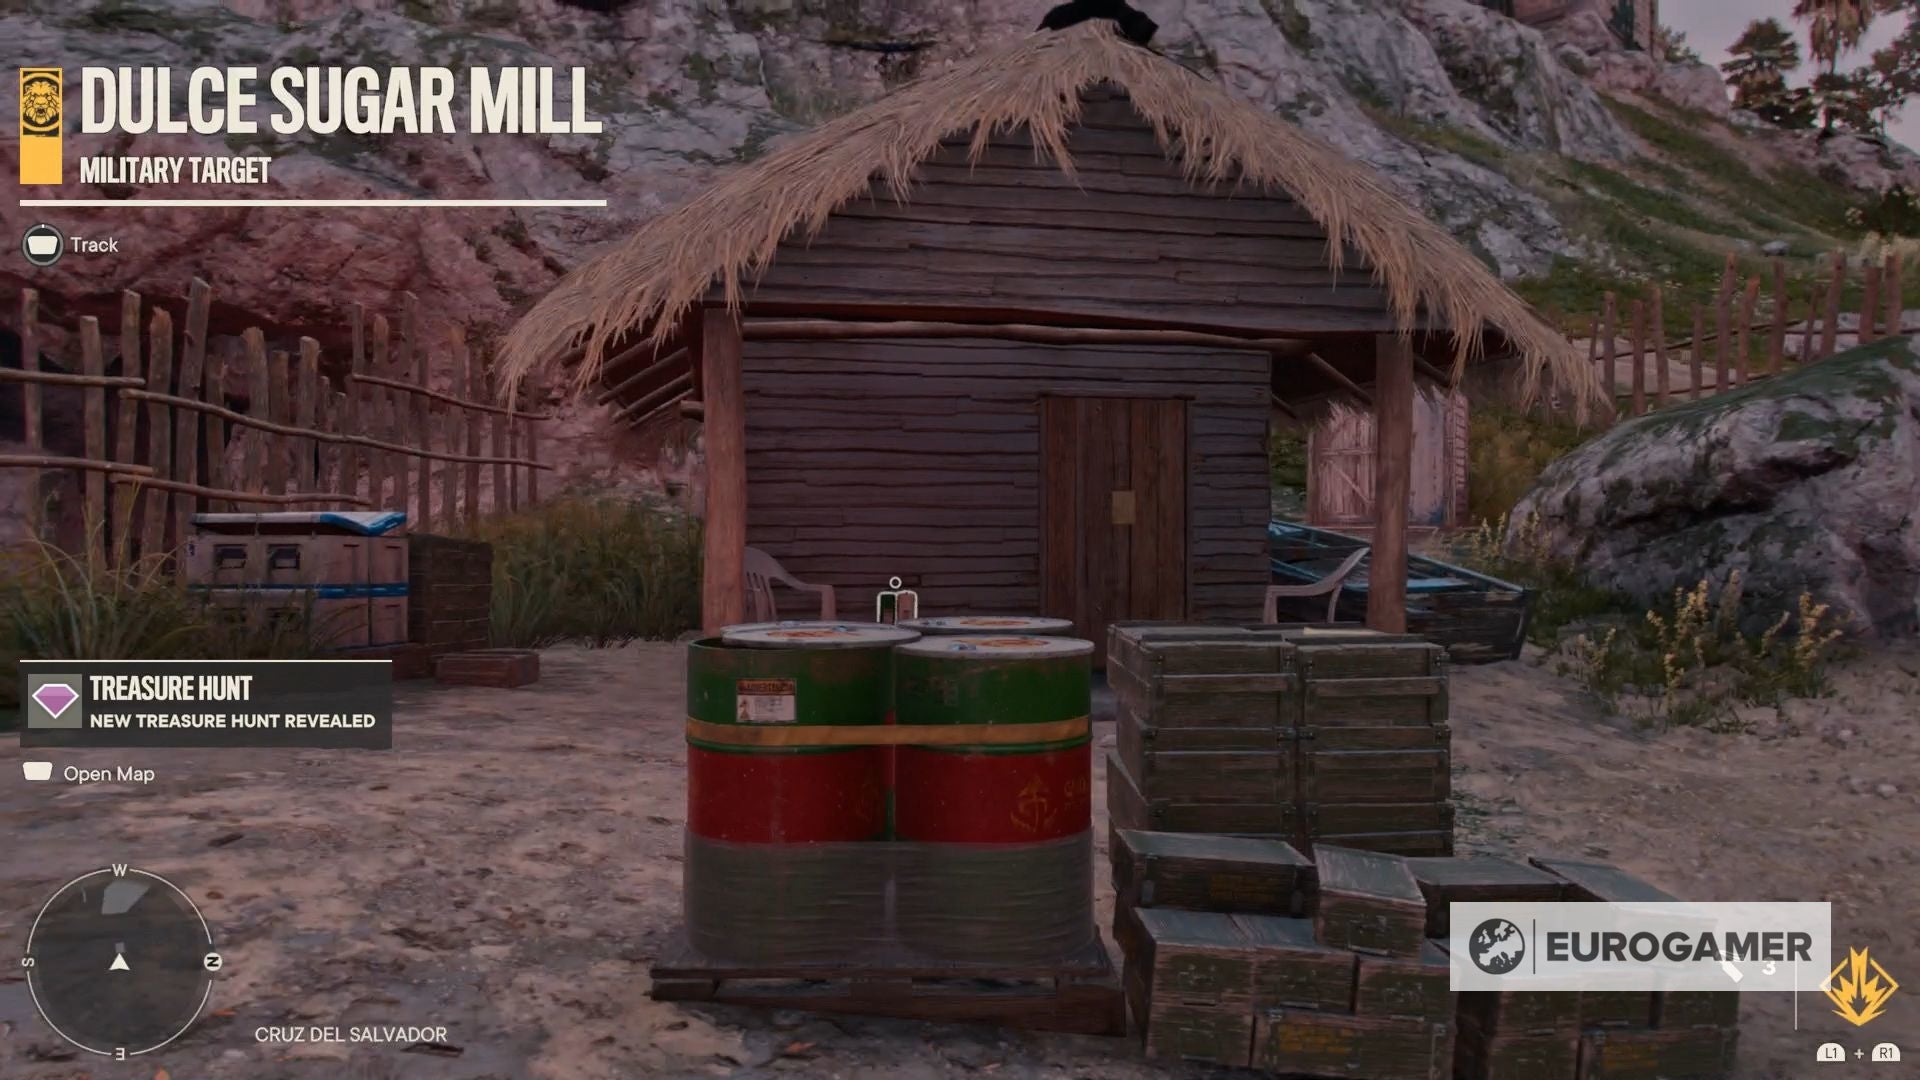
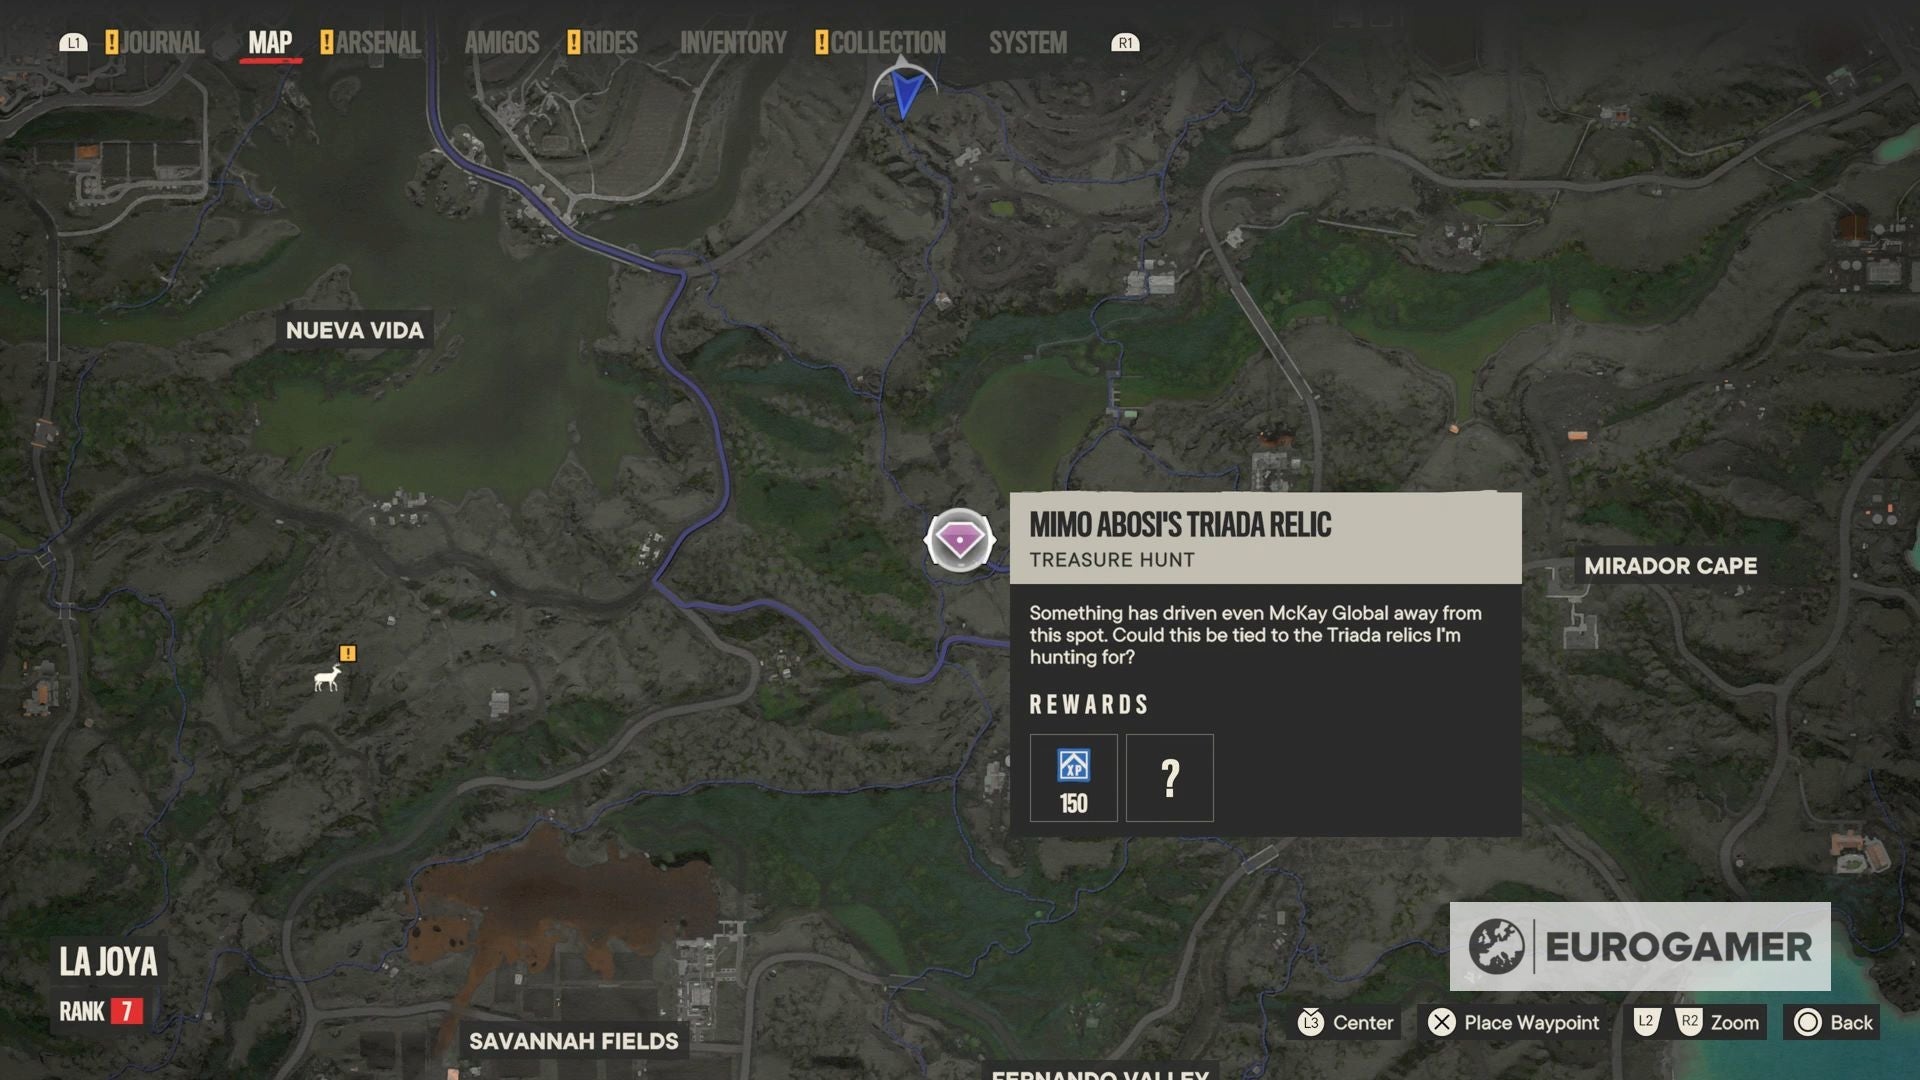
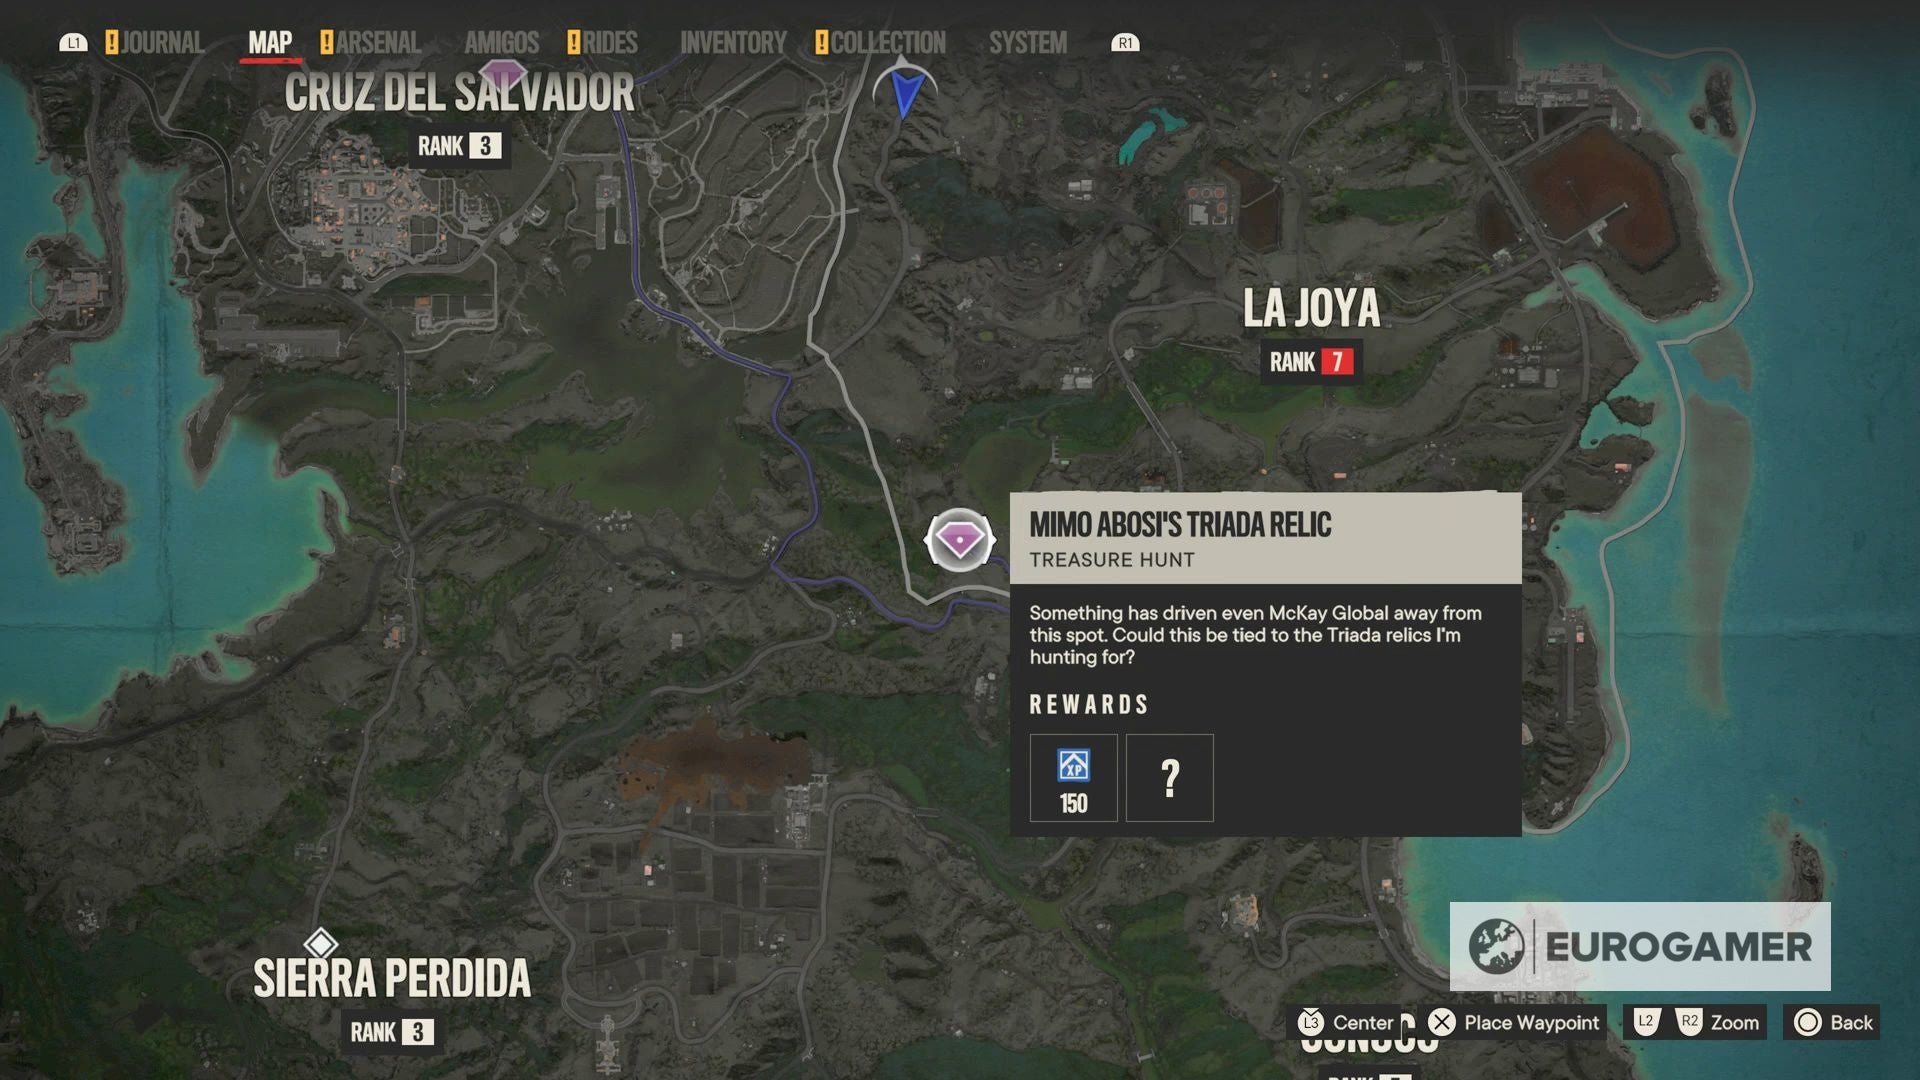
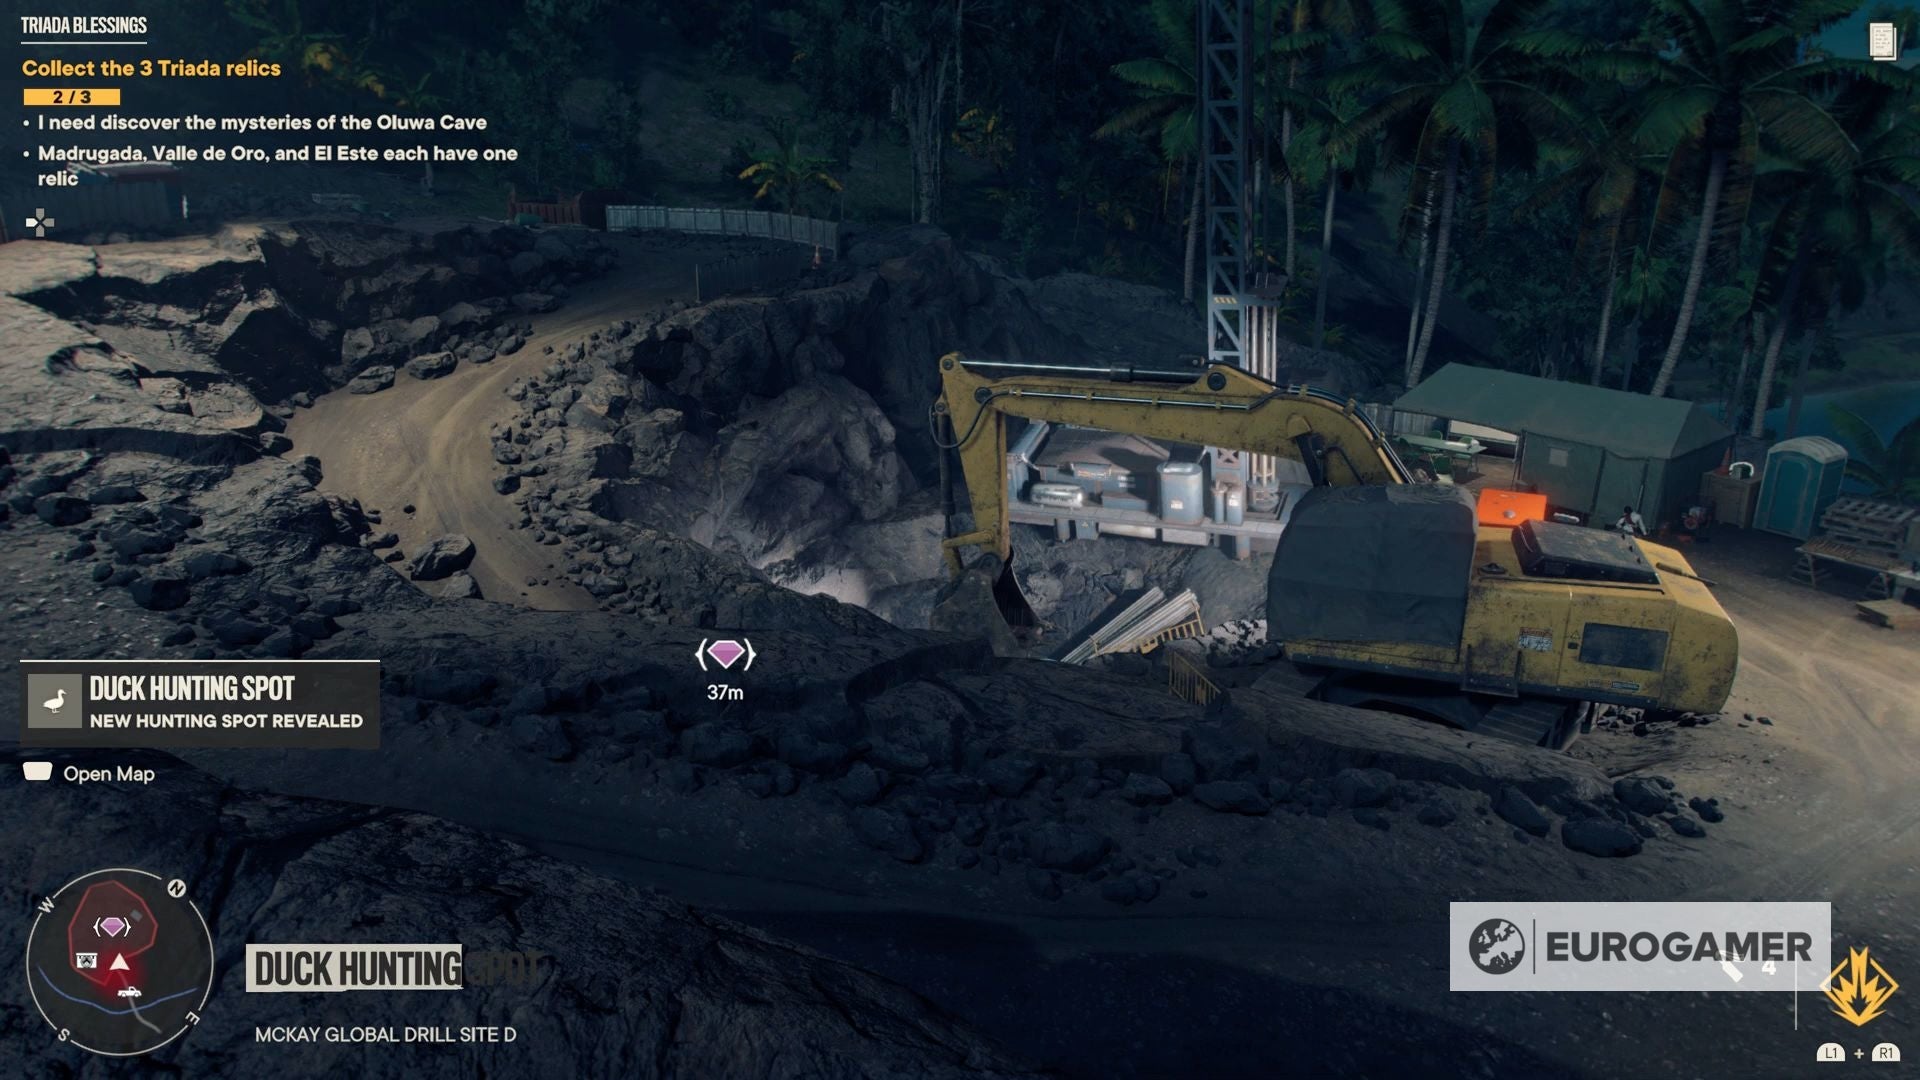
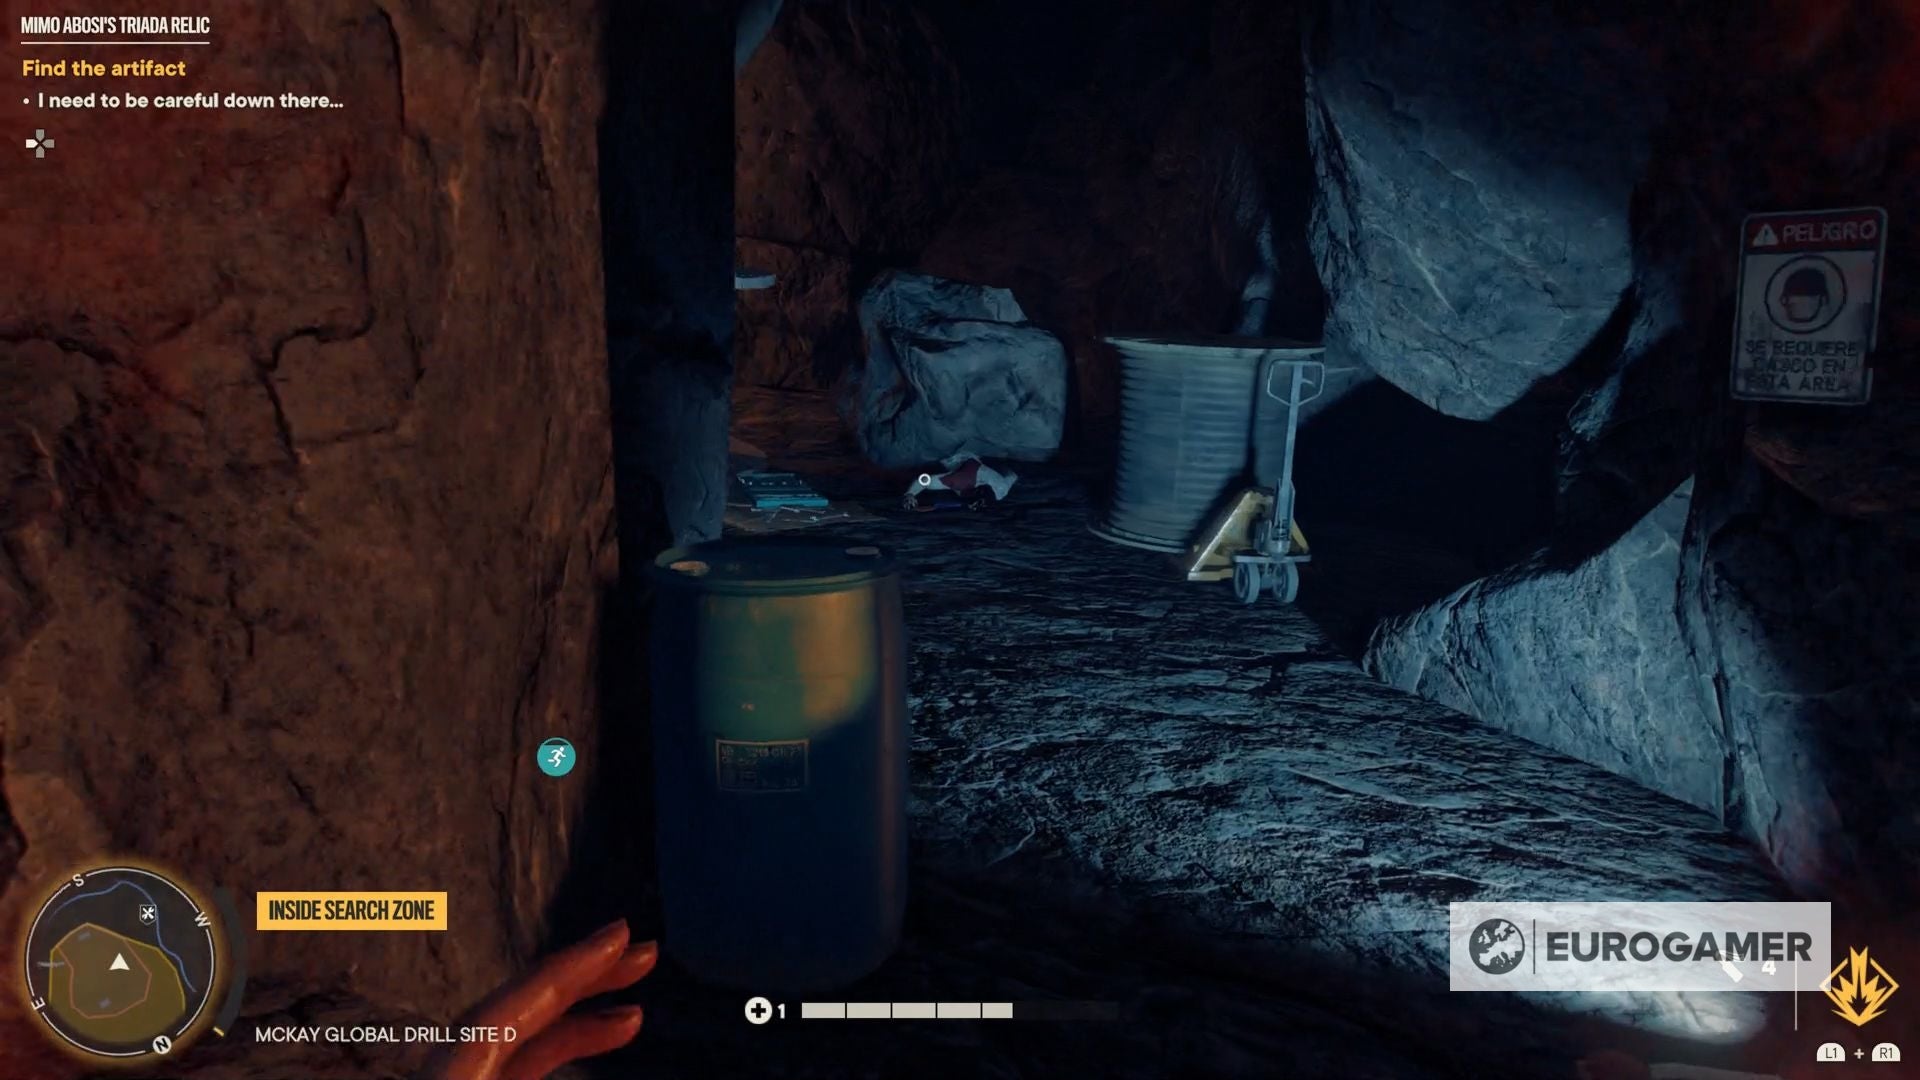
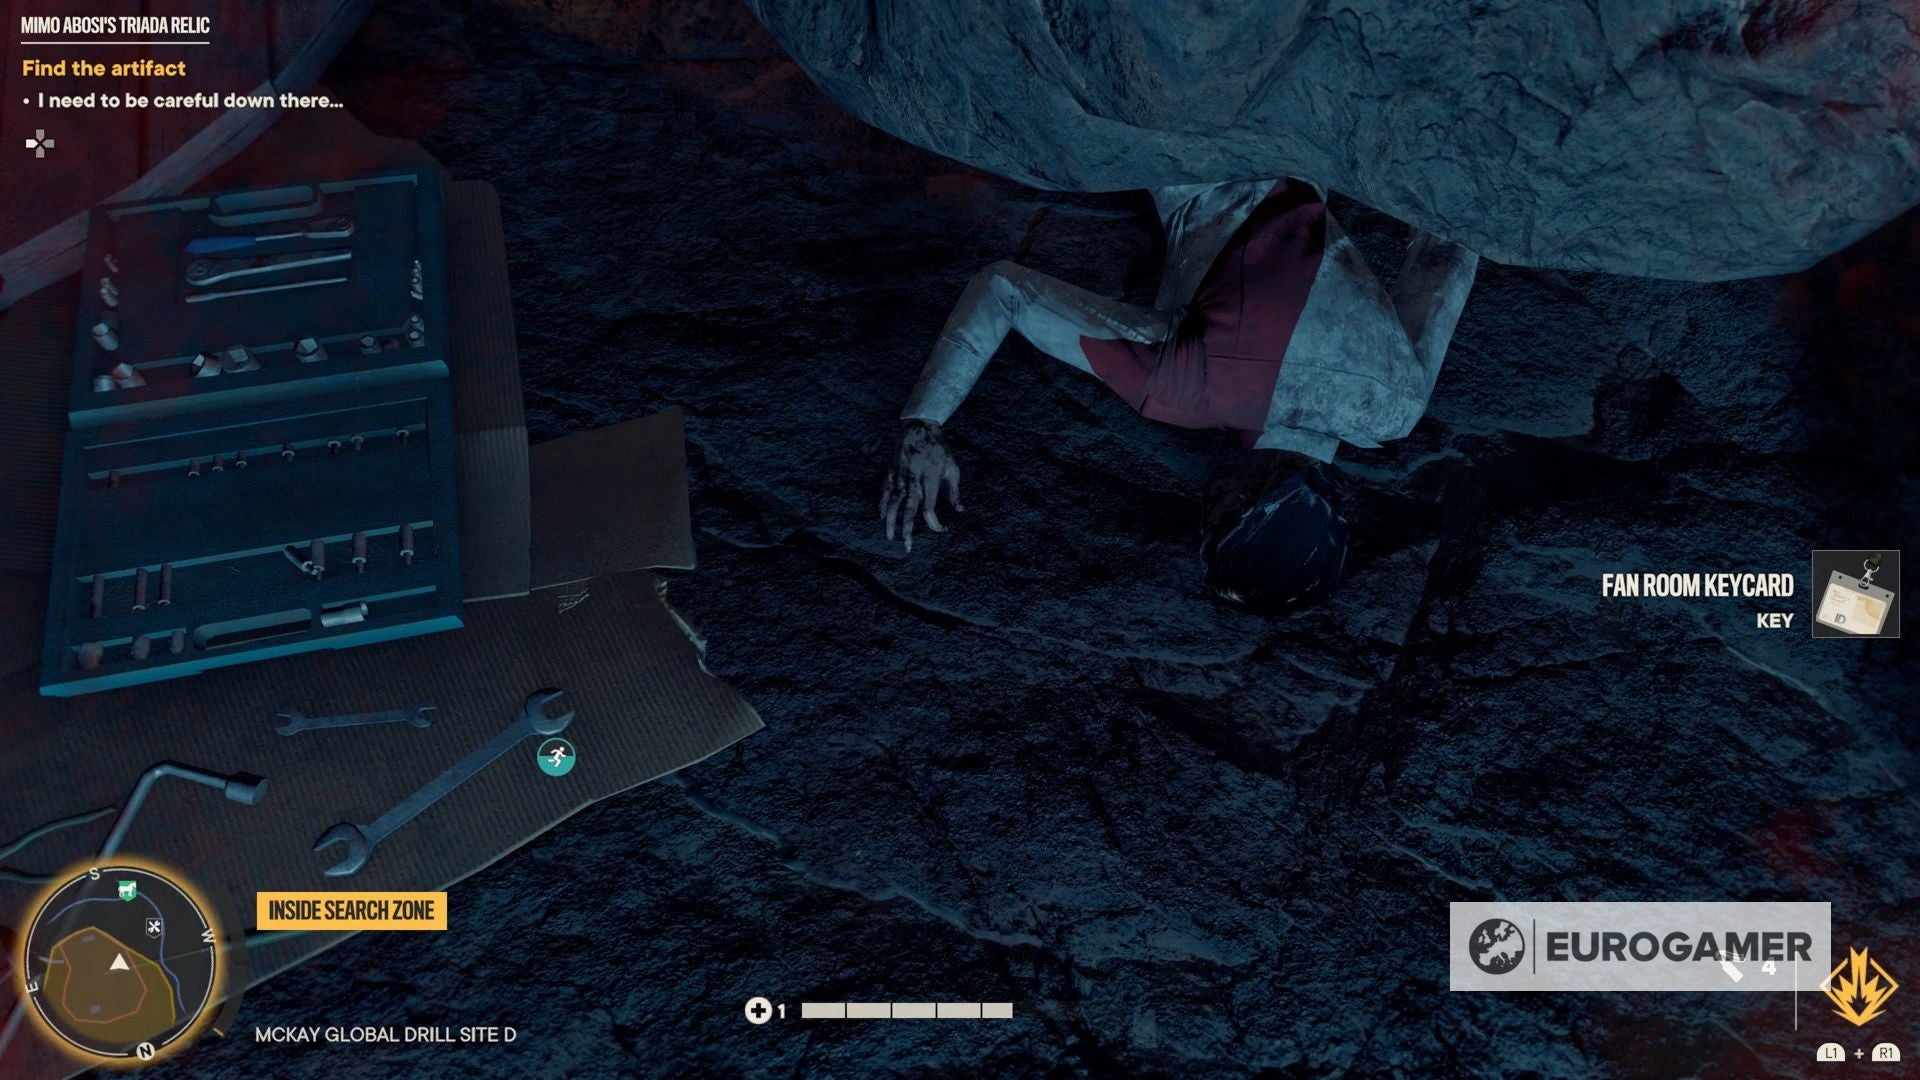
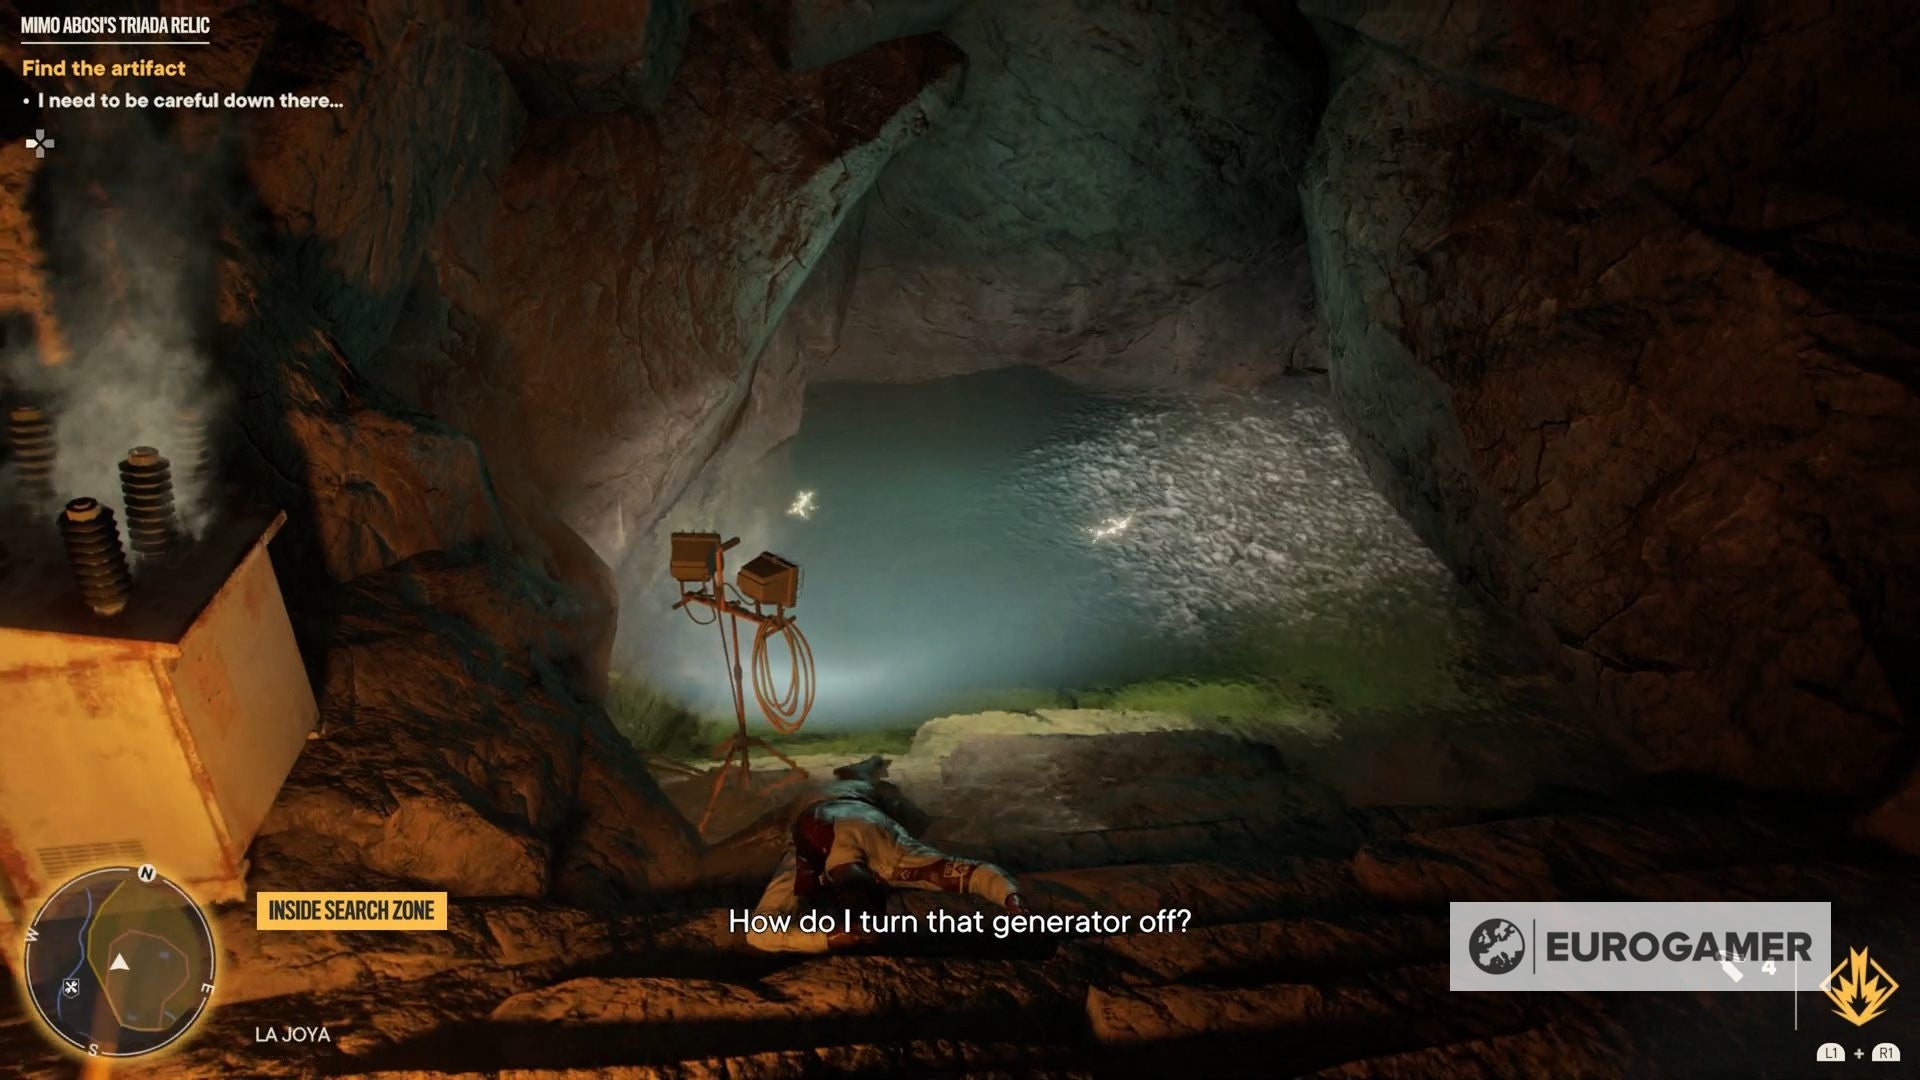
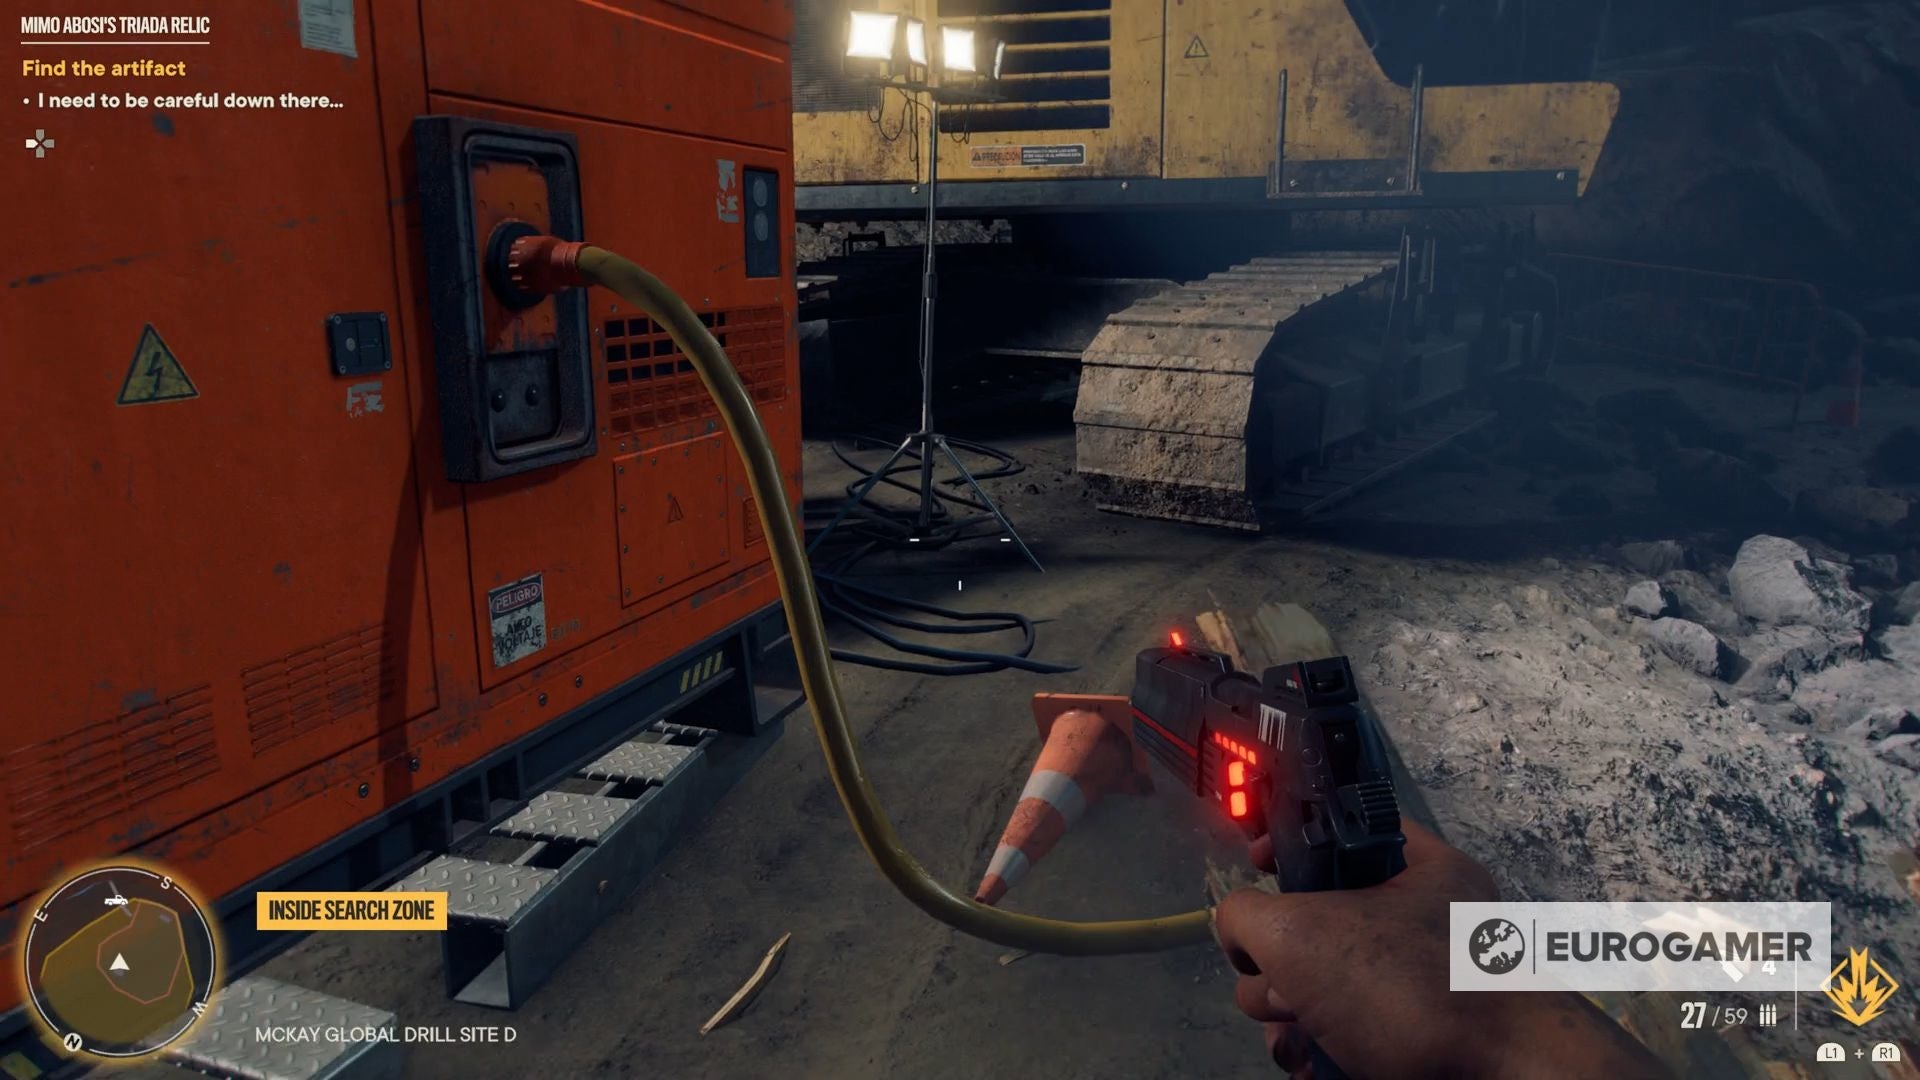
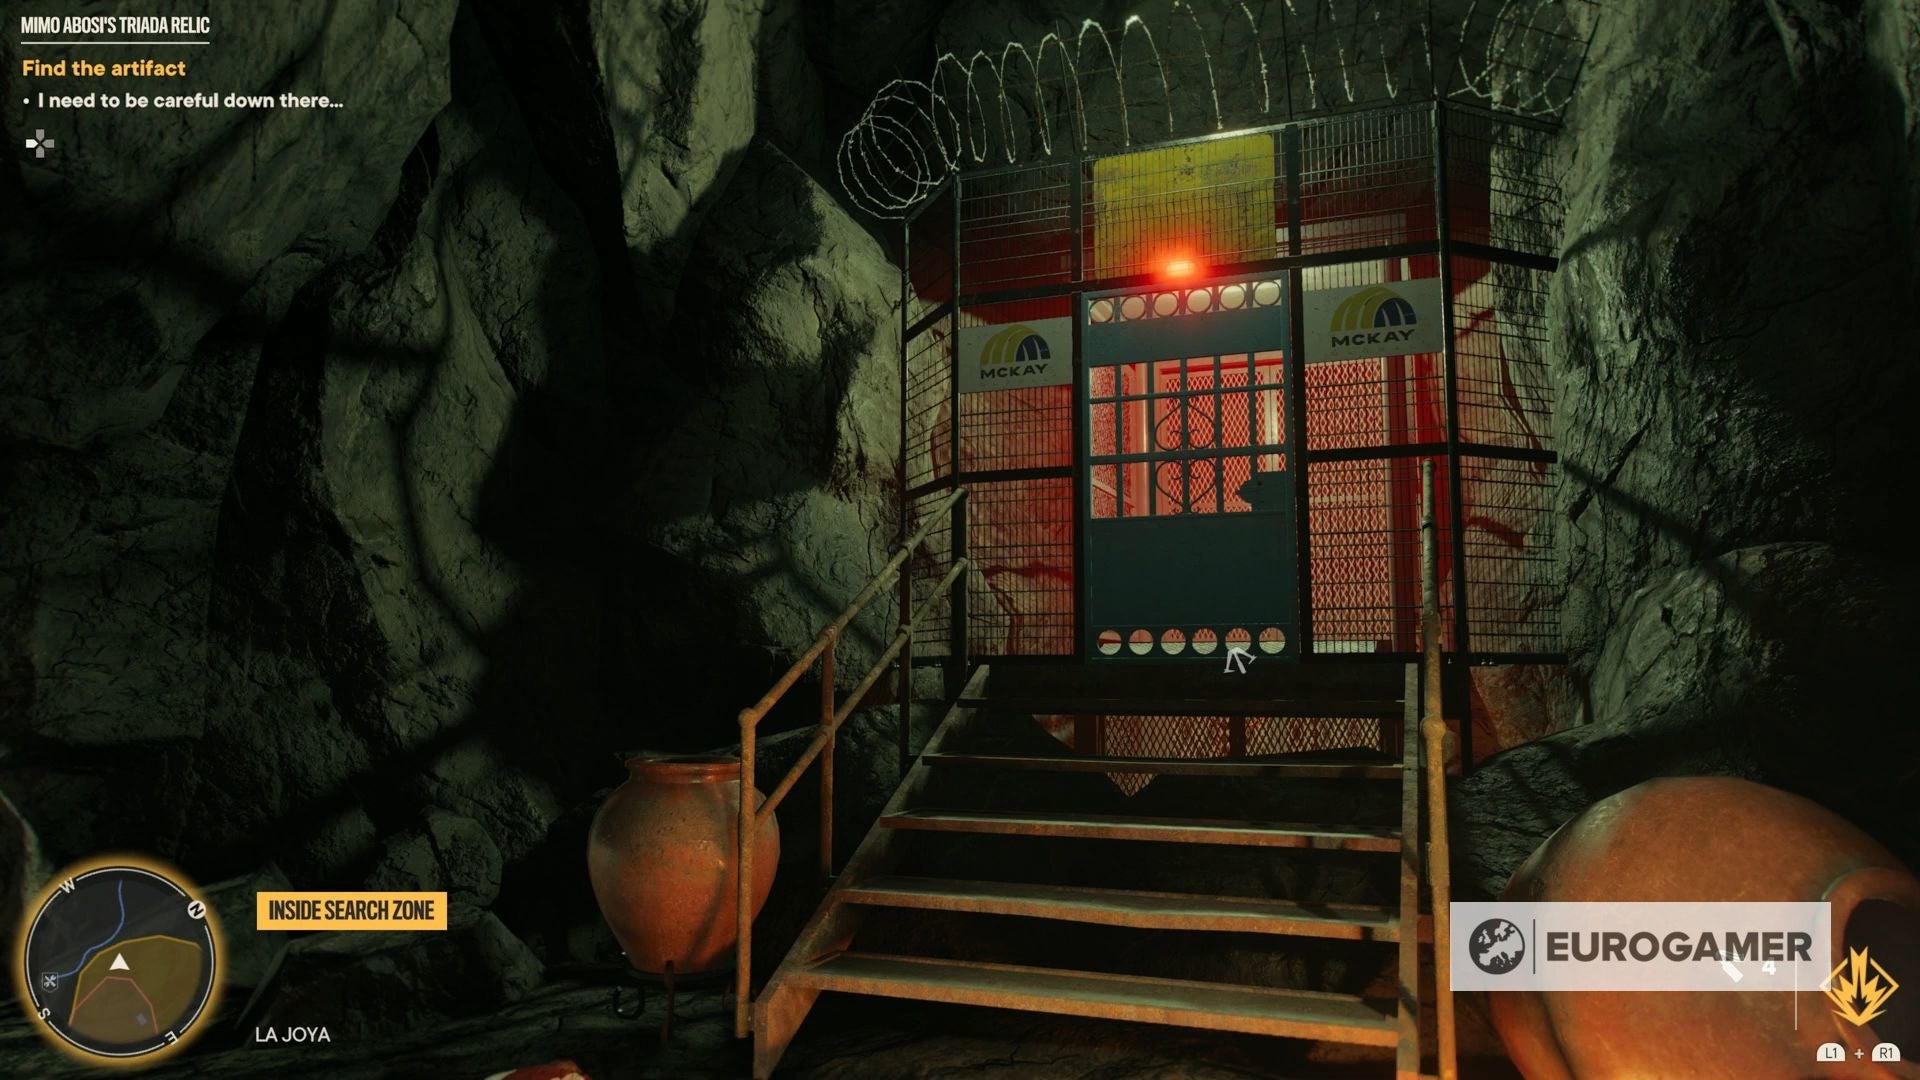
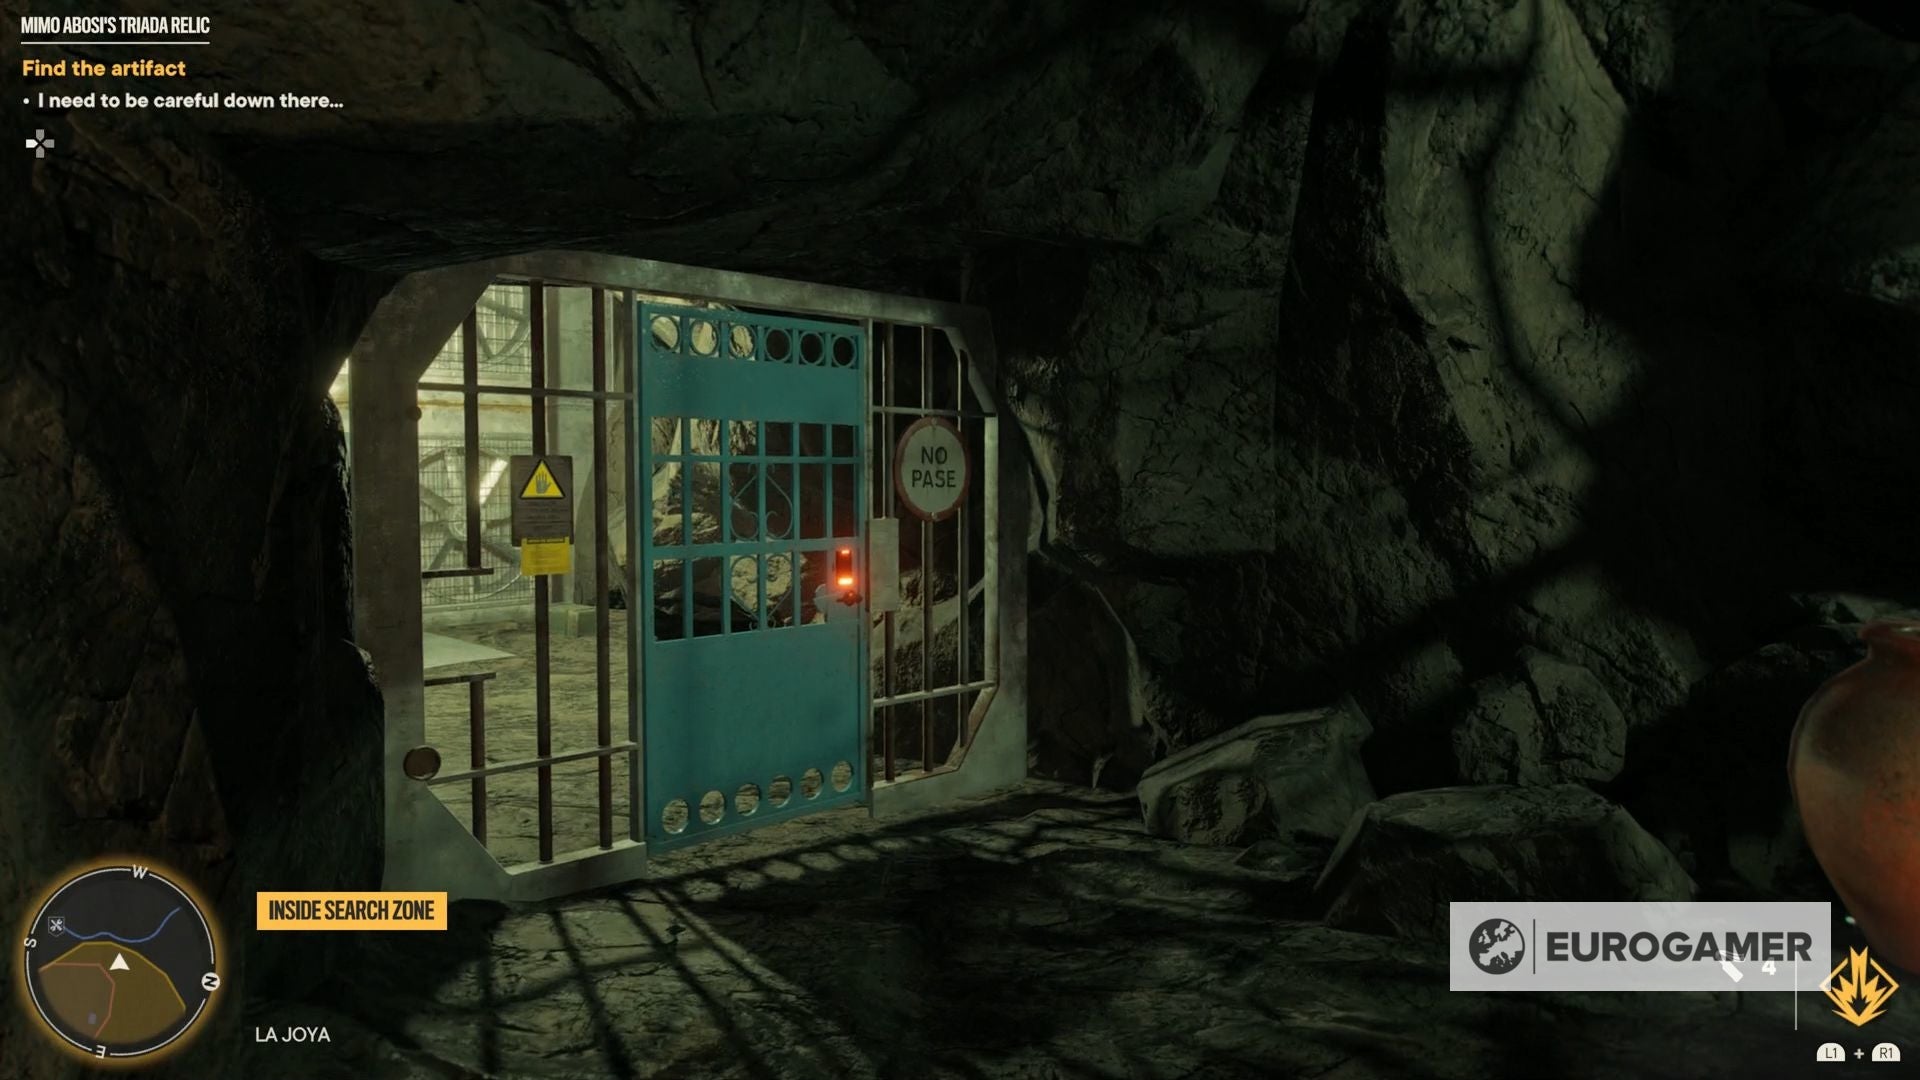
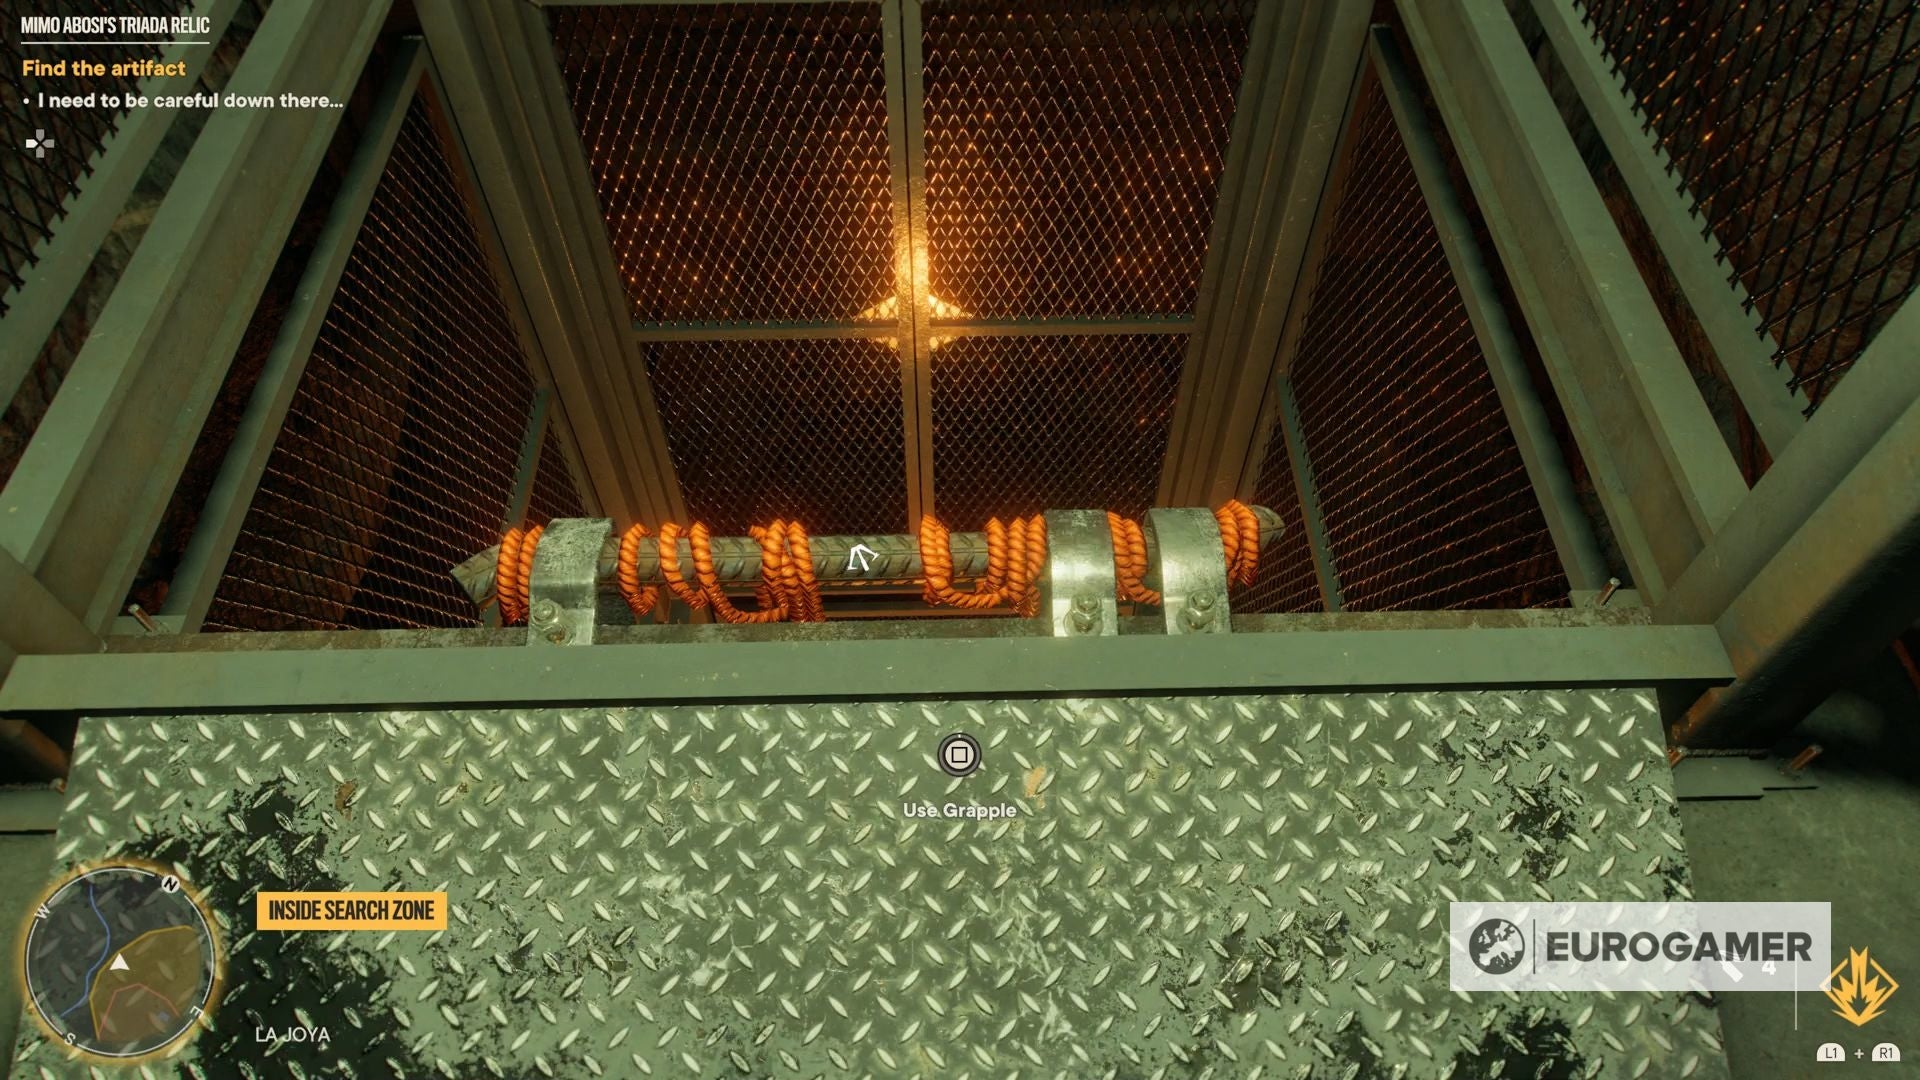
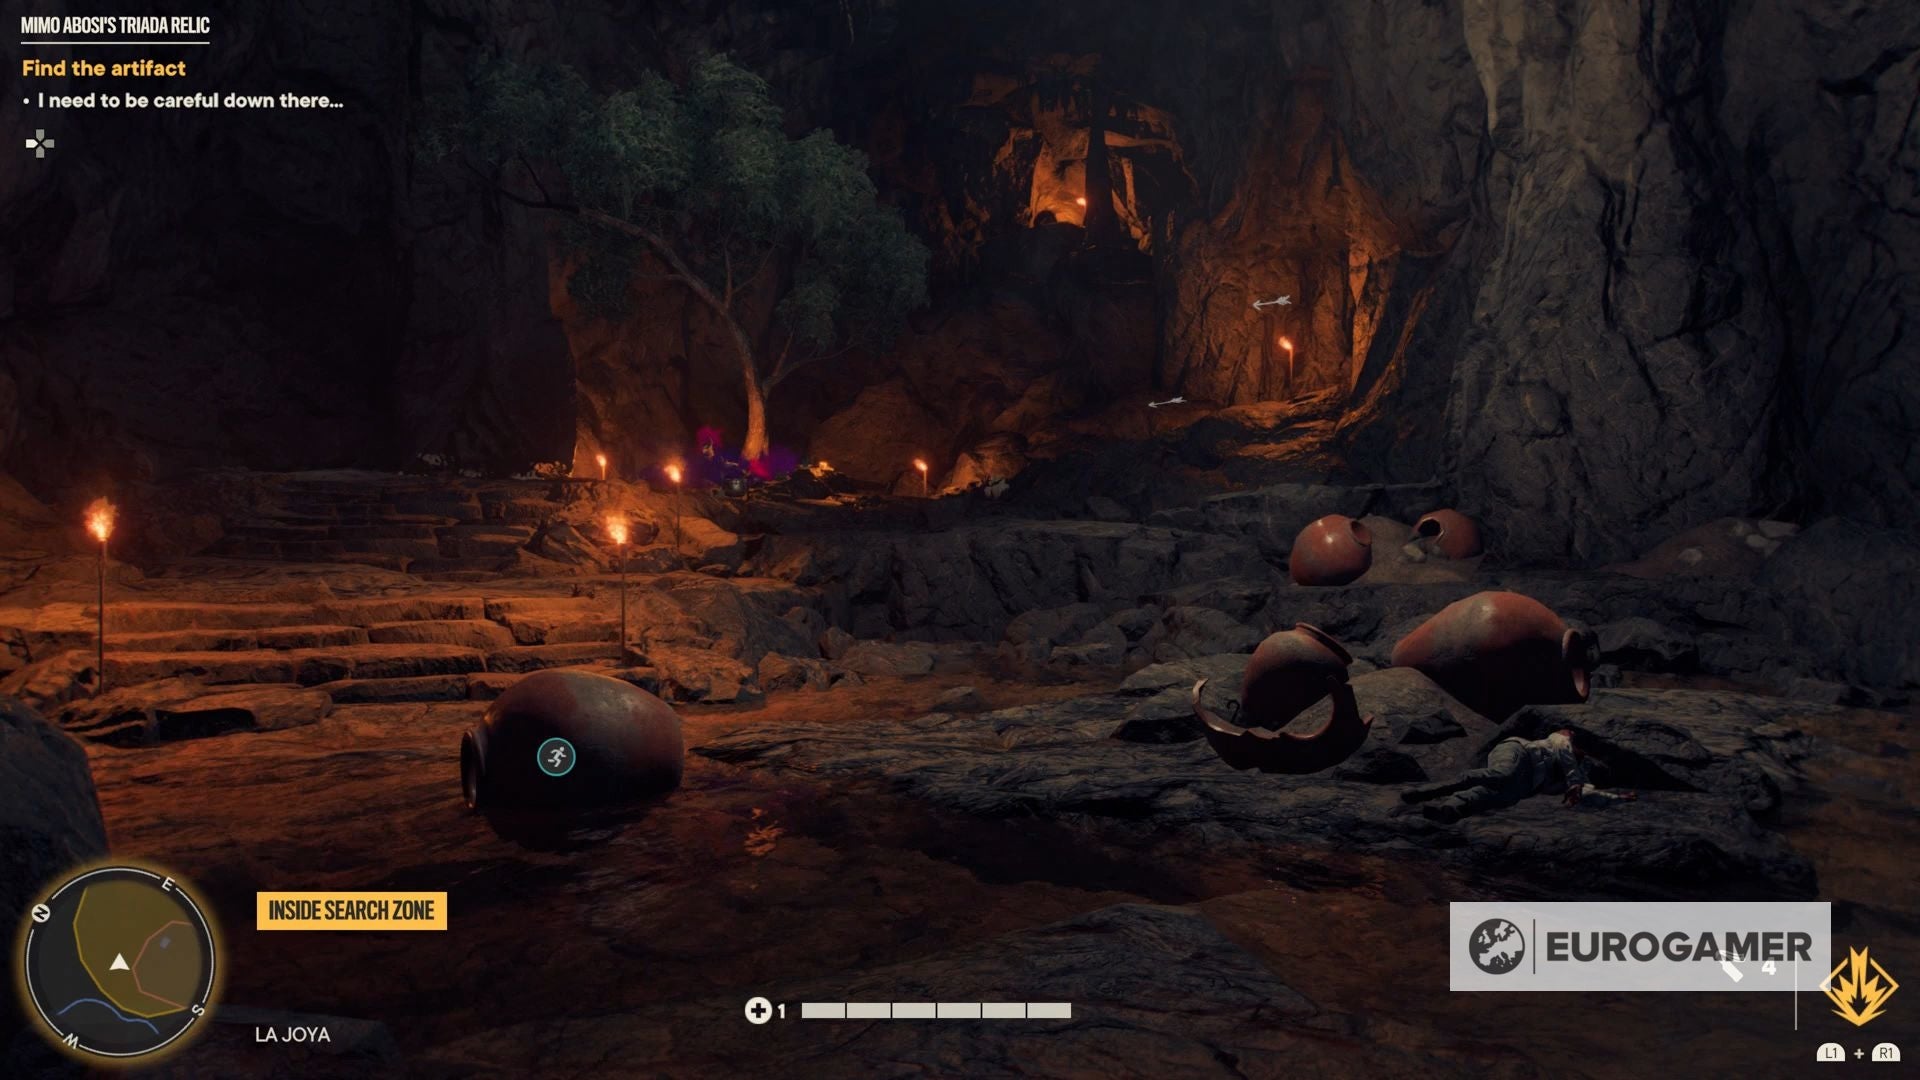
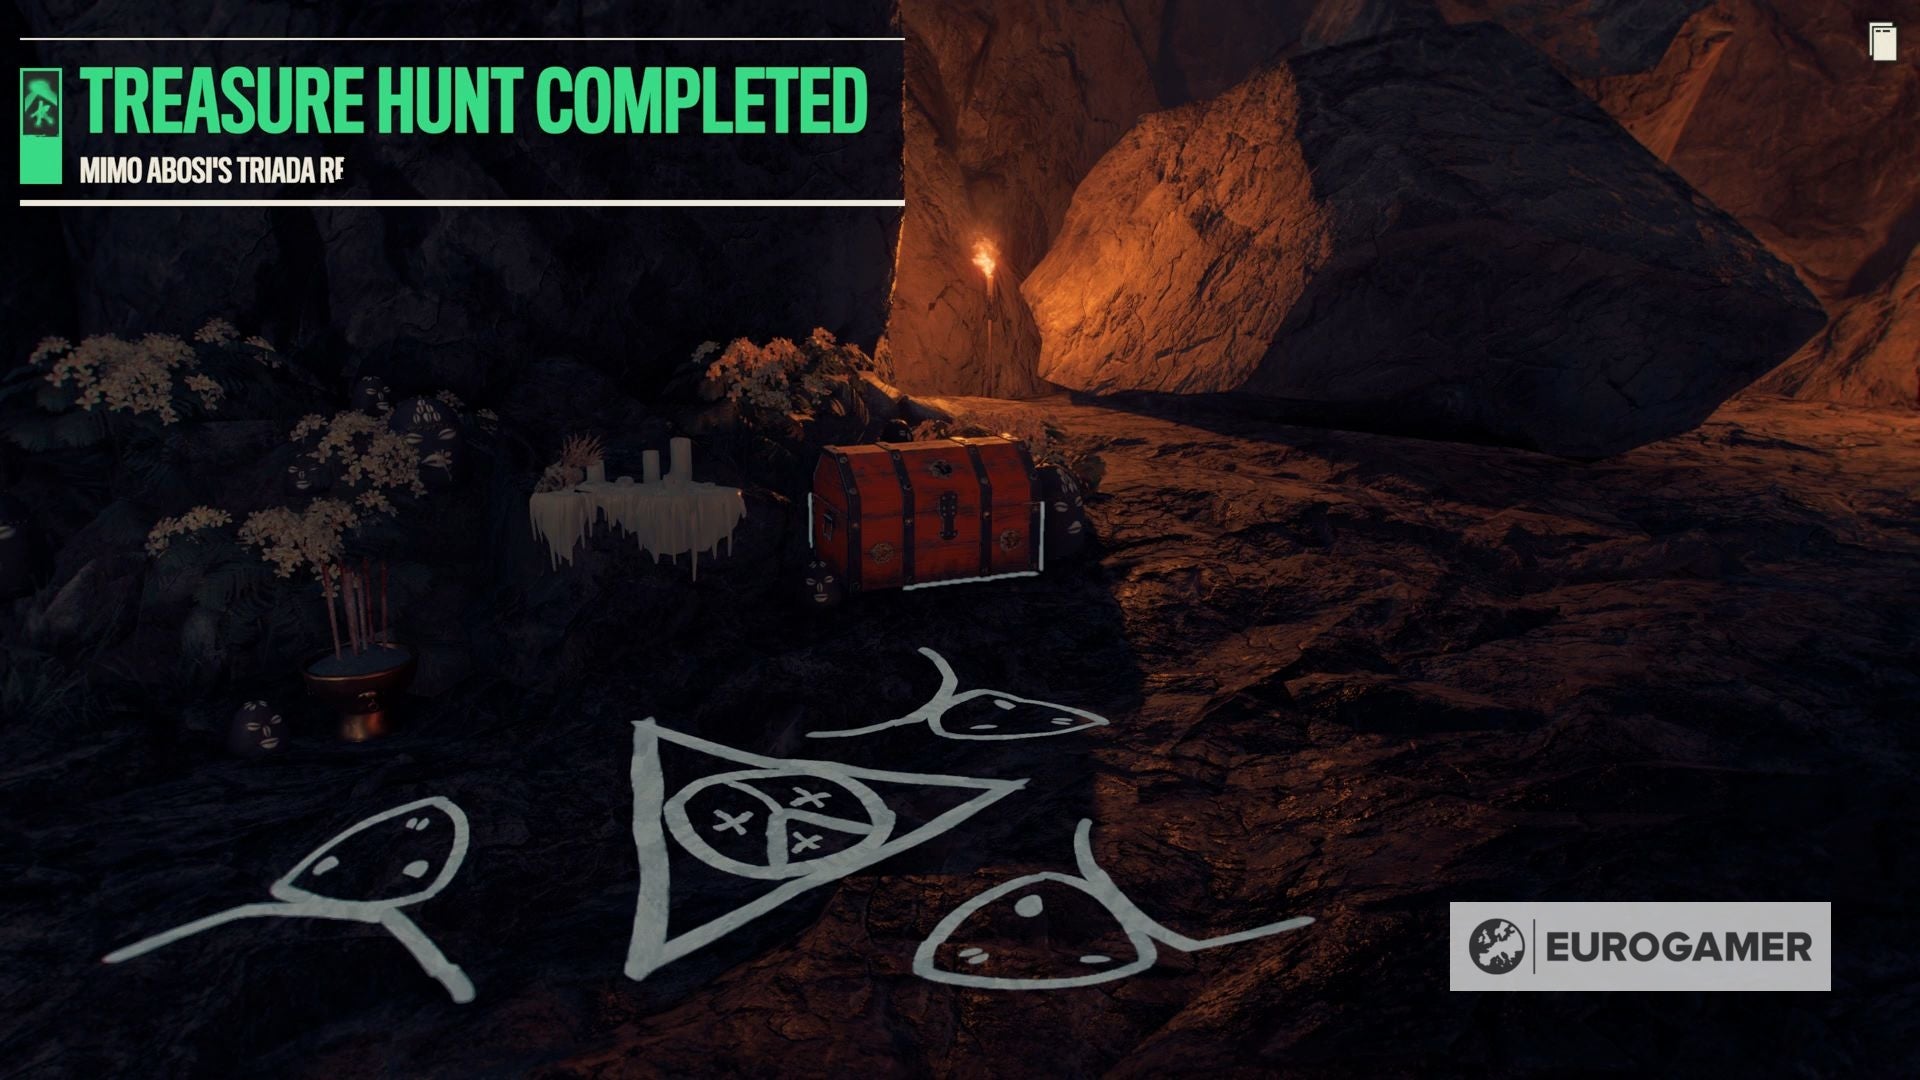
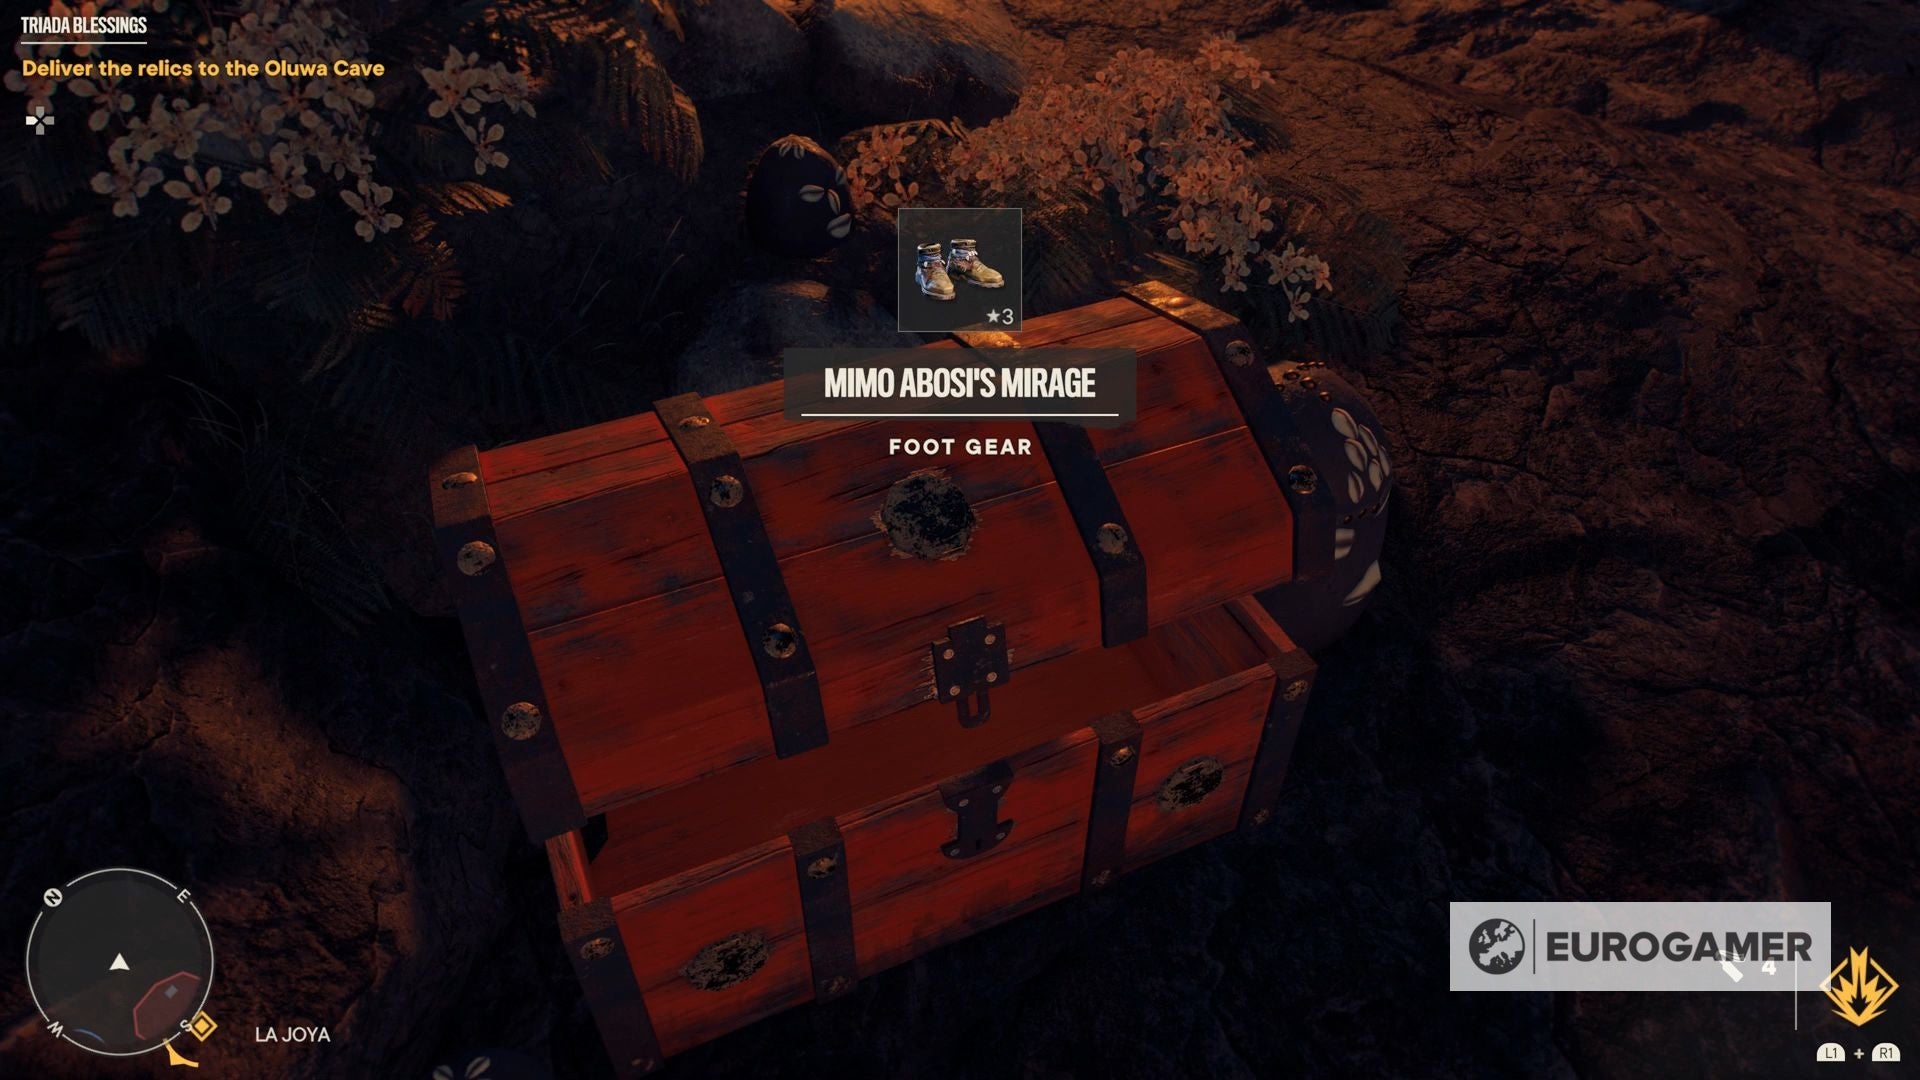
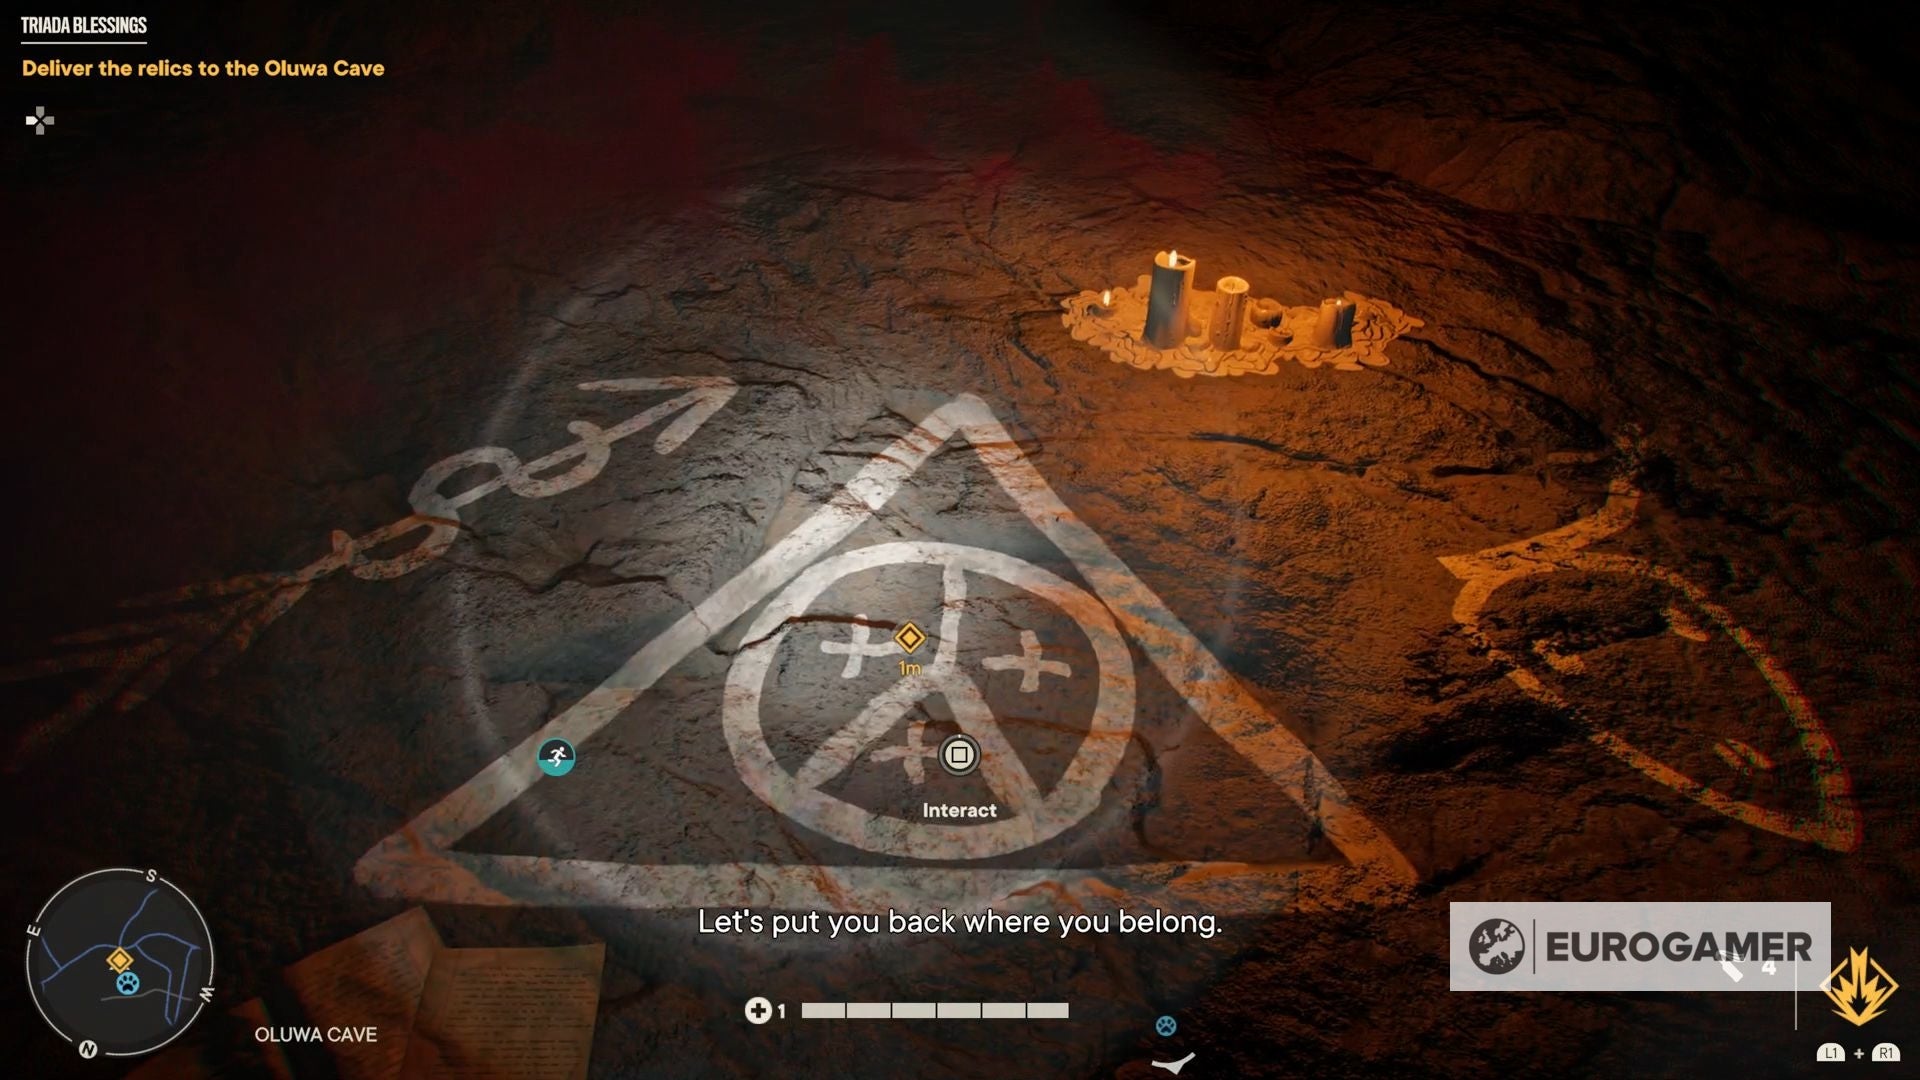
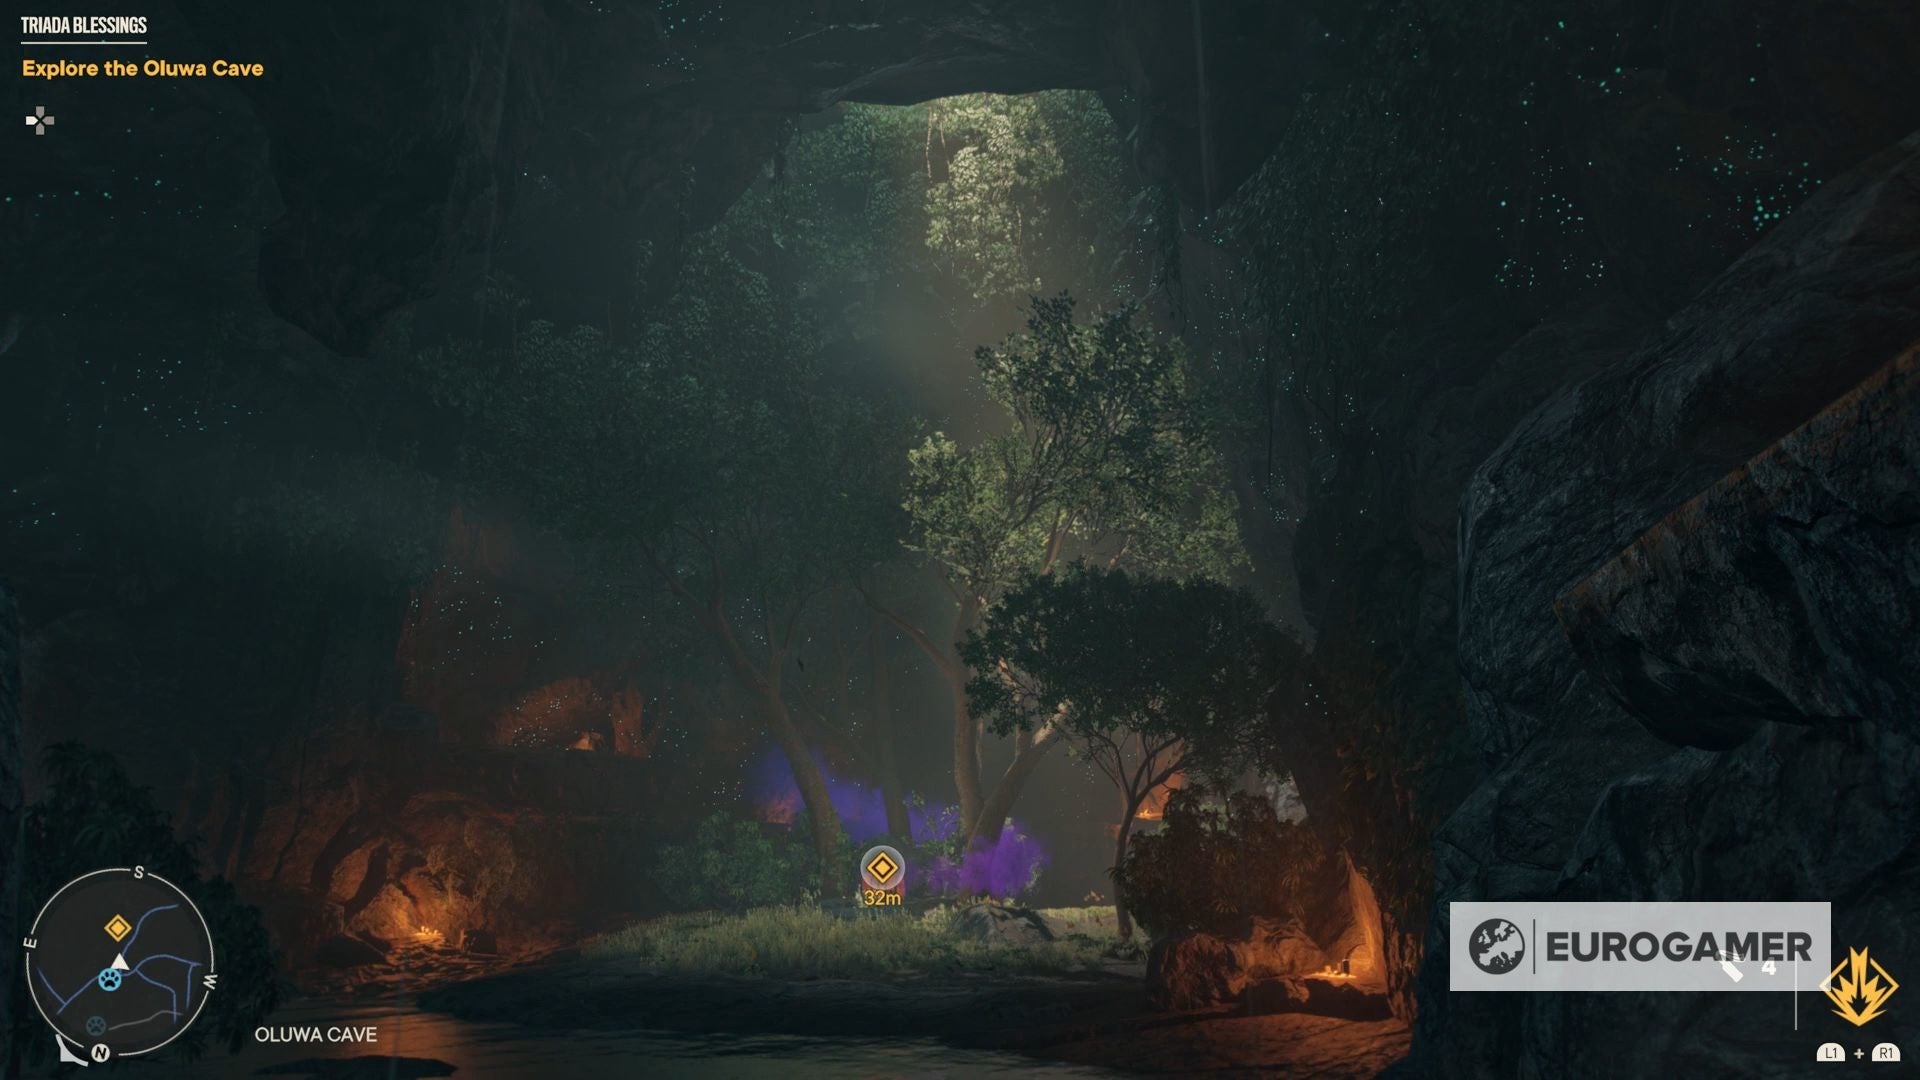
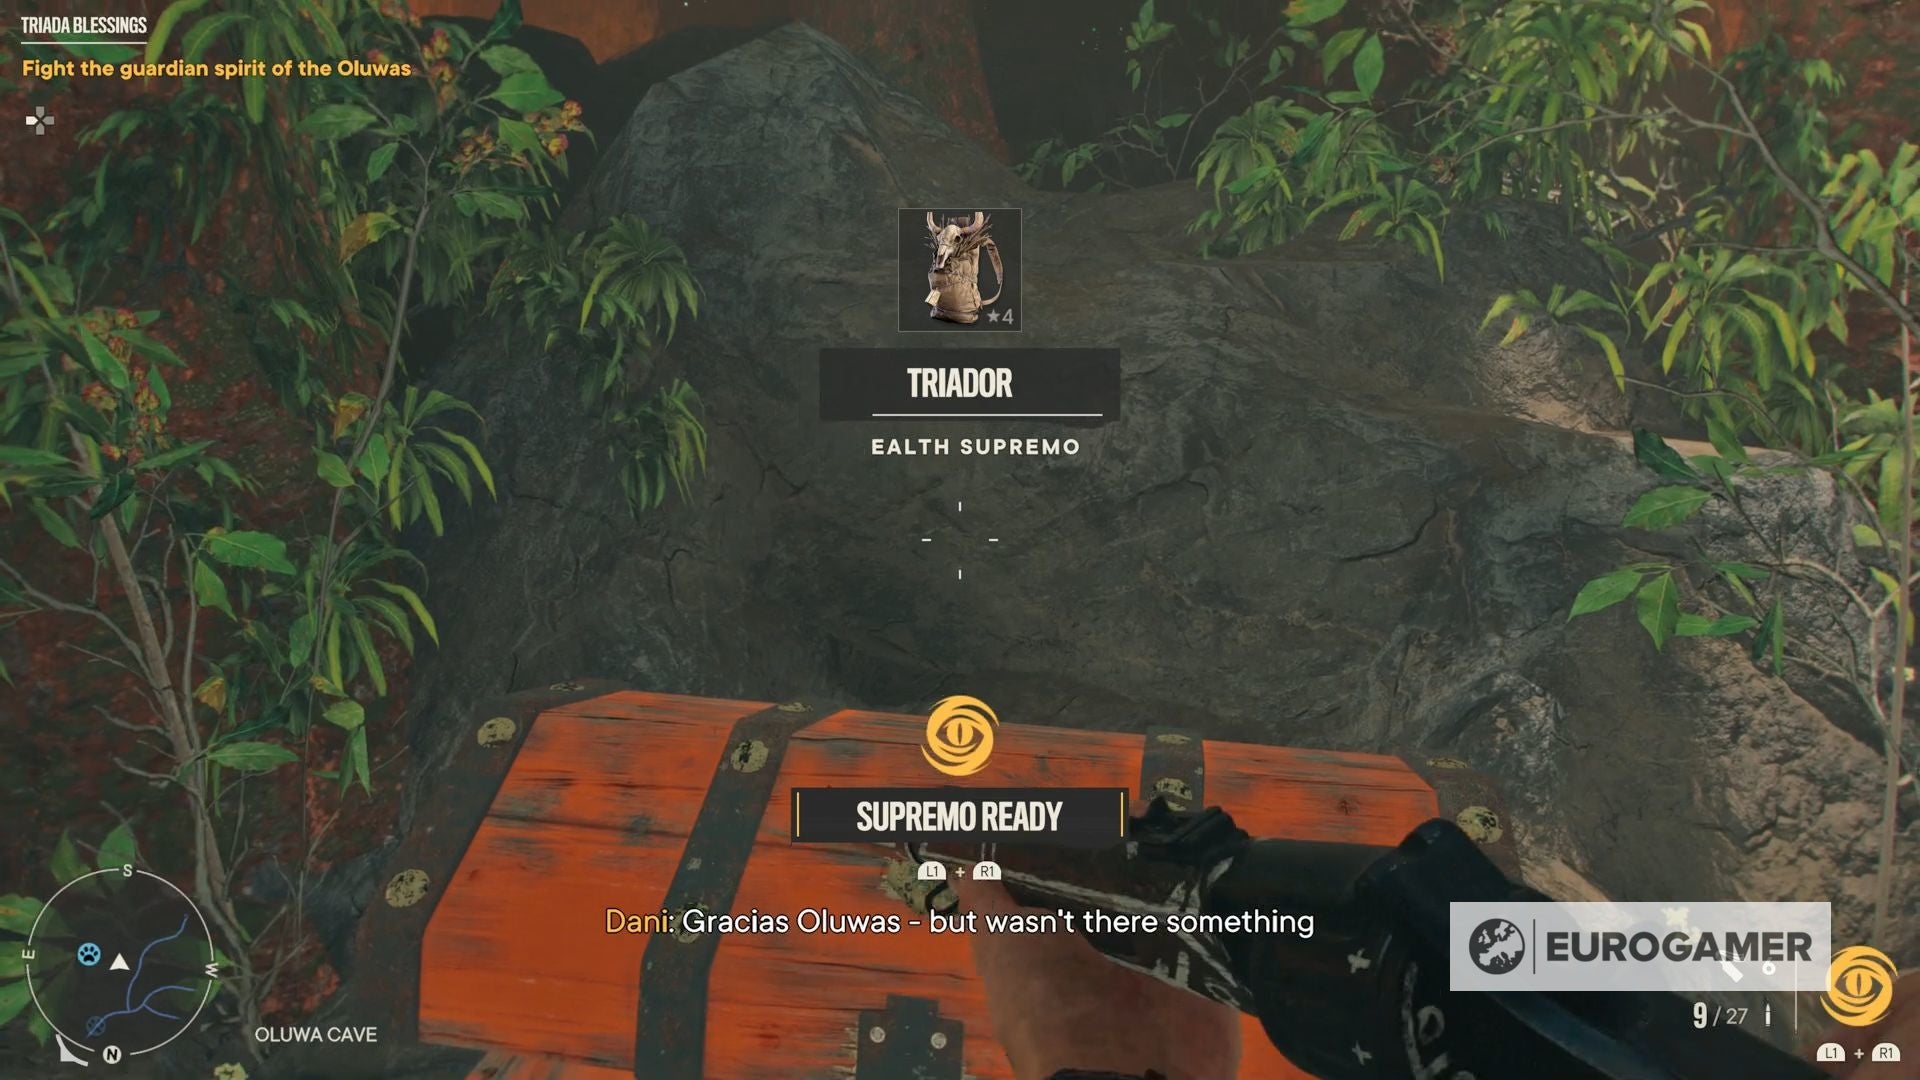
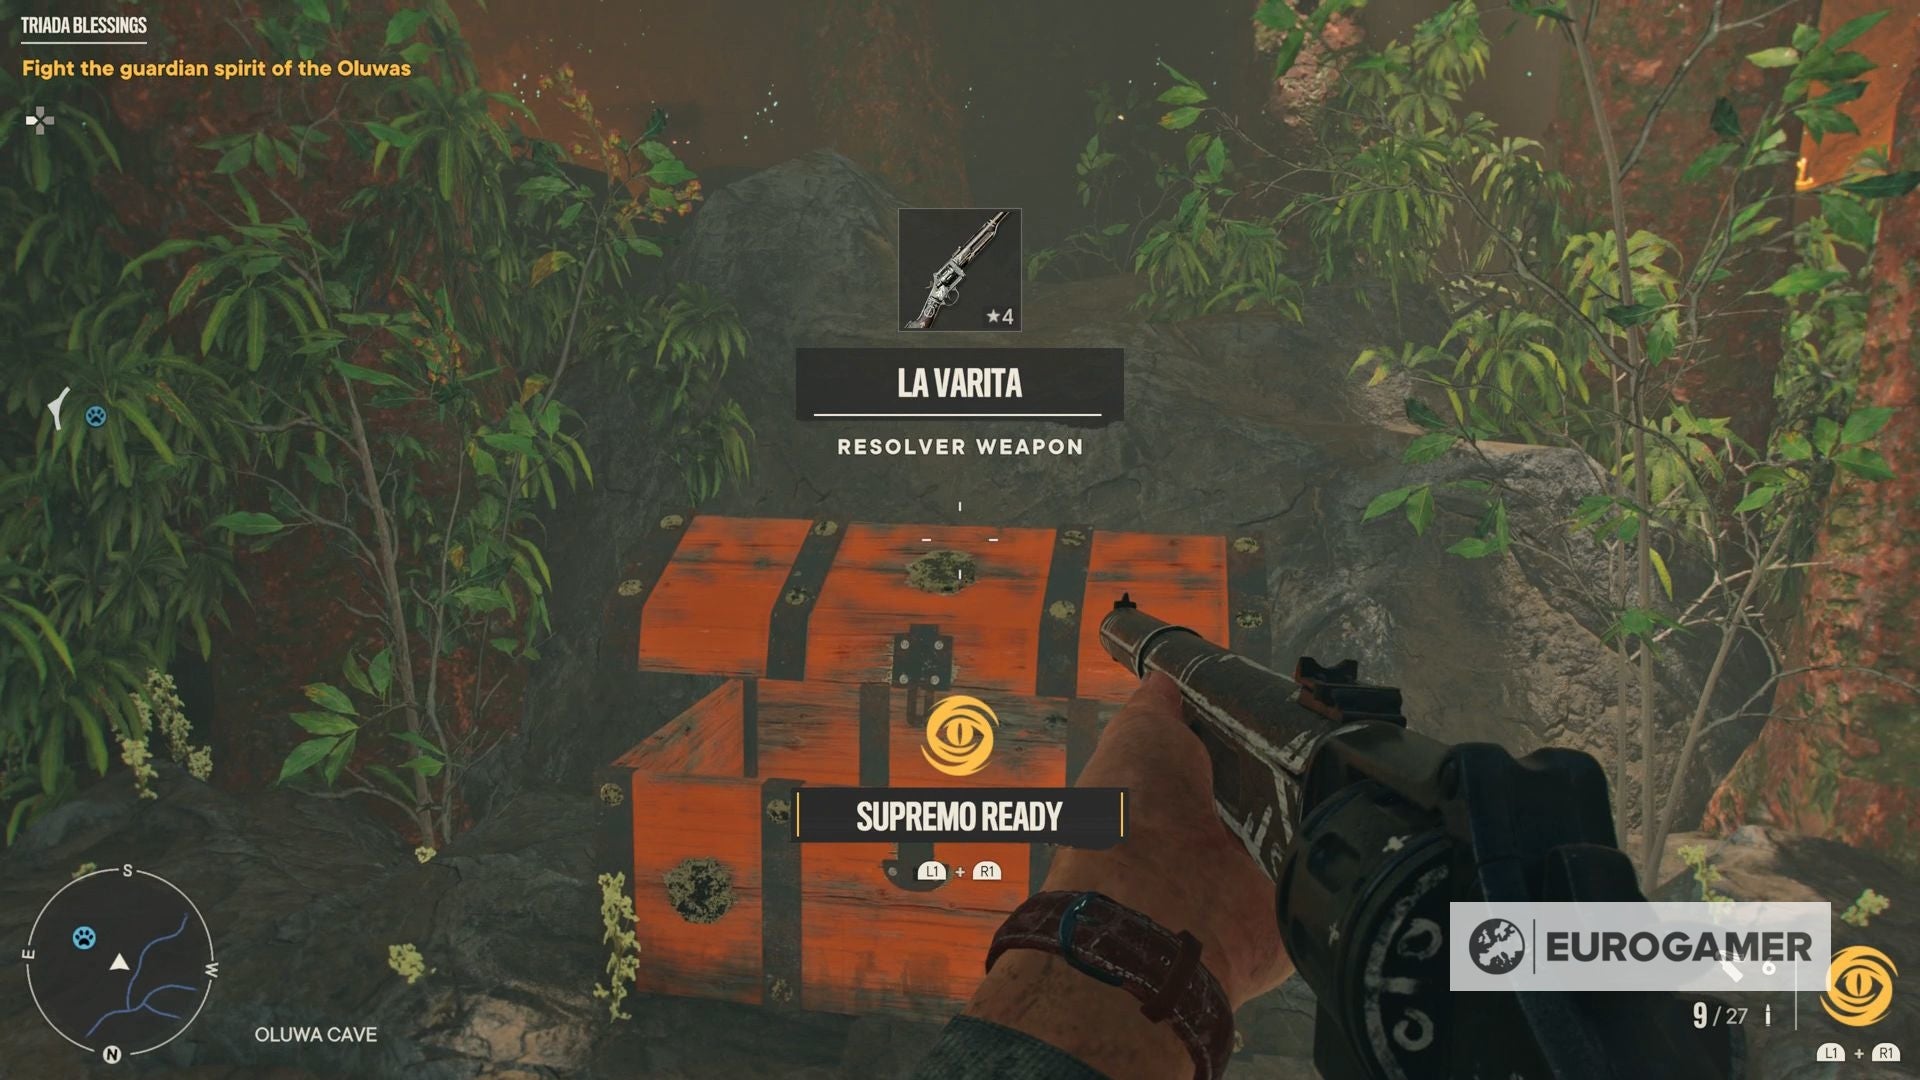
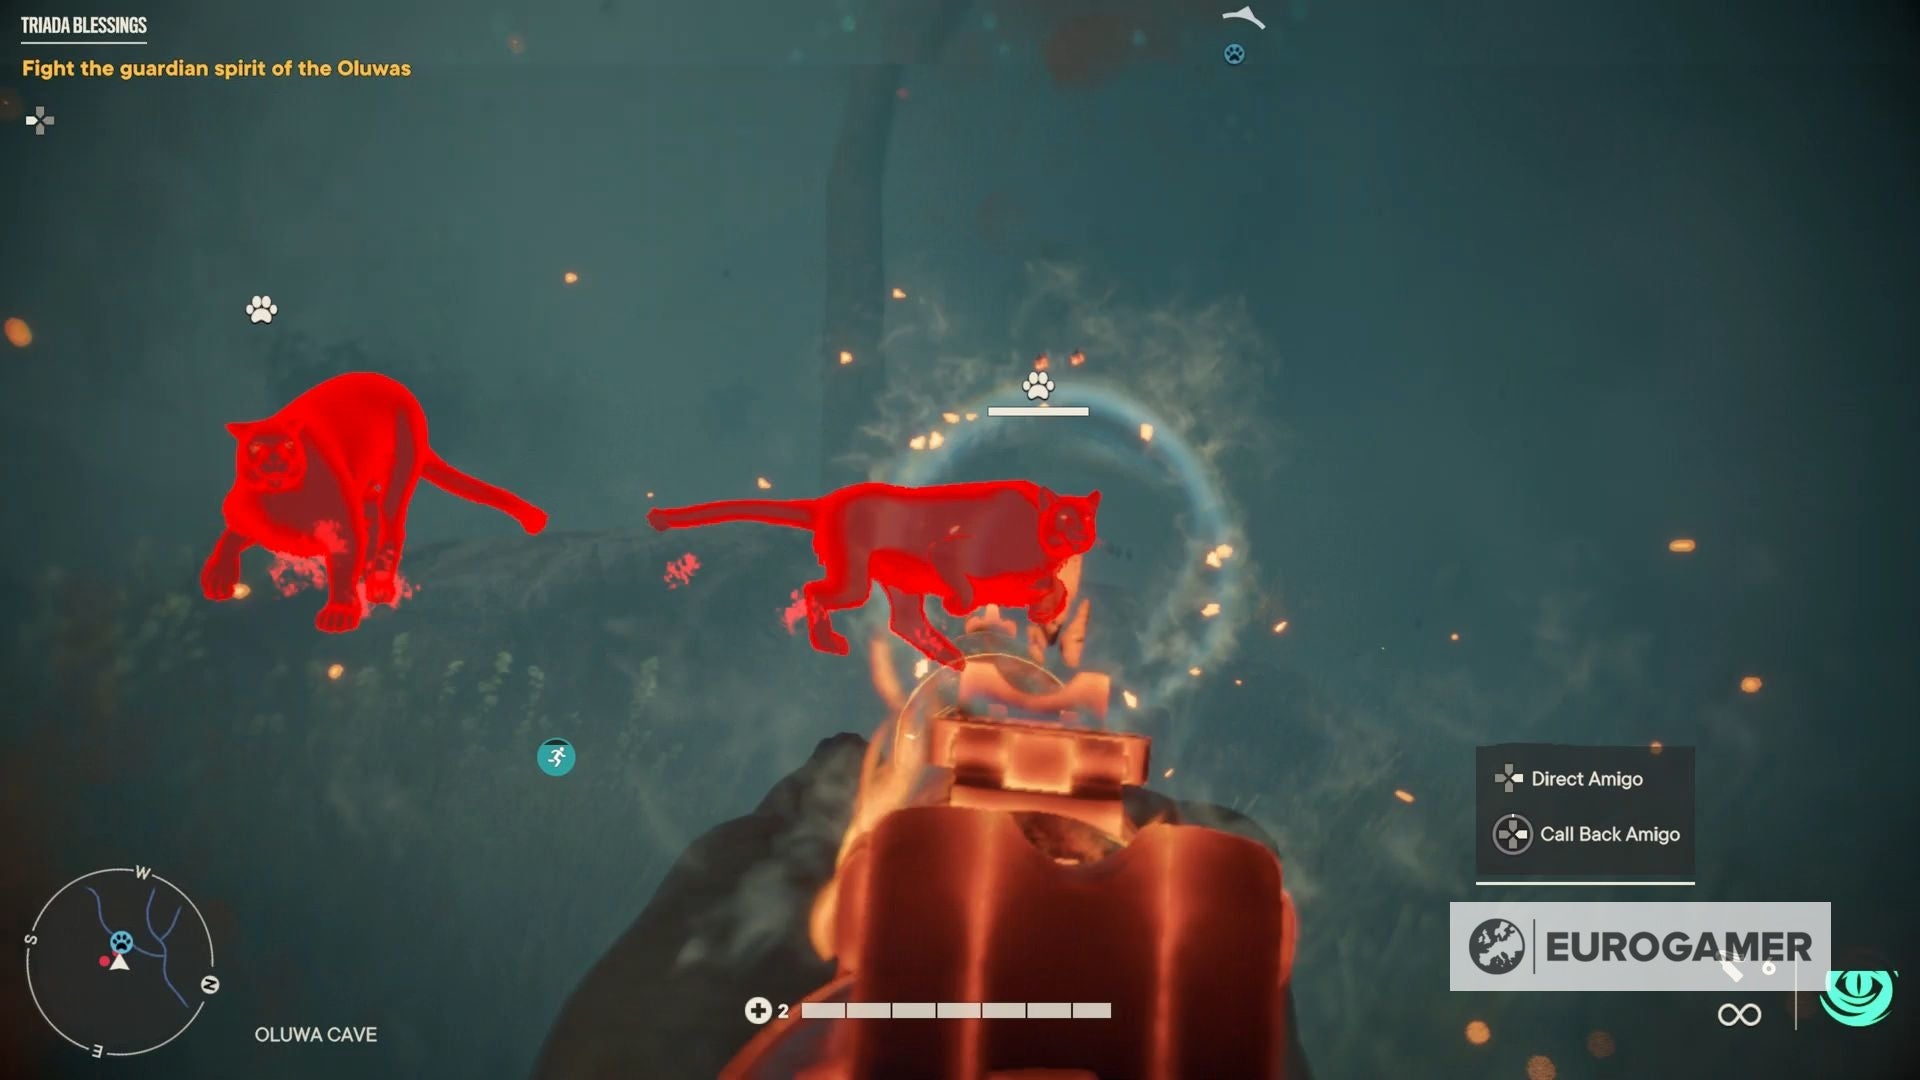
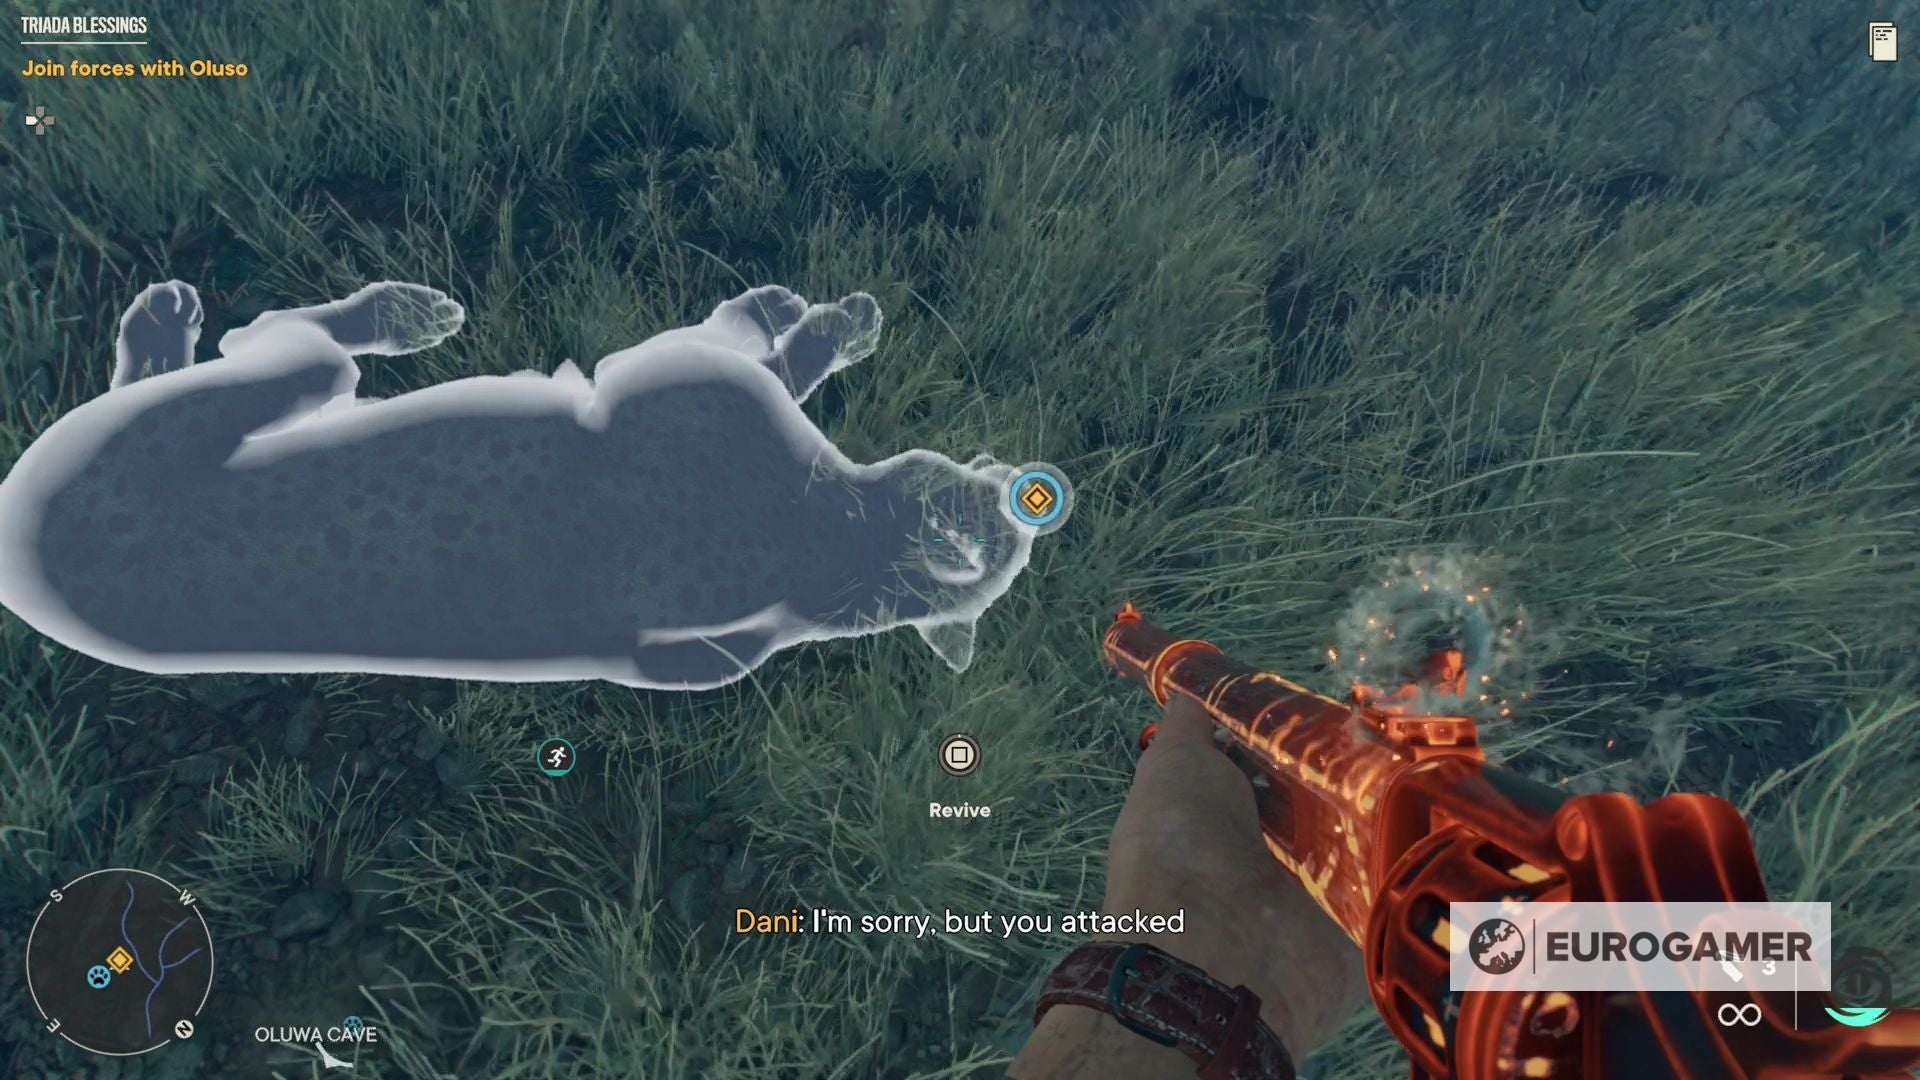
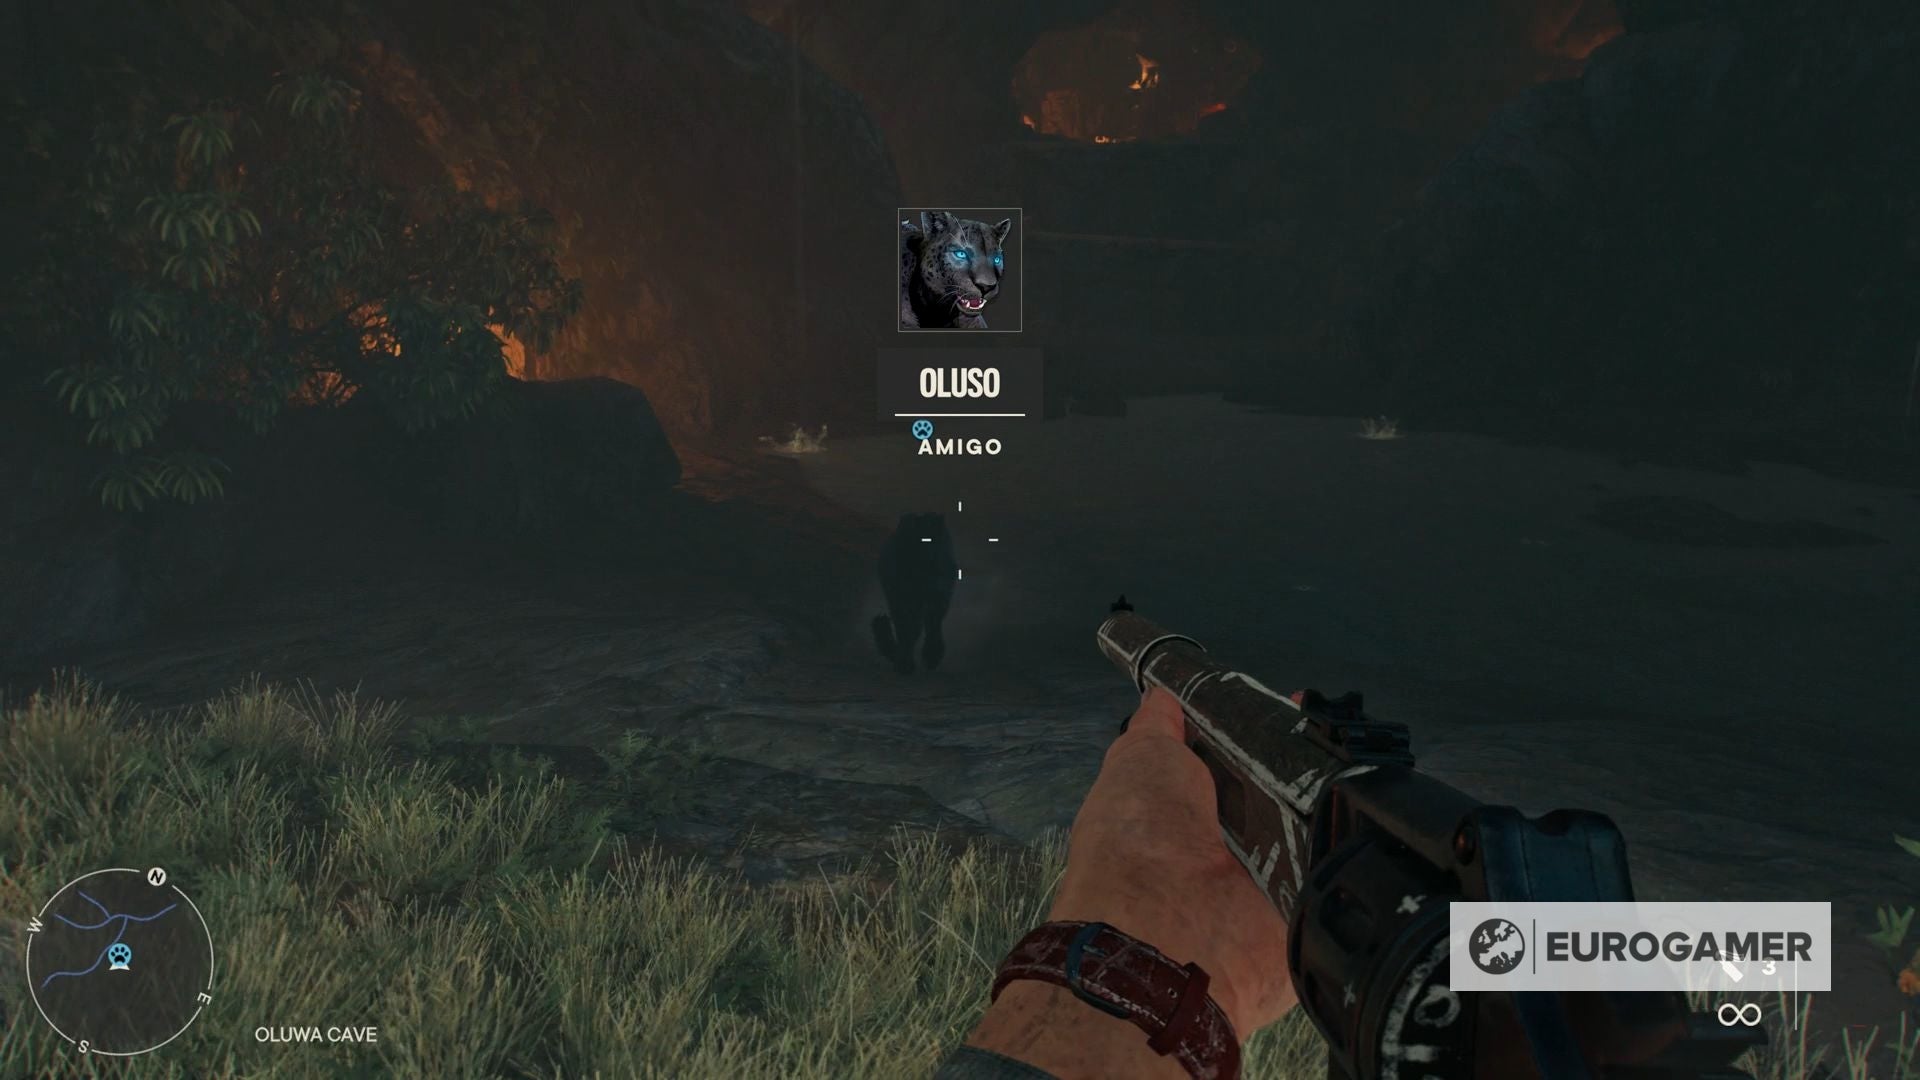
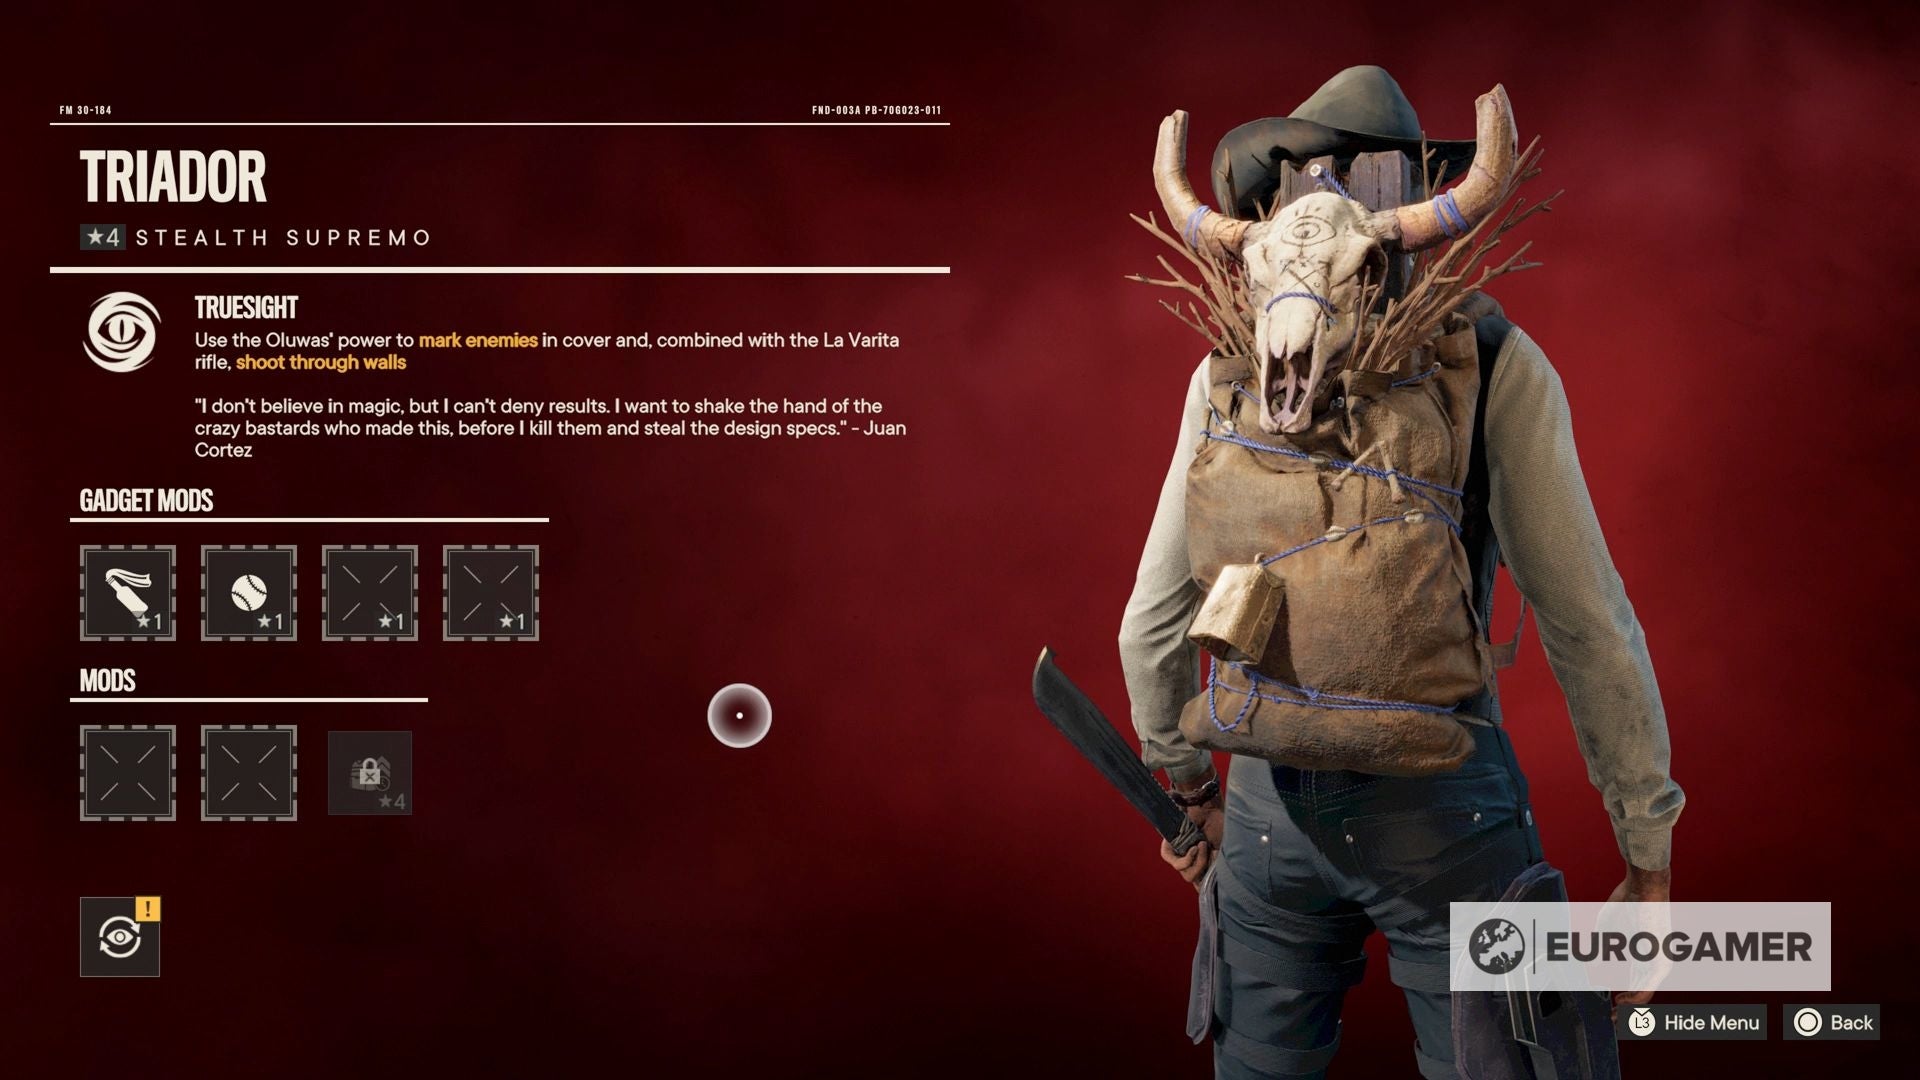
Once you have discovered the Oluwa Cave location, you will then start the Triada Blessings quest, which takes you across the map to find three Relics - Oku, Ida and Mimo Absoi - which will grant you a series of powerful gear. By completing the Triada Blessings quest, you then receive additional rewards - including a powerful new Supremo, rifle and Amigo. If you were only to complete only a few Far Cry 6 collectibles during your time with the game, make sure these are among them. On this page: For more tips, read about the Far Cry 6 secret ending and how to unlock Chorizo. The cave is positioned on a trail high up in the hills. There are multiple ways to get there - but perhaps the easiest is from the west. If you head north-west from the camp, then take the first right going through the hills, you’ll see multiple ledges and symbols on the cliffs to your left. Scale these to reveal a trail, which will lead you to the cave entrance. The route inside is linear, and ends up with some symbols on the ground and a note to read. This will add three Treasure Hunts to the map - one in each of the game’s regions - so you know where to go. There are also two chests here - featuring Eternal Dance wrist gear and Oluwa’s Heart chest gear - as well as another note to read. Now it’s a case of heading to those Triada Relic locations. You can tackle them in any order at any time during the game - though you need to have left the starting island before you can travel to their regions (our where to go first on the Far Cry 6 map can help if you’re not sure where to go with your newfound freedom). If you are keen to get there as soon as possible, learning how to destroy anti aircraft guns can help you get around the map easily with a helicopter or plane. You know you are in the right place when you see the telltale symbol on a cliff and a purple ‘haze’ running up alongside it. Grapple up and use the vines to scale the cliffs until the very top, where there will be a cave entrance. Follow the route round and you’ll come to a linear series of caves with ropes you can zipline across. You must drop from one to the next to the next area; we found letting go about half a second before you travel over the next rope was the right timing to make each connection. There are also boarded up passages along the way - a shotgun blast did the job in clearing these up for us. Keep going until you reach an area with several ledges to climb up. You can scale the left side by scrambling up the rocks at the base, and then across again to the cliff top. Here is where you’ll find the Relic, as well as Ida’s Sigil head gear in the chest. With that done, you are welcome to fast travel away from the area. Specifically, it’s a fort just off the road - with a bridge to the north-west allowing you access. Upon reading the note on the front door, you’ll learn you can only access this night - so wait until then. (Note there no way to fast forward the clock, so play other activities, or set the controller downand come back when it’s dark.). For us, the door swung open at 19:00 hours; you can check the time by opening up Photo Mode. Inside is a series of switches you need to press in order to pave the way to the relic location. Since this is the most elaborate Triada Relic of the three, the Oku’s Trida relic walkthrough is as follows… Oku’s Trida relic walkthrough Enter the room on the right, which is lined with mirrors which smash on approach. One by the entrance, however, requires you smash it yourself - giving you a switch to press. This switch reveals a new room to the left of the entrance next to the stairs. Read the Short Instructions note - “Oku’s water flows like electricity from the CENTER of Yara, then to the WEST, and finally the EAST”. Press the buttons on the table in this order: Middle, left, right. Go upstairs to the piano and investigate the note. This will open a secret compartment at the far wall, with the Dungeon Key. Use the Dungeon Key on the door on the ground floor, where you first entered. Go down to the basement, through the door, and shoot the boarded up passage to reach an area filled with soldier mannequins. Press the button on the column at the back left to blow up the well outside. Continue round through the ground floor and grapple onto the roof. Zipline down to the well. (If, at this point, you forgot to press the switch to open the well, then just vault over the side wall, run round to the front of Fort Oro, then back into the dungeon again.) Use the grapple point above the well to rappel inside. Swing across to the upper-most ledge to get the Oku Triada Relic. Before leaving, look back up at the grapple point above the well to swing over to the opposite ledge for the Oku’s Deliverance leg gear and the note for some Idol locations. Then, swim outside for a host of resources and notes around the hut to add more locations to your map. Specifically, it’s a dig site, which you’ll notice has been eerily abandoned. To get the relic, you must shoot the lock from the gate leading underground, then grab the Fan Room Keycard from the body on the left junction. (We also found one in the hut just as you enter the location in general, in case this isn’t here.) To turn off the generator and go through the water, follow the cable back up outside, to the power supply. Shoot the objects at the back to reveal where the cable enters the generator. Pull it out of the back by interacting with the prompt. After swimming through the water, use the Fan Room Keycard on the left door and throw the switch. It’s now safe to enter the forward passage. Grapple down, and you’ll find a large area with the Mimo Abosi Relic. Read the notes around it, as well as chest nearby with the Mimo Abosi’s Mirage, then head up the passage the rocks fell from to leave the area. Assuming that’s the third and final Triada Relic, it’s time to return to Olusu Cave. Looking for more help? If you’re just starting, we have pages on male or female Dani Rojas, completing Fuel the Revolution, how to destroy anti-aircraft guns, and where to go first on the map. Elsewhere, we explain where to find Triada Relic locations, Parting Gifts, The Long Drop, Cache Money, Rising Tide, High Supply, And the Beat Goes On, The Last One to Leave, Liquid Courage, The Missing Muse, The Emerald Skull, The Truest Yaran, Chorizo’s location, the best Far Cry 6 weapons, and the GDP Oil Platform, Finally, we explain Far Cry 6’s secret ending. Place the relics on the ground where indicated to reveal a new area beyond. Open the chest to get the Triador Supremo and La Varita weapon. Once you do, you’ll be ambushed by a cat. Use your Supremo to tag all the cat locations, and fire at them with your new weapon. You’ll quickly find the ‘right’ one. With the battle over, revive the cat to then receive the Oluso amigo. Between all three, you have a pretty excellent suite of stealth options - with a buddy who can quietly take down foes, and Supremo that - when combined with the La Varita - can shoot enemies through walls. Useful! If you’re looking for other powerful additions to your arsenal, our best Far Cry 6 weapons can help.
