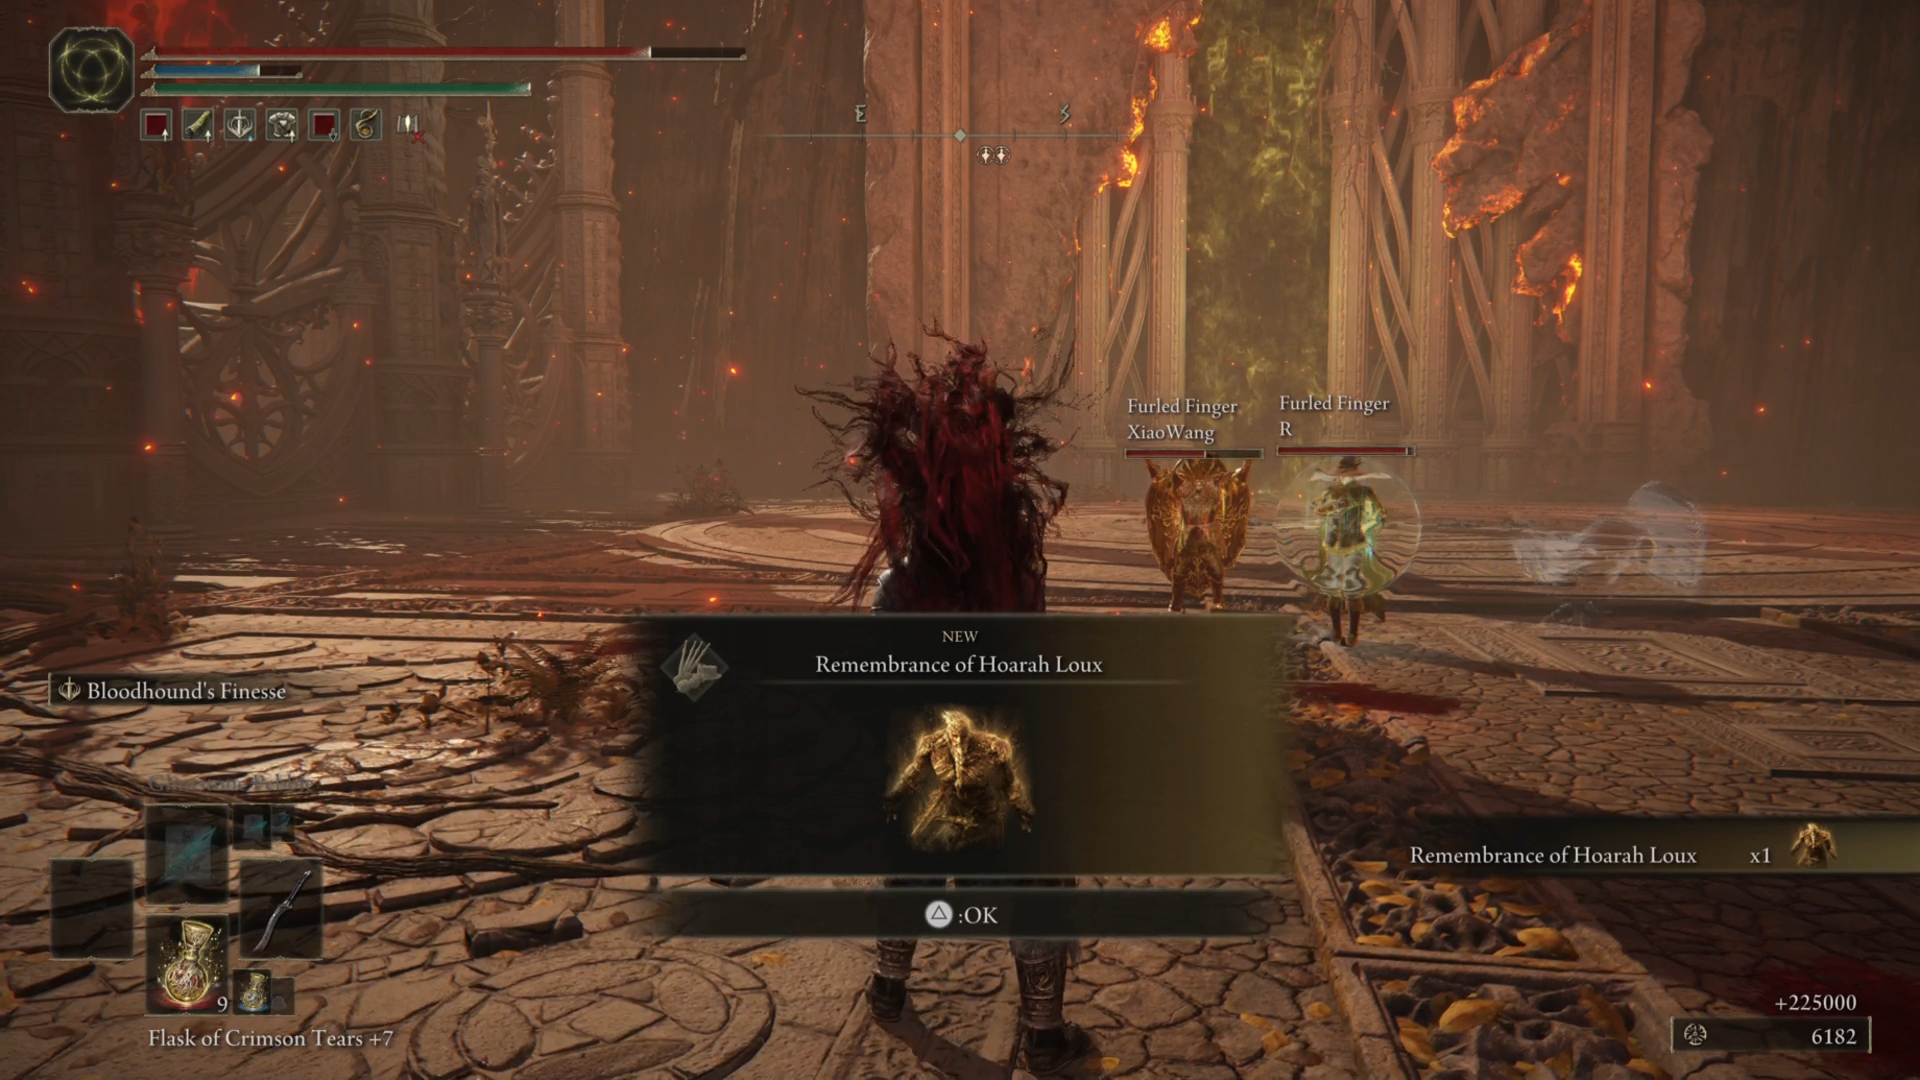
Taking place near the climax of the very game itself, this is a main boss encounter with Hoarah Loux near the finale of the Leyndell, Ash Capital section of Elden Ring. Hoarah Loux can be an incredibly tough foe to duke it our with, but since spirit ash summons are available in this boss fight, we’d definitely recommend putting them to good use. On this page: Looking for some direction? Our what to do first in Elden Ring, Elden Ring walkthrough, Site of Grace locations and main bosses in order pages can help. If you’re looking for a few pointers on how to accomplish the first phase of this fight, head over to our previous Godfrey the First Elden Lord guide, because the previous iteration of the boss functions the same as this encounter. Bleed damage is definitely the way to go to whittle down Hoarah Loux’s health. You’ll want to use the Bloody Slash Ash of War here, and this combined with the Mimic Tear makes for a great combination. Previously, we would’ve said use the Hoarfrost Stomp Ash of War, but with the casting time of the attack having been raised significantly, there’s simply not enough time to pull it off and evade any incoming attacks. Hoarah Loux fights with his fists in this phase, and he’s both incredibly tough and aggressive, frequently getting right up in your face and barely leaving any breathing room whatsoever. Hoarah Loux has a few area-based attacks, and he can actually chain them together. When the boss flies up into the air, be prepared to dodge roll out of the way once he reaches the peak of his jump, but then you’ll want to immediately back away from the boss when he’s on the ground, because you’re about to face one shockwave attack, and a follow-up fiery area attack which you can see from the glowing ring of light on the ground around Hoarah Loux. One devastating attack has Hoarah Loux raising one leg up, and holding it there. He’s about to bring it crashing back down, emitting a huge shockwave that spans the vast majority of the battlefield. If you dodge roll just as Hoarah Loux’s leg comes down to the ground, you stand a great chance of avoiding this attack entirely. A similarly crushing attack has the boss baring its chest and charge towards you. You need to be prepared to dodge roll out of the way right as Hoarah Loux brings his hands forward to encase you, because if you get caught in this, you’ll get locked into an attack that throws you up into the air and back down for some huge damage. Otherwise, what you really need to watch out for in this fight with Hoarah Loux are quick swipes and stomps. The boss is pretty fond of chaining a few quick attacks with his fists together, and will also bring his leg crashing down in a quicker attack than the one we previously described, which emits a small coned shockwave in front of him. Once you have settled on a starting class and starting Keepsake item, you should first work out how to level up, how to respec and use Ashes of War. Need some direction from there? Our Elden Ring walkthrough and Elden Ring boss order can help with where to go next, but we also recommend hunting down Golden Seeds, Sacred Tears, Crystal Tears, Talismans and some of our best weapon and best armor choices. If you are approaching the end game, we can help with the Volcano Manor quest and Rykard, Haligtree Secret Medallion locations, solving the Ordina, Liturgical Town puzzle, the Millicent quest, Commander Niall, Morgott, Godskin Duo, Maliketh and Malenia. You’ll also get the Remembrance of Hoarah Loux item, which can grant you a special power back at the Roundtable Hold. With Hoarah Loux down, you’re not far finishing the journey of Elden Ring. Next up is Radagon of the Golden Order.